Introduction
In this page we’ll explore how to configure a Cosmos cloud environment to connect to resources (ex: a local .html file) on a remote Linux VM via Twingate.Prerequisites
To configure the connectivity between Cosmos and ADO:- Cosmos
- you must have edit access to the cloud env that will connect to a Twingate-protected resource
- Twingate
- you need a Twingate paid account (or active free trial)
- you must have permissions to create a service account
- you must have permissions to add a new connector: set of access token + refresh token to deploy a connector on the resource/network that will later be accessed by the Cosmos cloud env
- AWS/GCP/Azure/on-prem
- you must have SSH access to the Linux VM - this is where the Twingate connector will be deployed
Step 1 - Twingate Connector configuration
Go to your Twingate admin console > Network > Overview > Deploy connector > Cloud & Infrastructure > Linux. You should see “Install and Launch Connector Service”: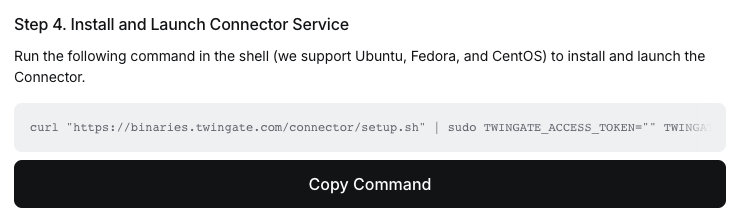
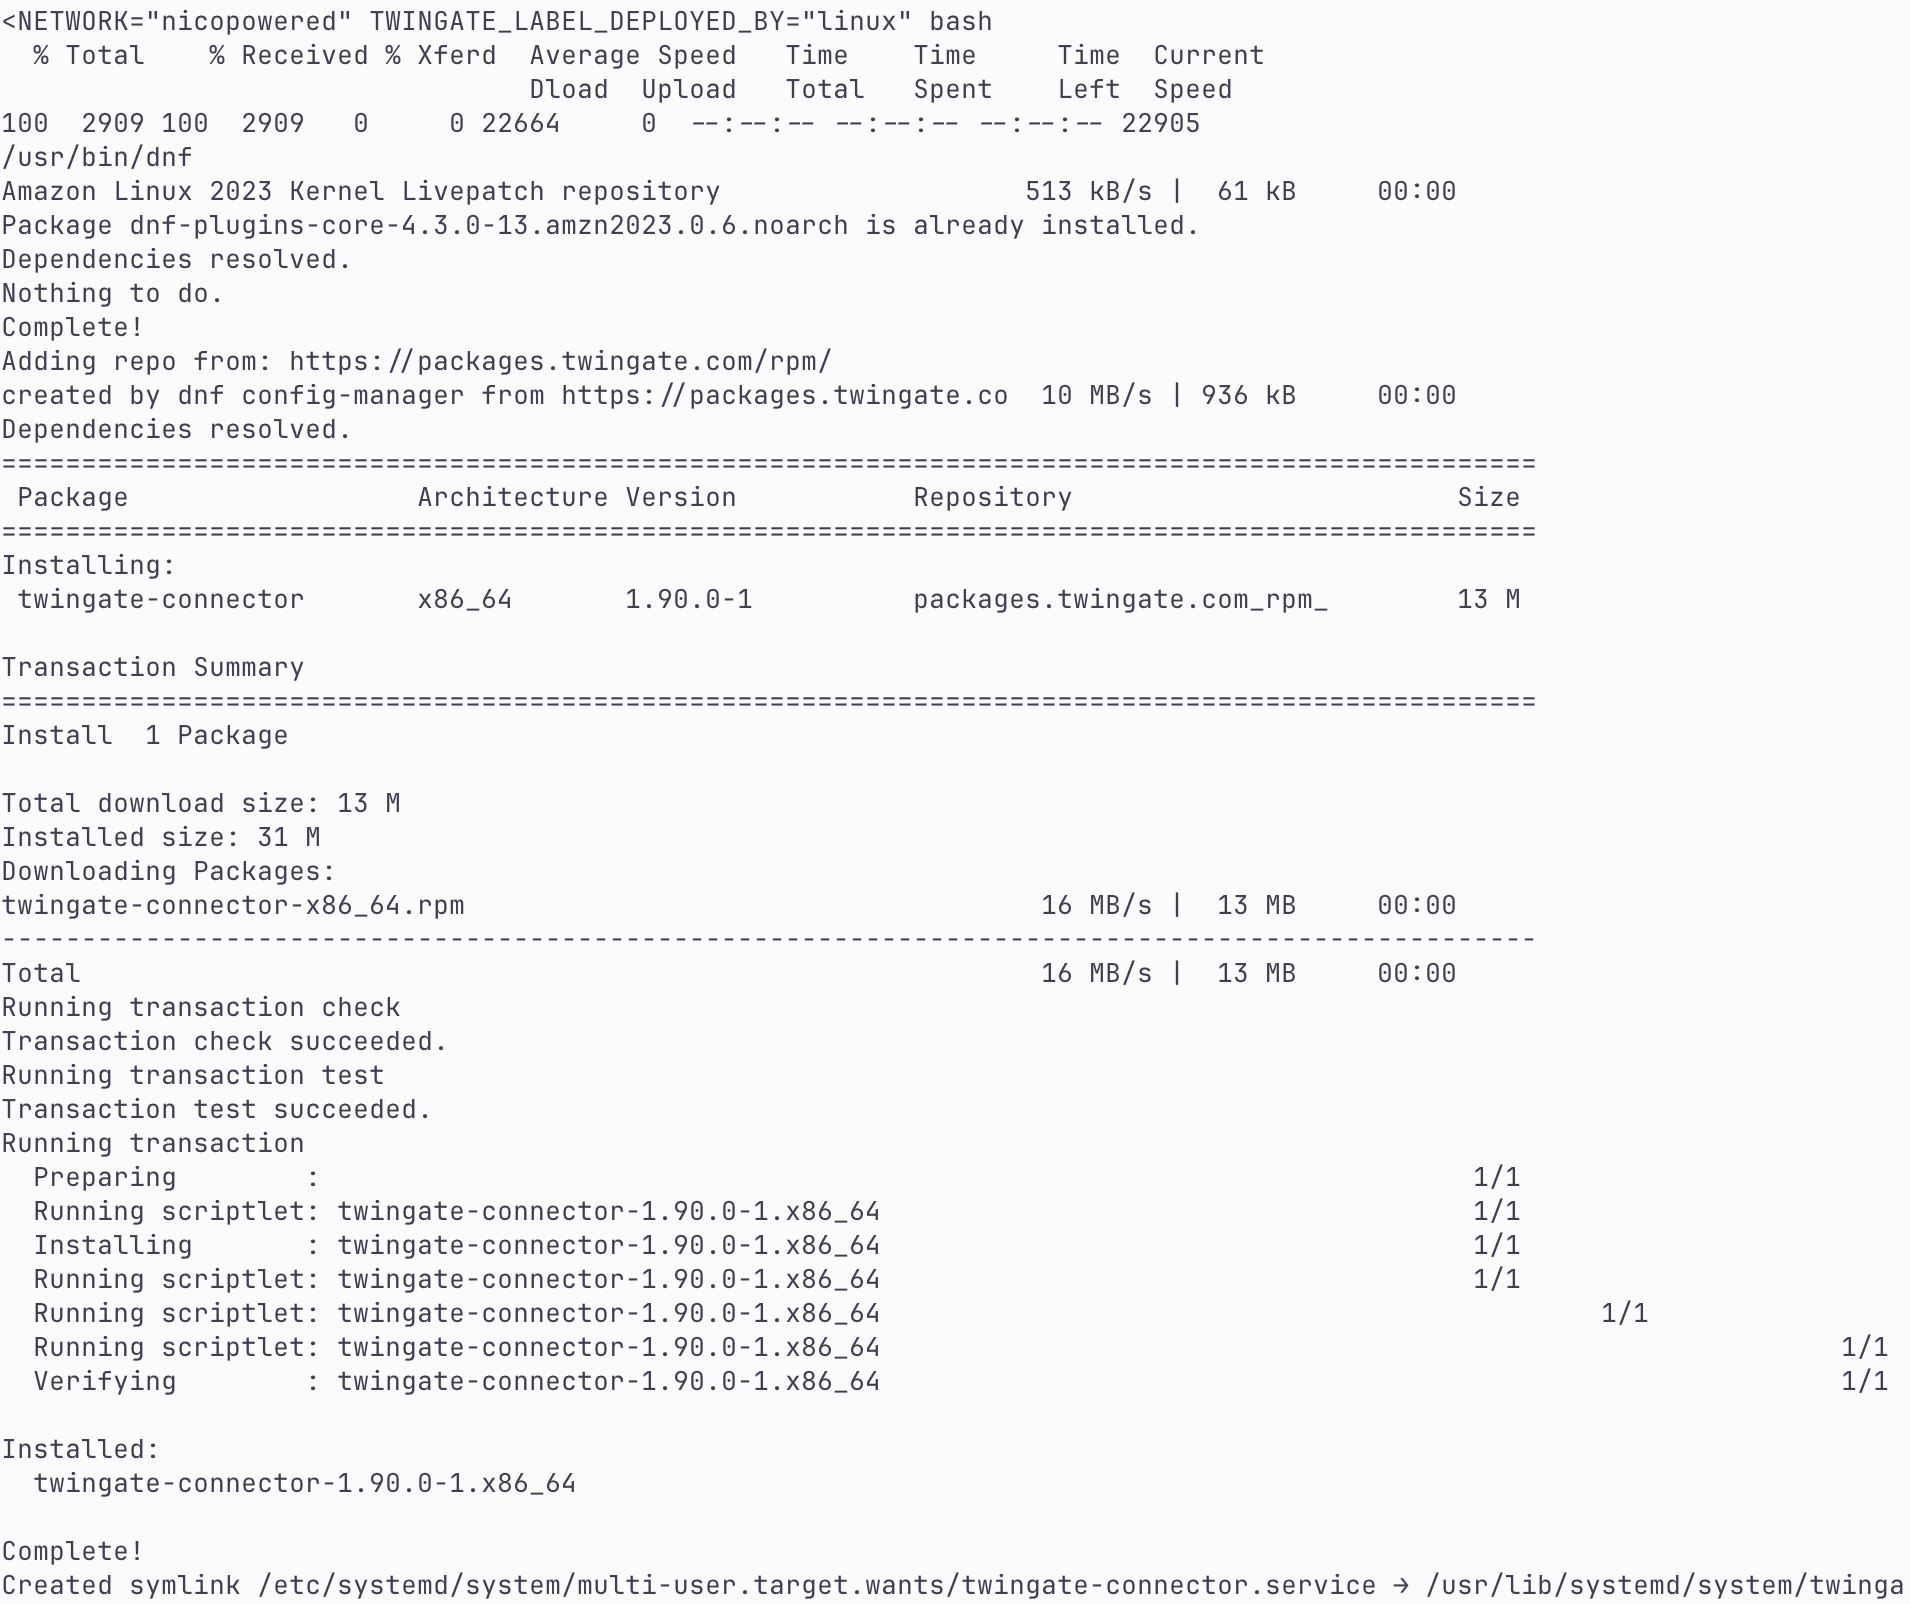
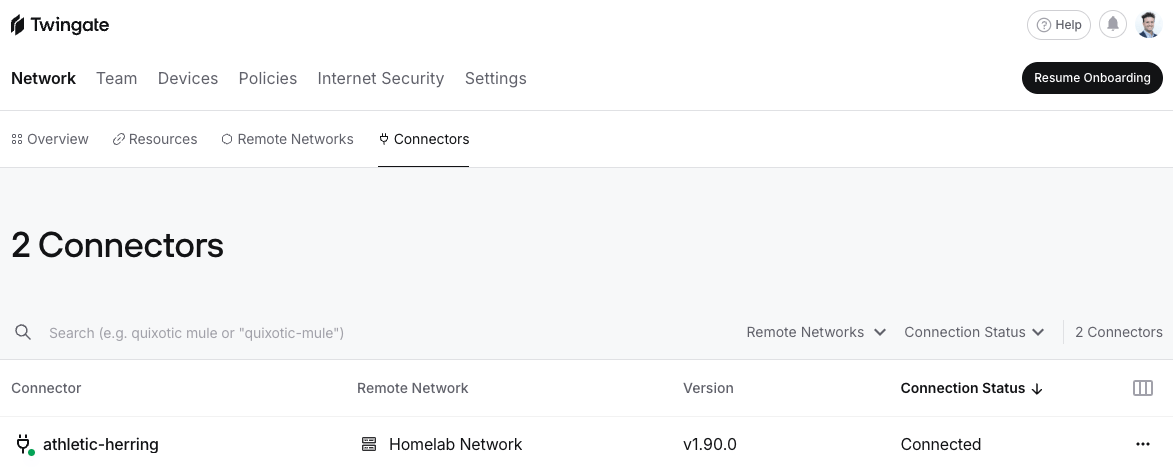
- Create a test html file:
- Start a test python server (which will be serving the html file):

Step 2 - Twingate Service Account configuration
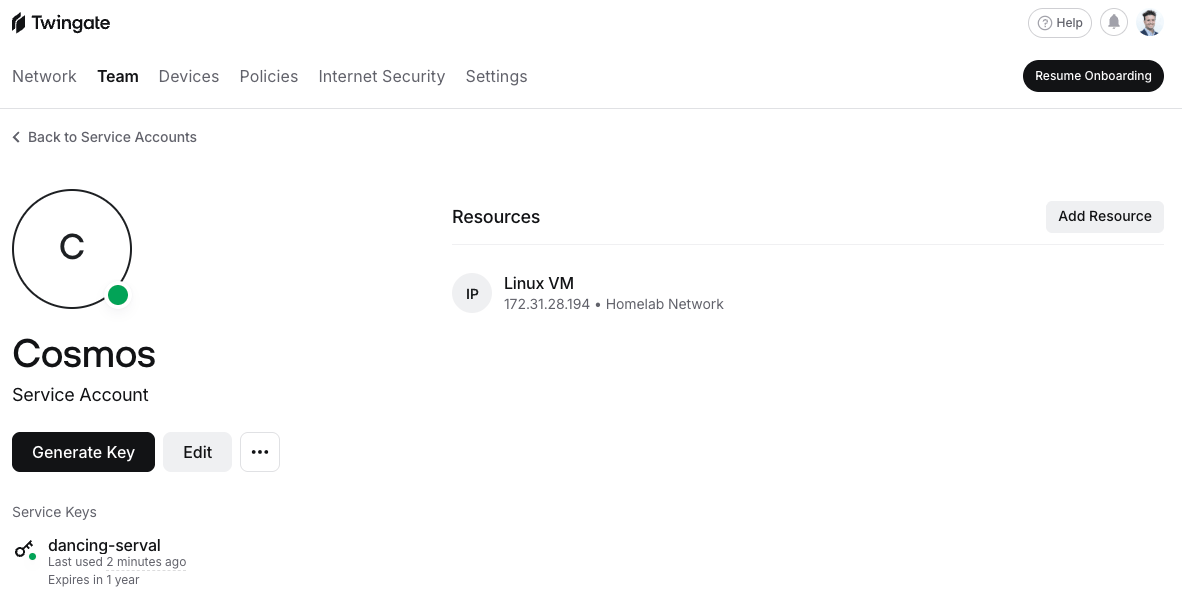
Go to your Twingate admin console > Team > Services > Click on “+ Service” > Service Name = Cosmos > Create Service Account: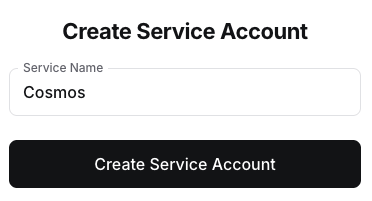
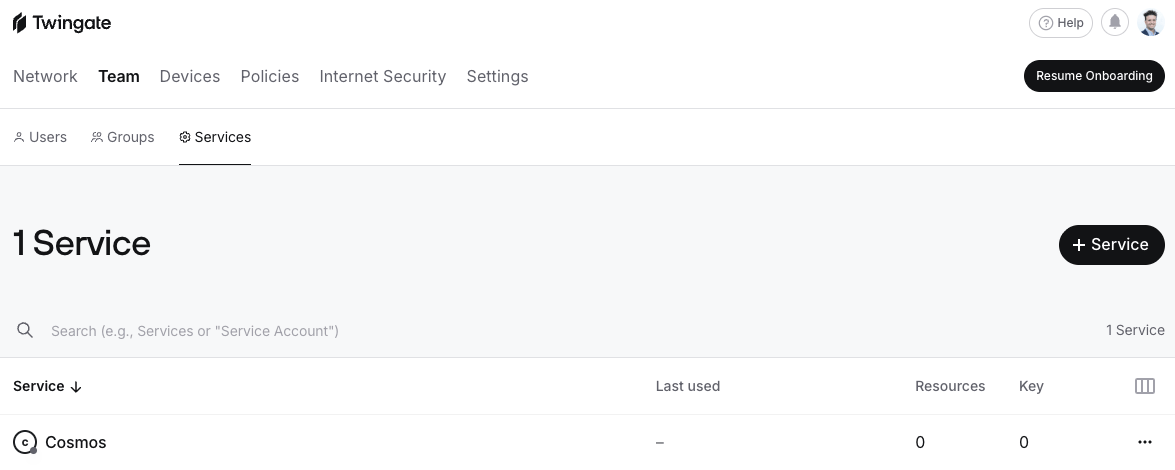
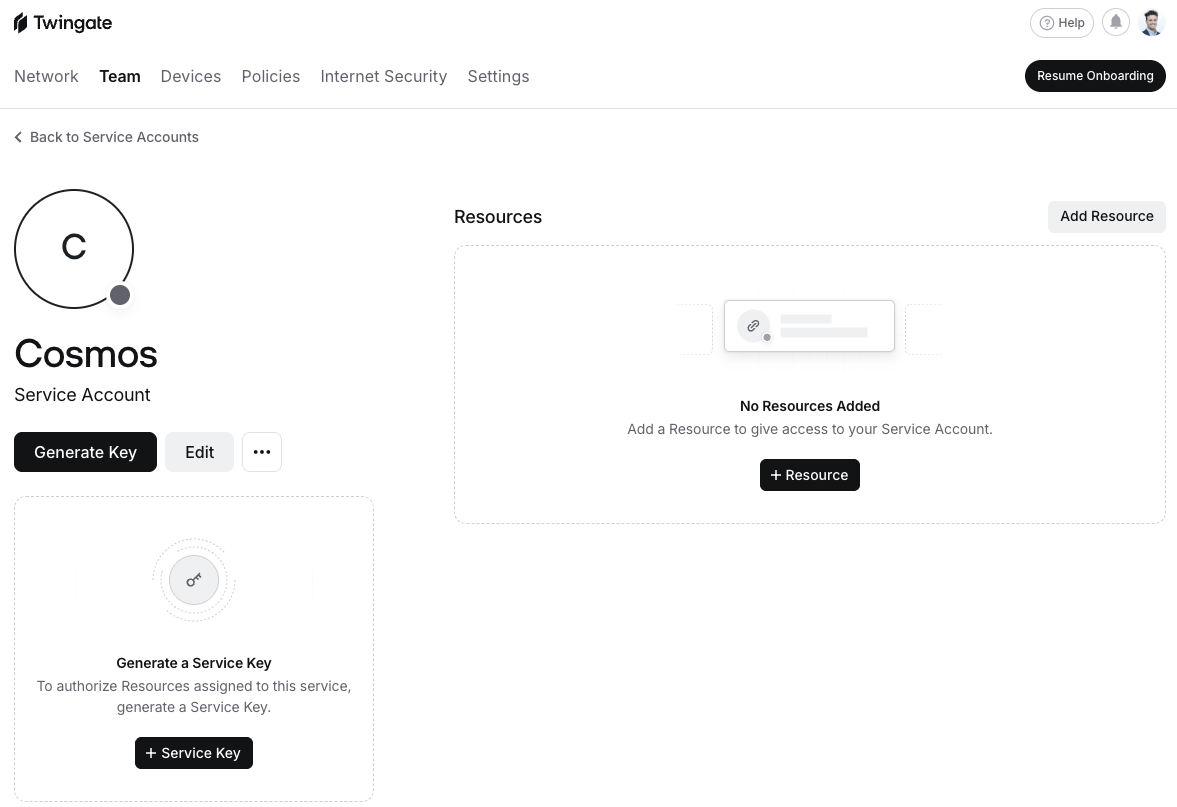
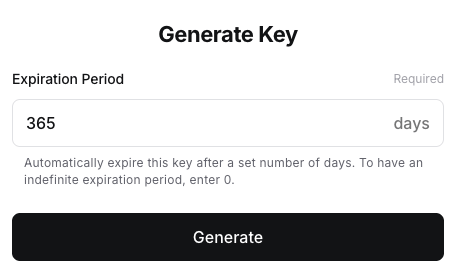
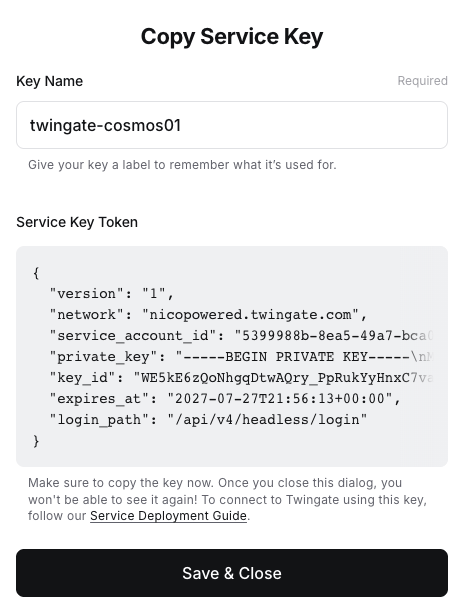
Step 3 - Twingate Resource configuration
Now we’ll add the Linux VM as “Resource” in Twingate. Go to your Twingate admin console > Network > Resources > “+Resource” > Select your network, enter as name “Linux VM”, enter the private IP of your Linux VM > click on Create Resource: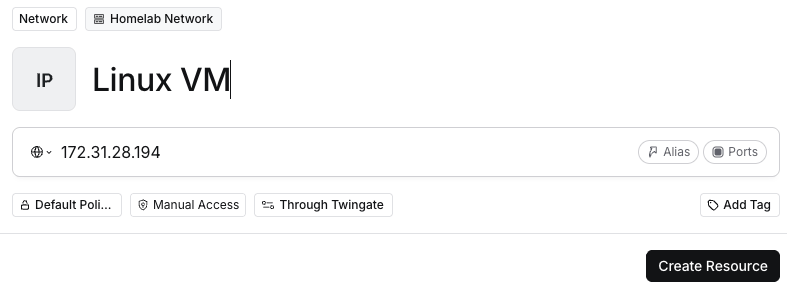
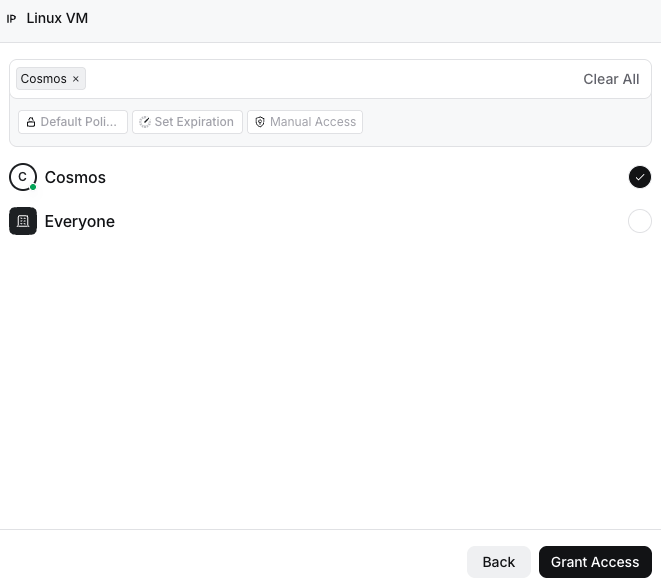
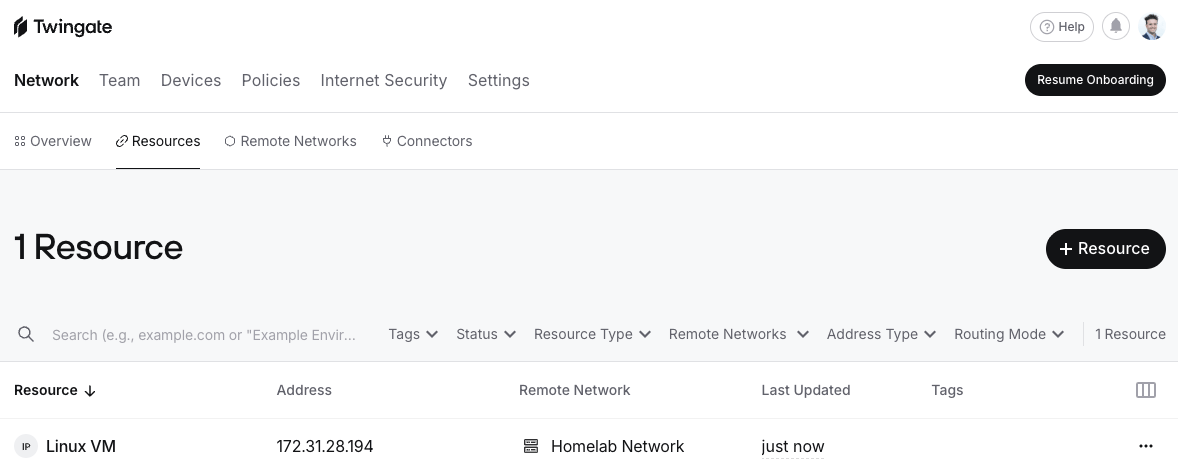
Step 4 - Cosmos cloud env configuration
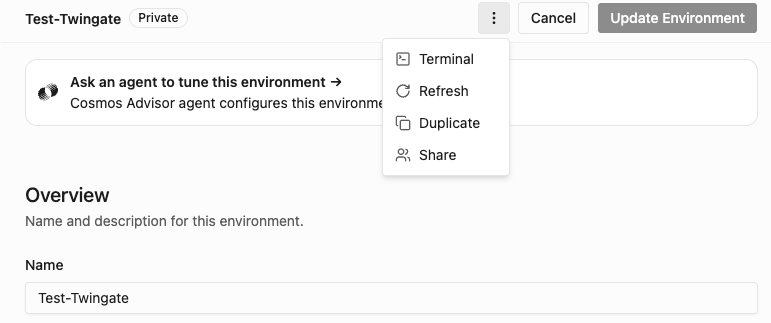
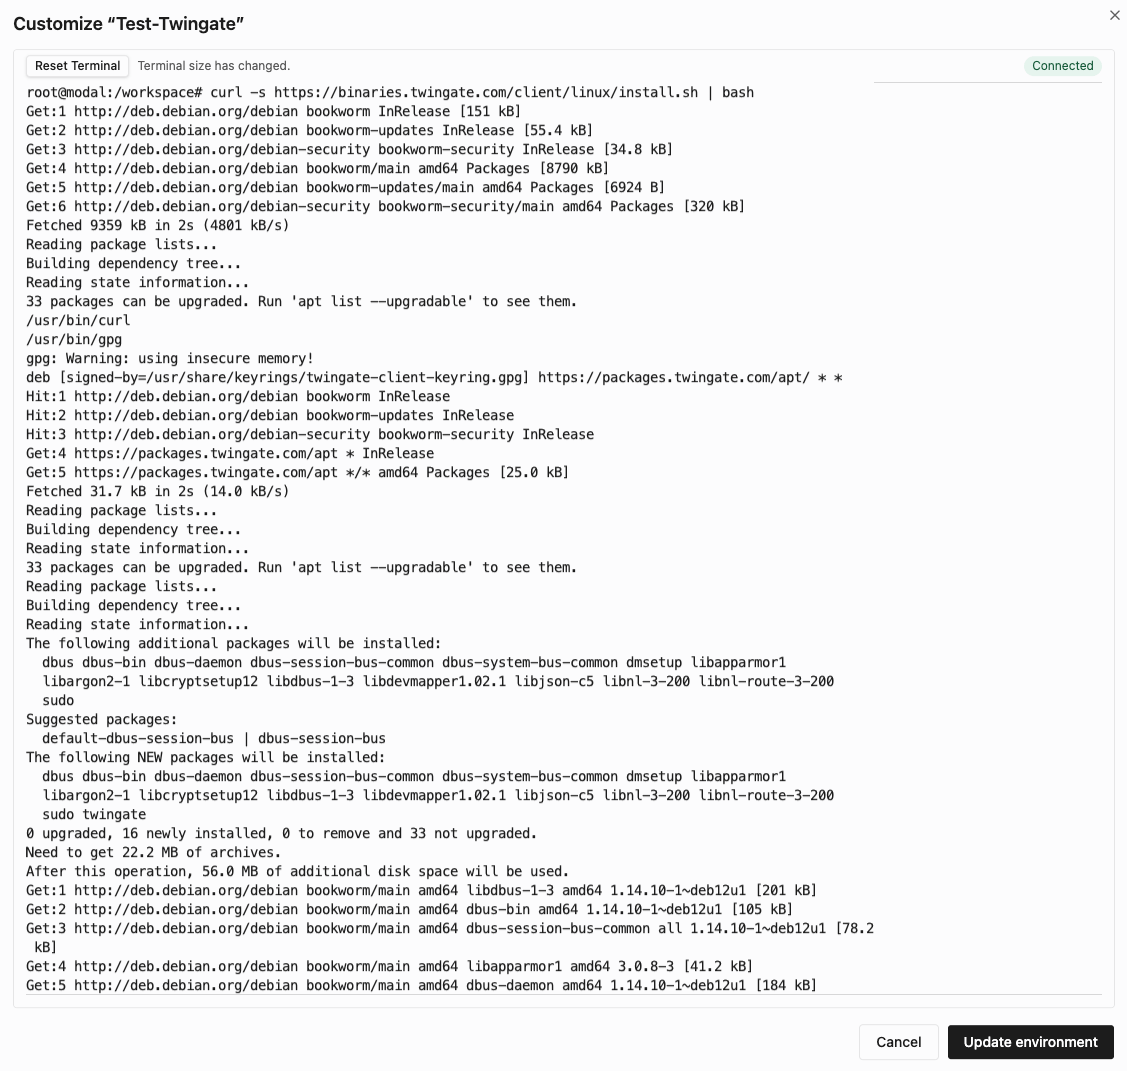
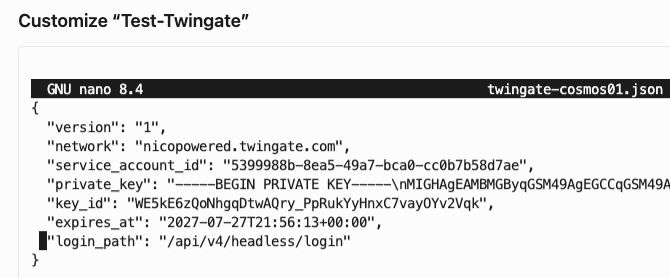
Go to your Cosmos cloud env from where you’d like to access your Twingate-protected resource. If you don’t have any, create a brand new env: cosmos.augmentcode.com > Settings > Environments > Create an environment > Cloud Machine:- Name: Test-Twingate
- Base image: keep the Cosmos default
- Repositories: select your repos
- Refresh: toggle on
- Click on Create Environment




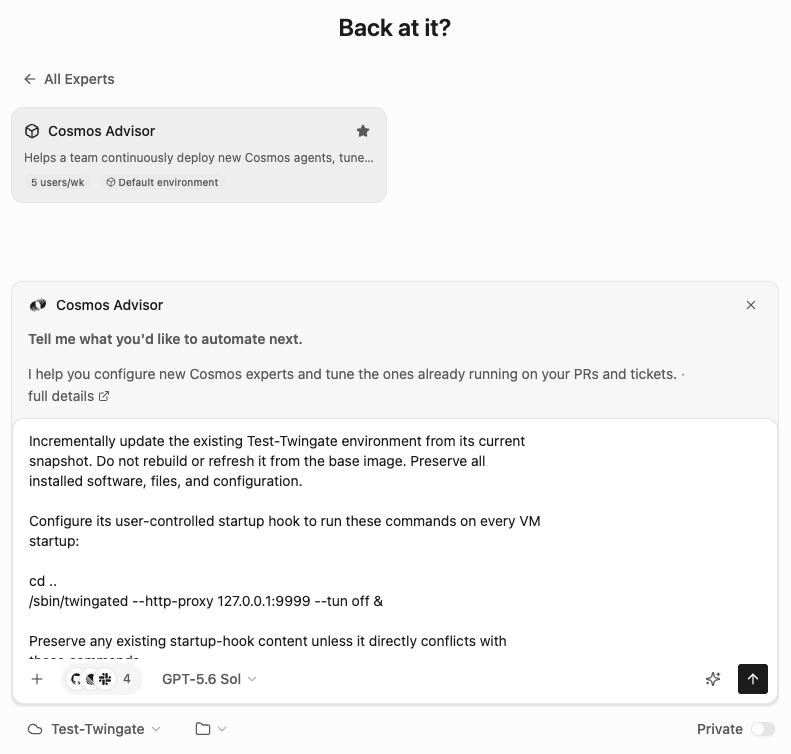
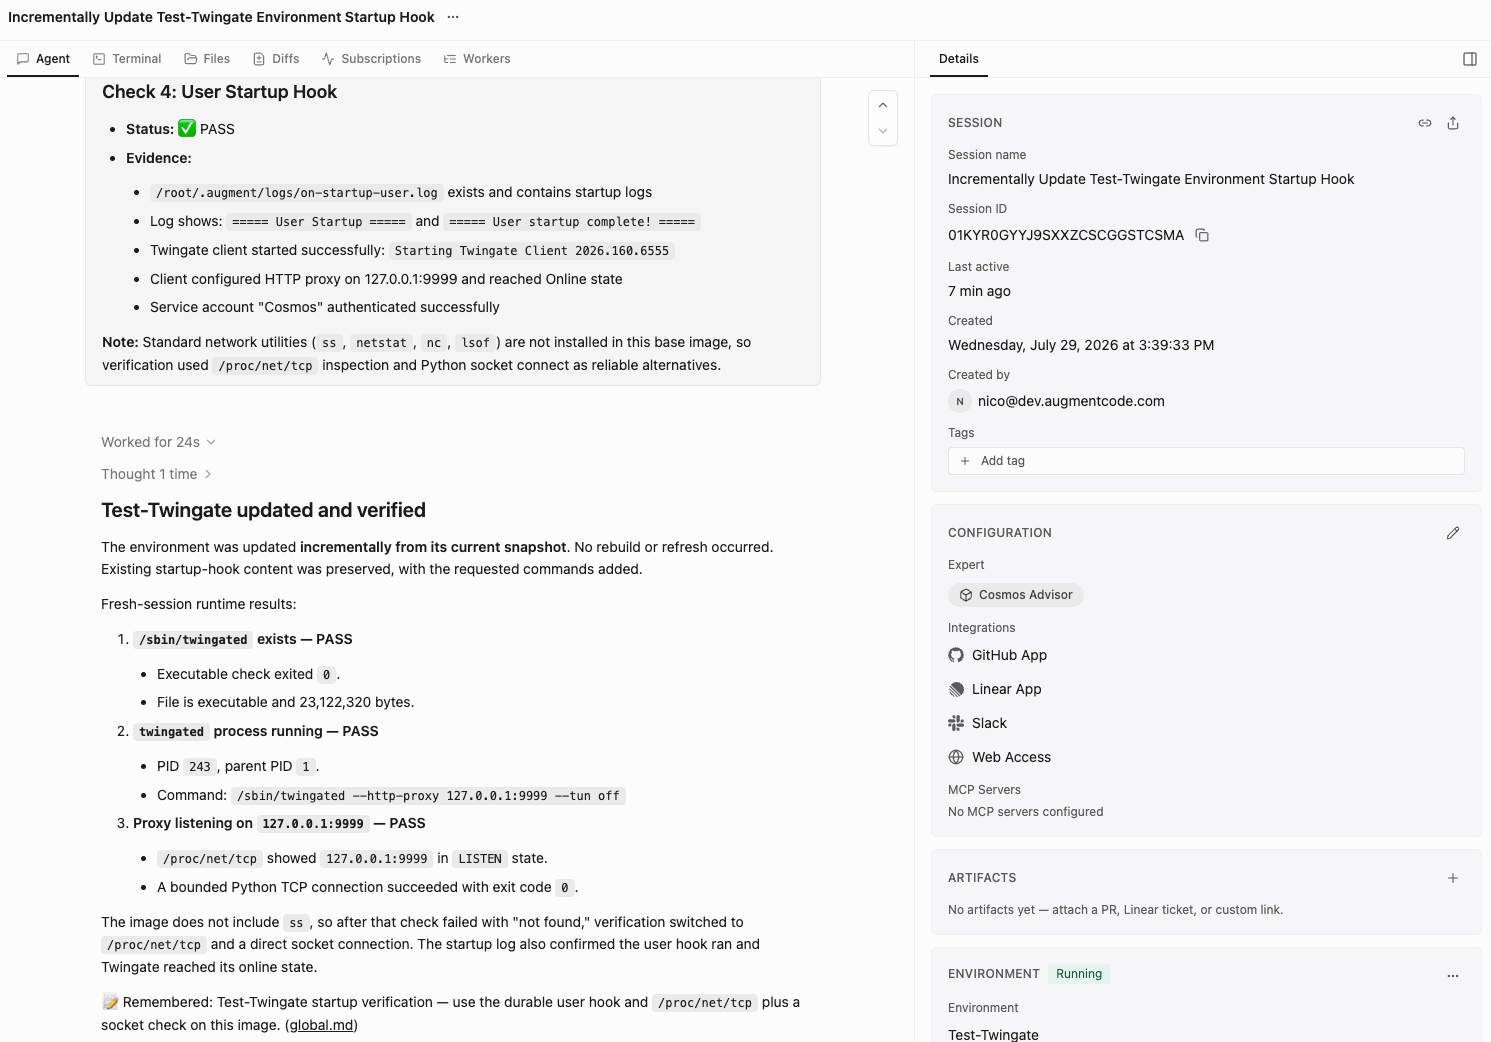
Step 5 - Final Test
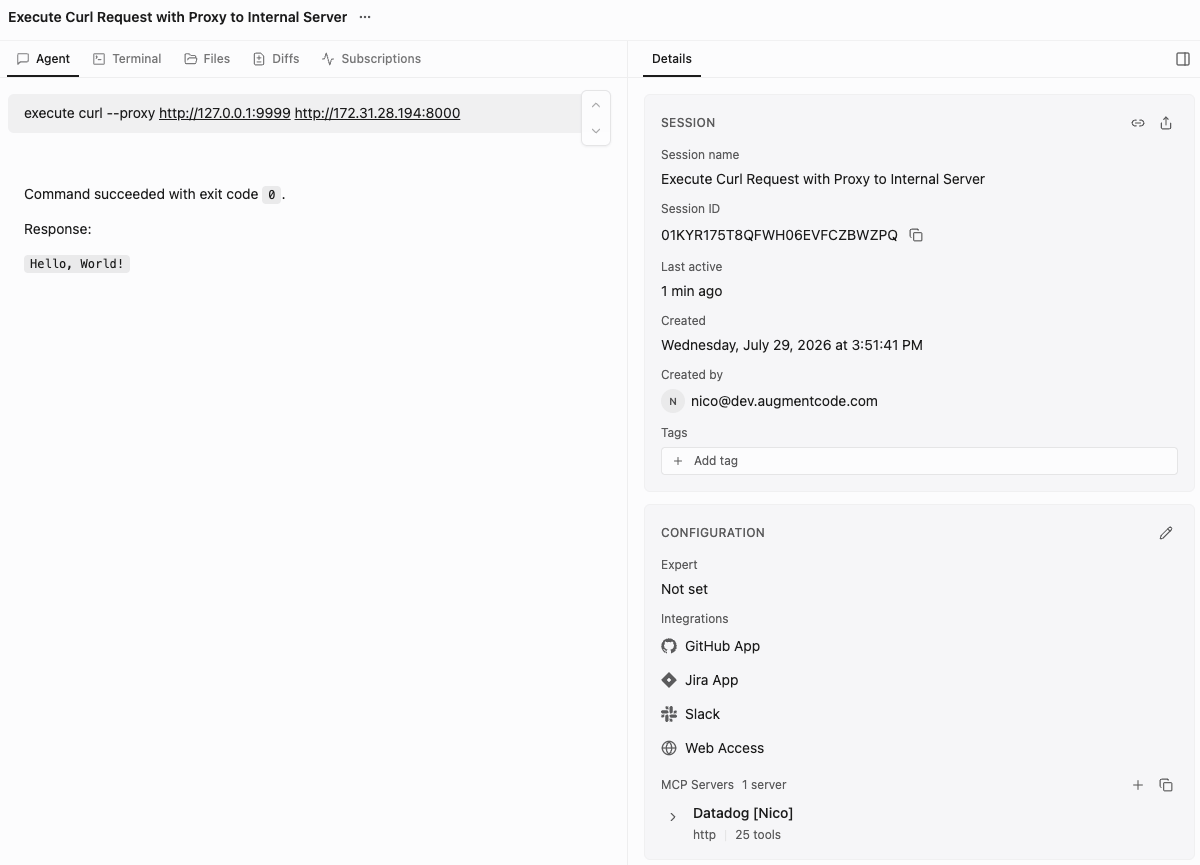
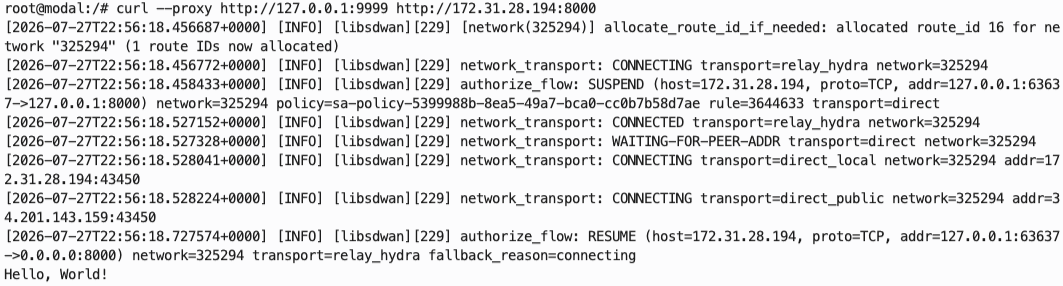
Final check, start a brand new session without any expert and promptexecute curl --proxy http://127.0.0.1:9999 http://172.31.28.194:8000, you should see this: