Introduction
In this page we’ll learn how to configure 2 things:- Get JIRA to push events to Augment Cosmos via webhooks
- Get Augment Cosmos to interact with Jira via the Jira MCP server
Step 1 - Configure Jira to notify a Cosmos Webhook
Let’s create a new webhook in Cosmos (so Cosmos can listen to Jira events). Prerequisites:- Cosmos side: any user can self-create webhooks
- Jira Cloud side: any user (non-admin) can create automation-based webhooks as a “THEN” action. In this document we will not use legacy global Jira webhooks (only jira admins can create those) Configuration steps
- Go to Cosmos (https://cosmos.augmentcode.com) > Settings > Capabilities > Webhooks > Create Webhook
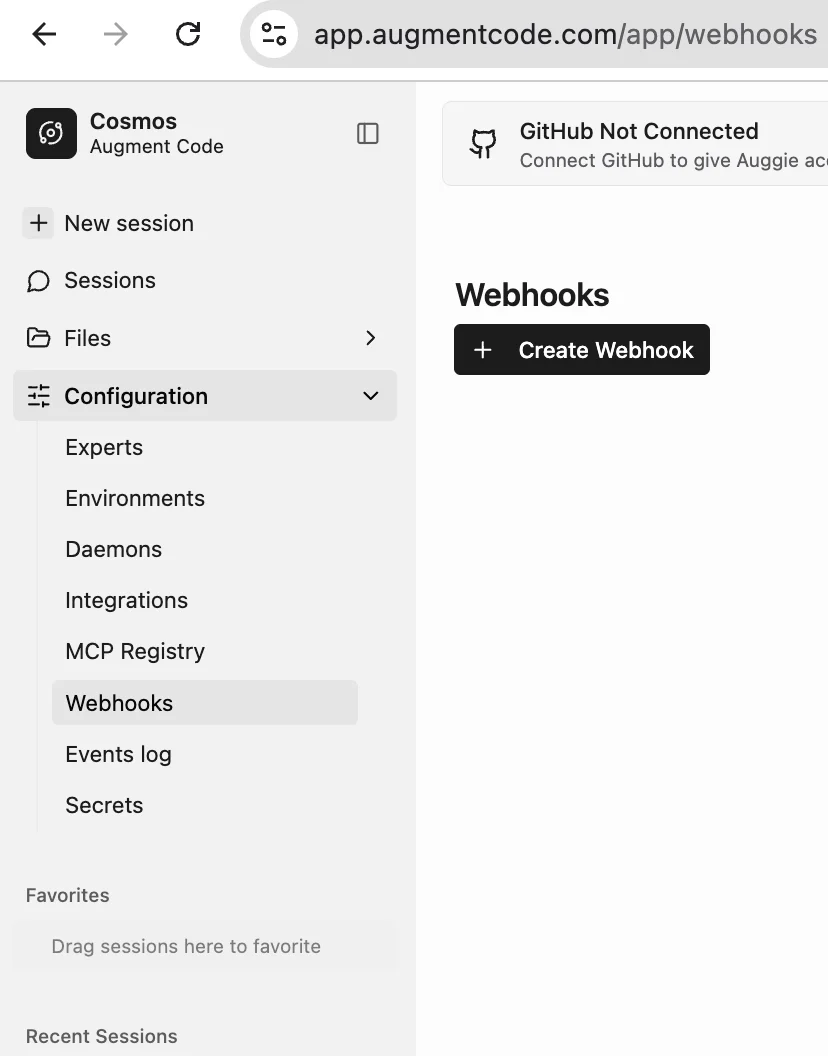
- That gives us a url to POST with a given Bearer token to pass as HTTP header. Curl request would look like:
- Go to your Jira env (https://augmentcode-demo.atlassian.net/jira/)
- Wheel icon > System
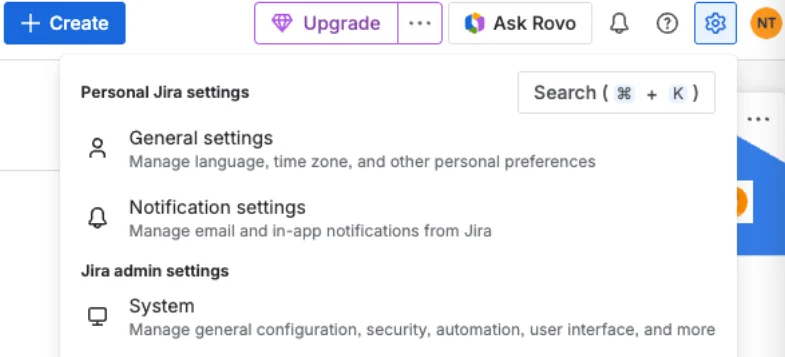
- Left nav bar > Automation > Global automation
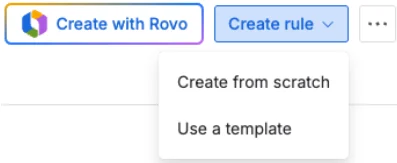
- Top right: Create rule > Create from scratch
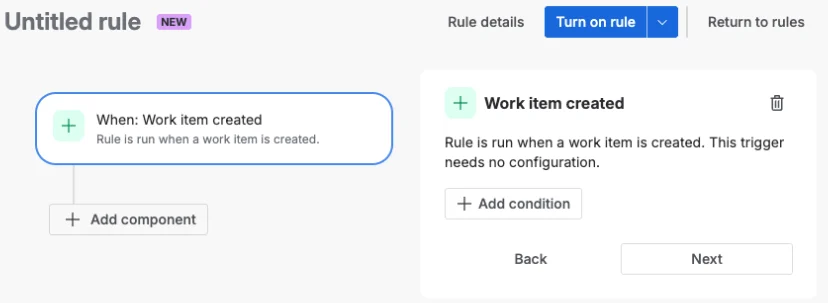
- On the “Add a trigger” view, add trigger “Work item created”:
- Click on add component under the When block:
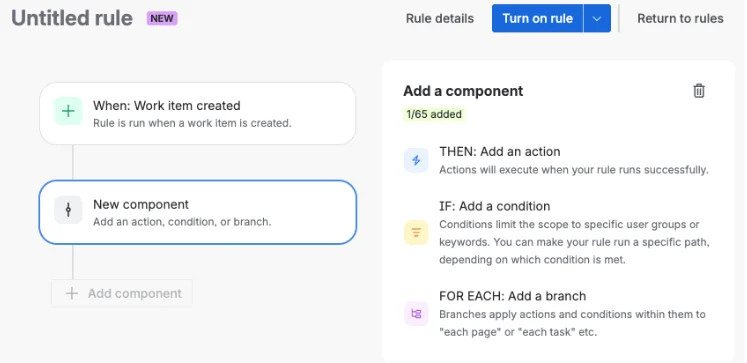
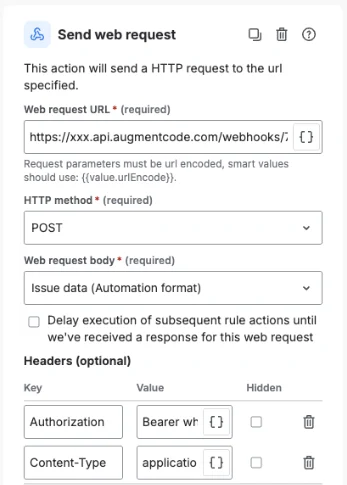
- Click on “THEN: Add an action”, search “Send web request”:
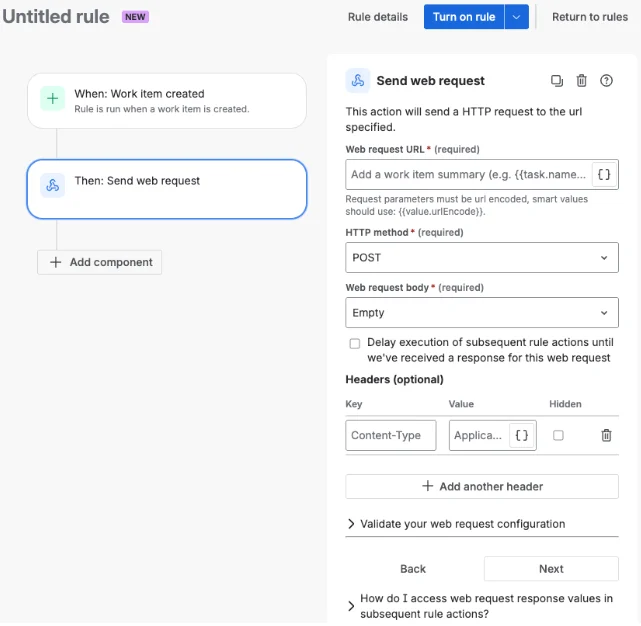
- Add
- Web request URL: the Augment webhook url
- Keep HTTP method to POST
- Web request body: select Issue data (Automation format)
- Headers, add:
- Authorization: Bearer <augment-webhook-secret>
- Content-Type: application/json
- Then click on rule details and add
- Name
- Keep scope: Global
- Keep owner: yourself
- Keep Actor: Automation for Jira
- Click on turn on rule Now create a new Jira ticket. Then go back to Cosmos and check that Cosmos received the event:
- Settings > Automations > Event Log. You should see your event with source “Custom”
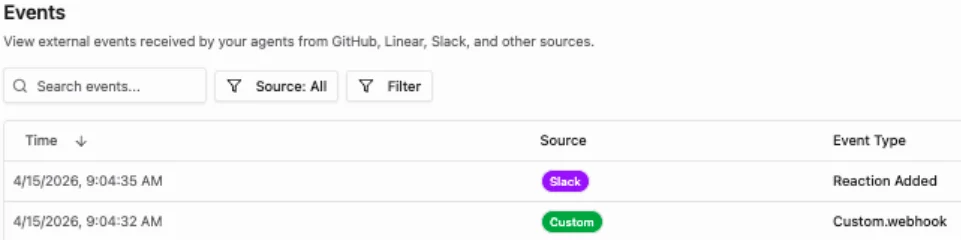
- Click on the event:
- Verify it contains details about the Jira ticket you just created:
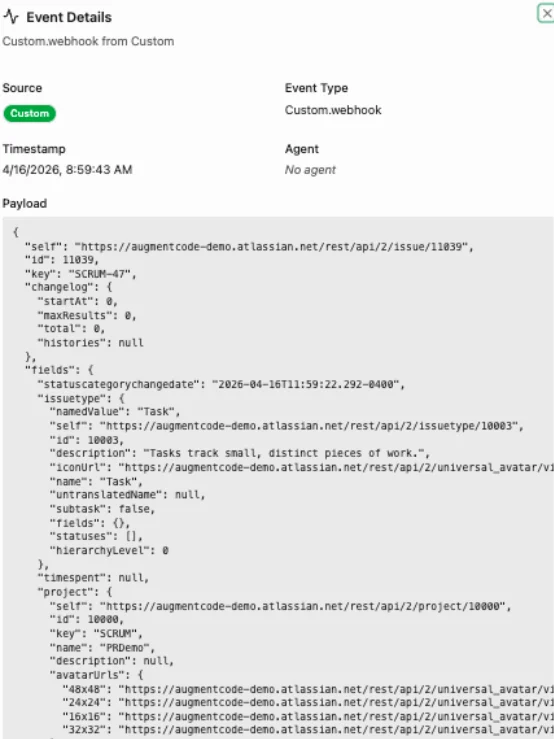
- Verify it contains details about the Jira ticket you just created:
Step 2 - Integrate with Jira using your own identity
Prerequisites
Your Atlassian organization admin must authorize access from https://cosmos.augmentcode.com/mcp/callback to your Atlassian spaceConfigure the native Atlassian integration via MCP server
We’ll leverage the native Atlassian MCP Server integration:- Go to Cosmos https://cosmos.augmentcode.com > Settings > Capabilities > MCP Registry
- Search for Atlassian > click on “+” > My Identity (OAuth):
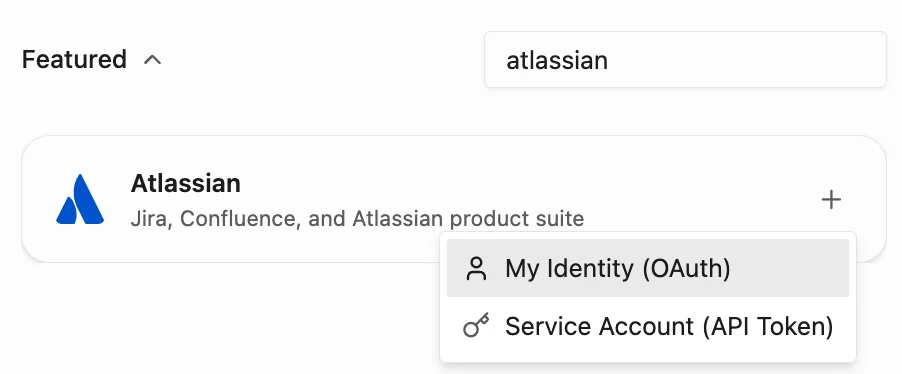
- Make sure Jira and Confluence are selected, click on approve
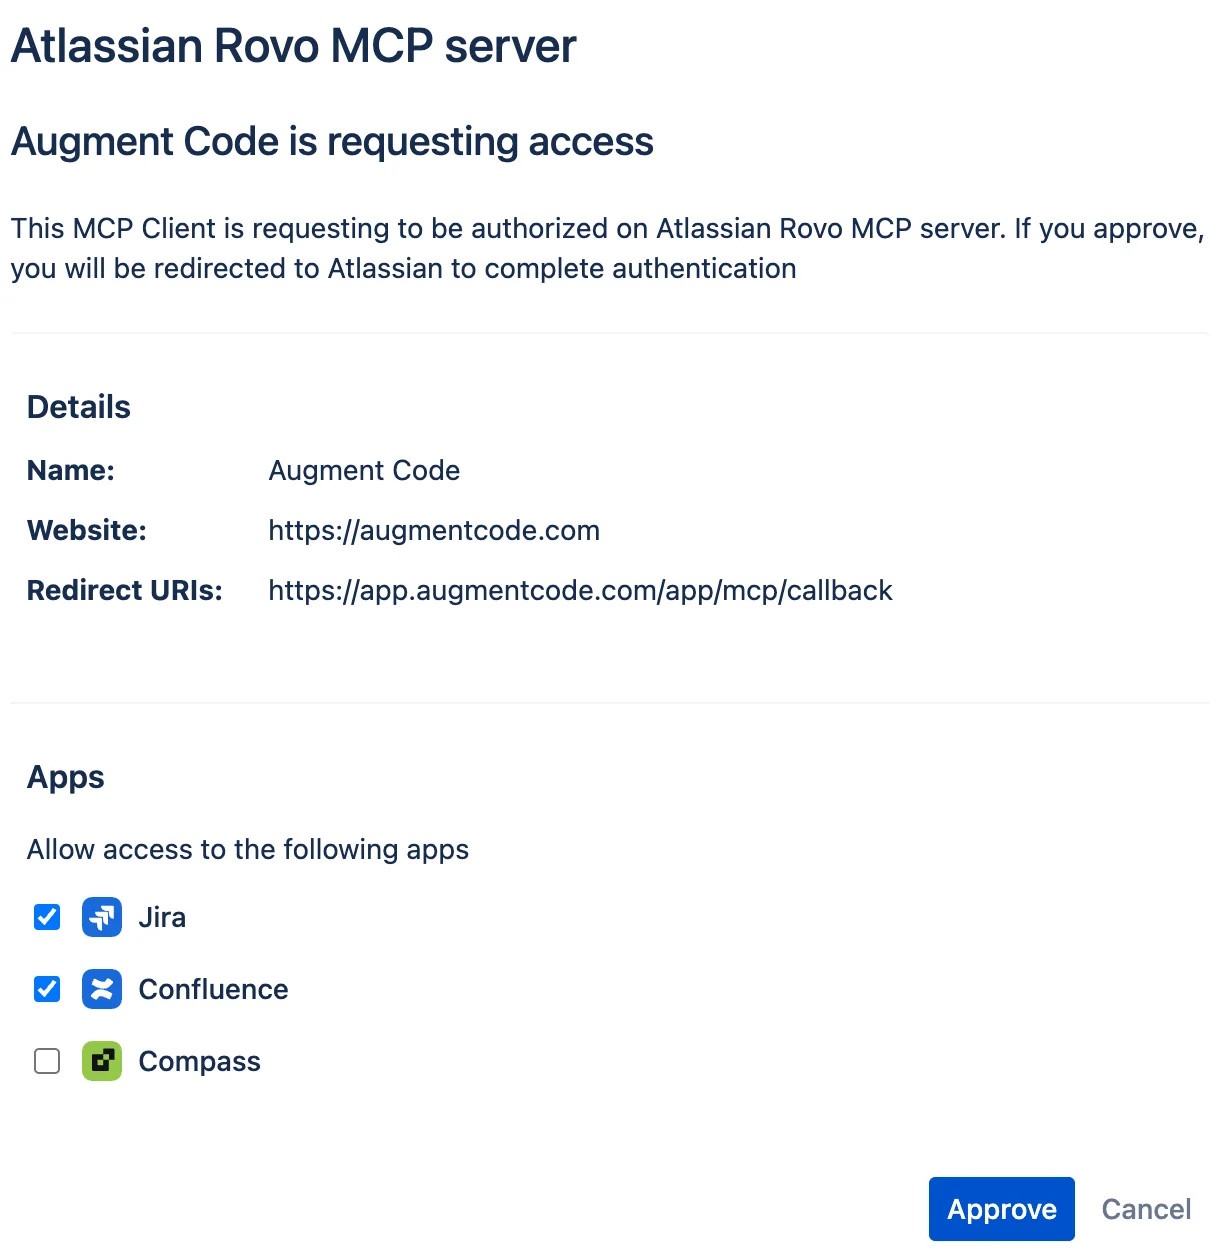
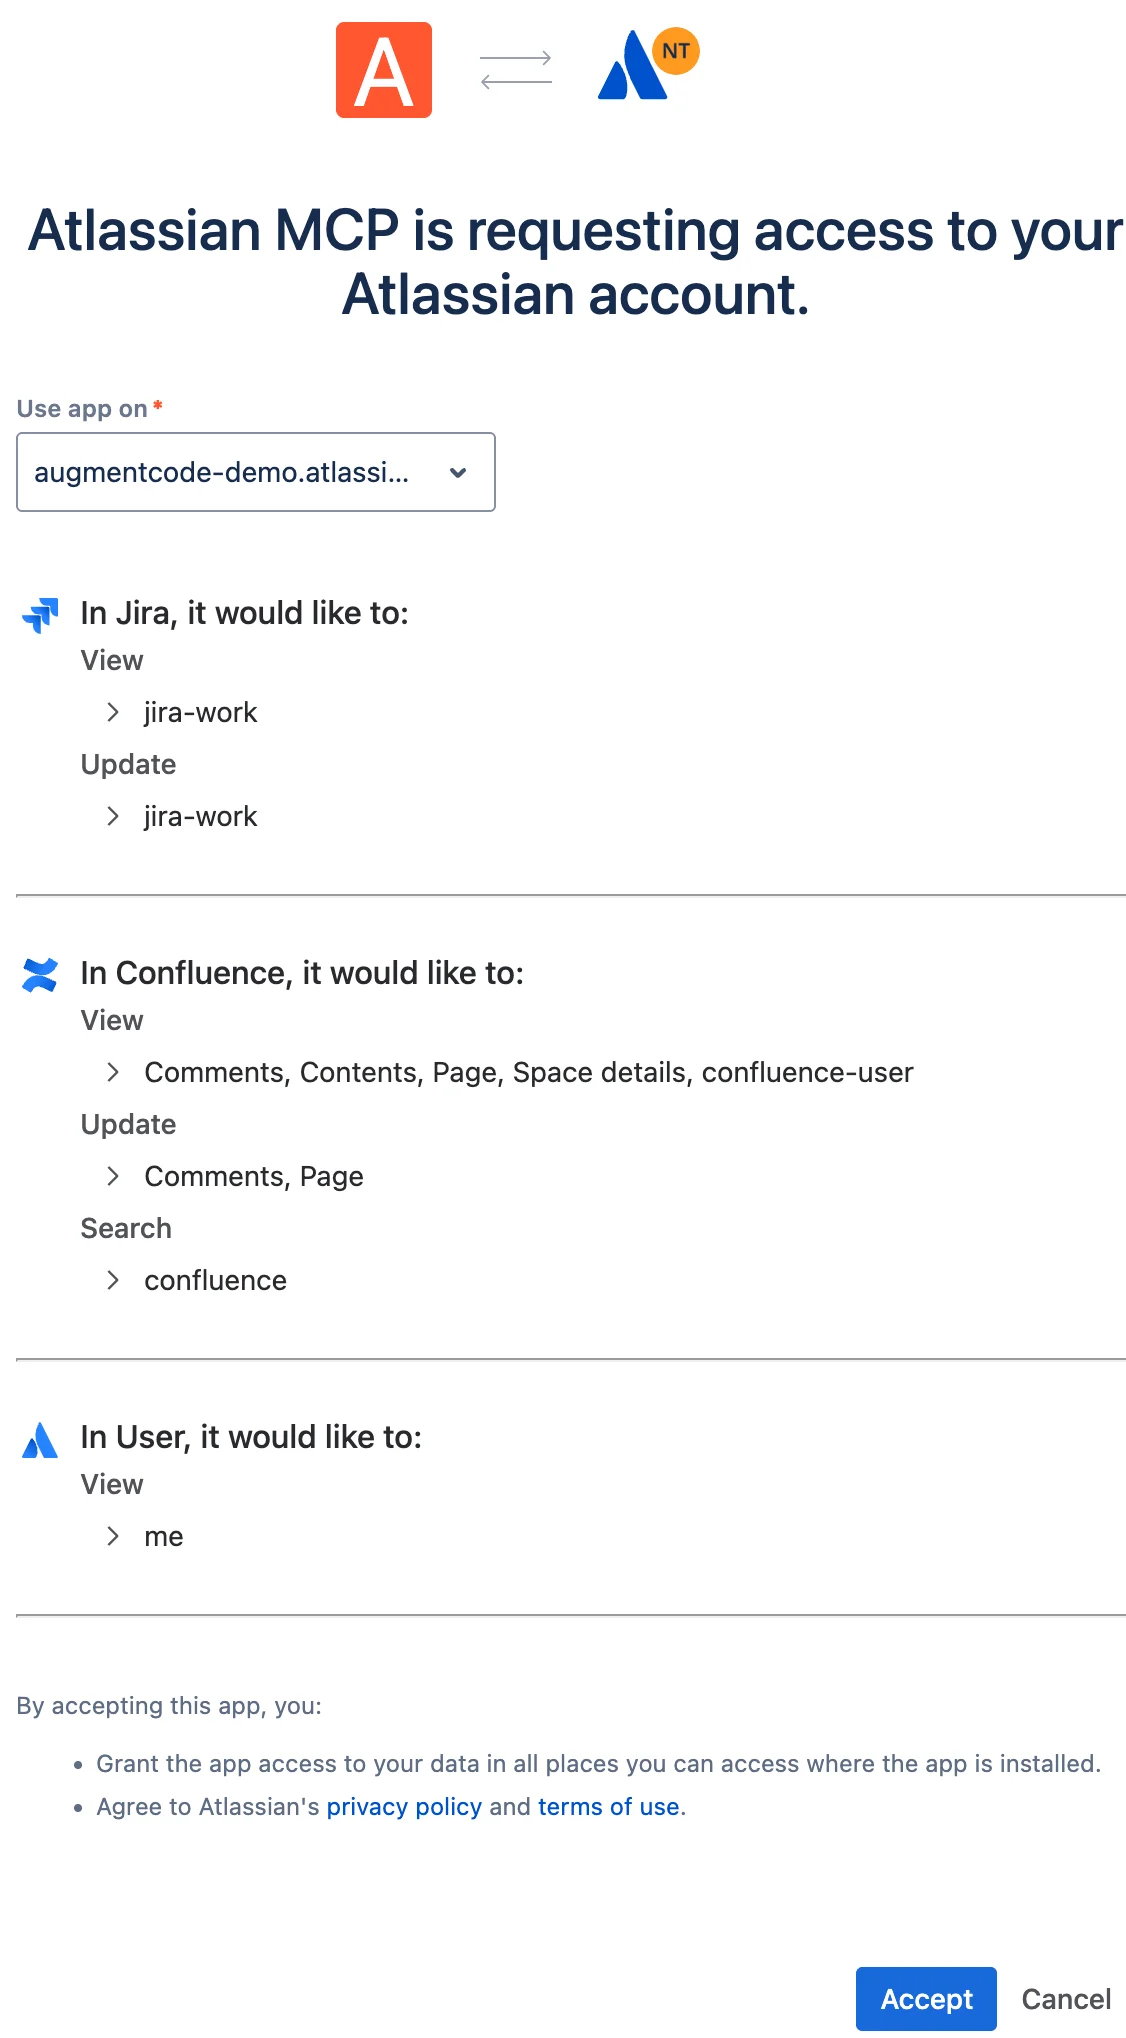
- Select your Atlassian space, review the scopes/permissions and click on Accept:
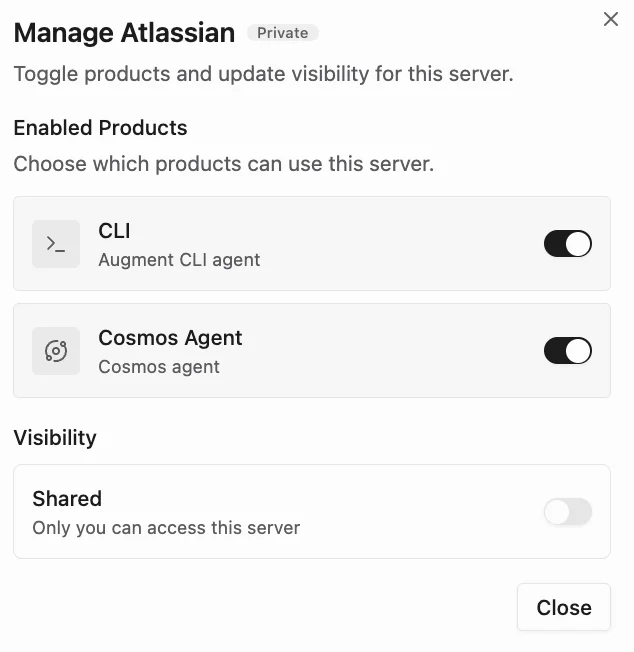
- Toggle on “Cosmos Agent” and optionally “CLI”, then click on Close:
Run a test
- Open a new session (https://cosmos.augmentcode.com) > New session
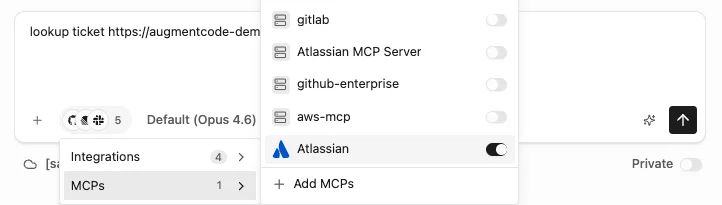
- In the prompt, click on the Atlassian icon > MCPs > make sure Atlassian is toggled on:
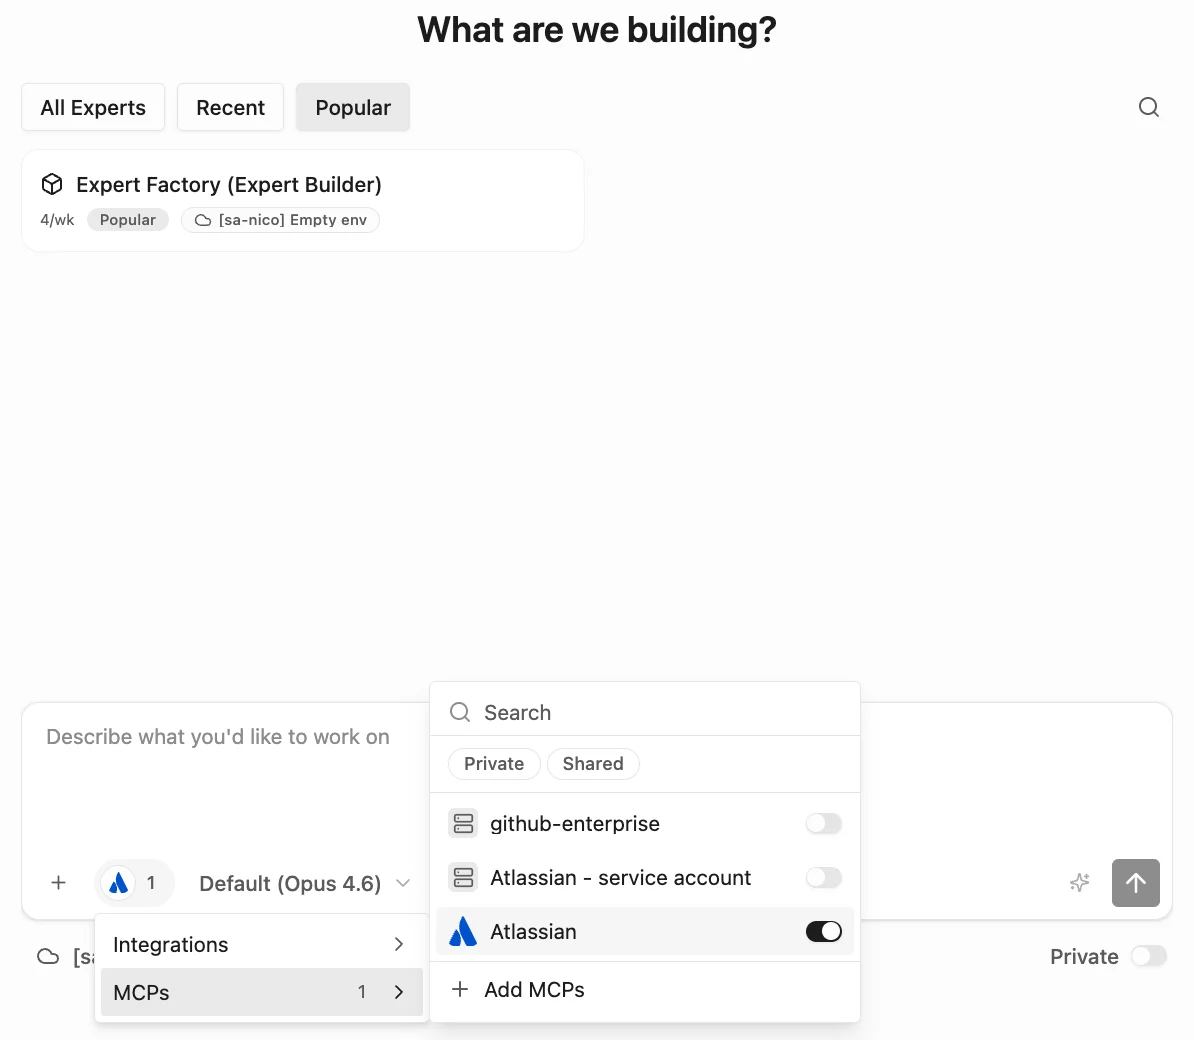
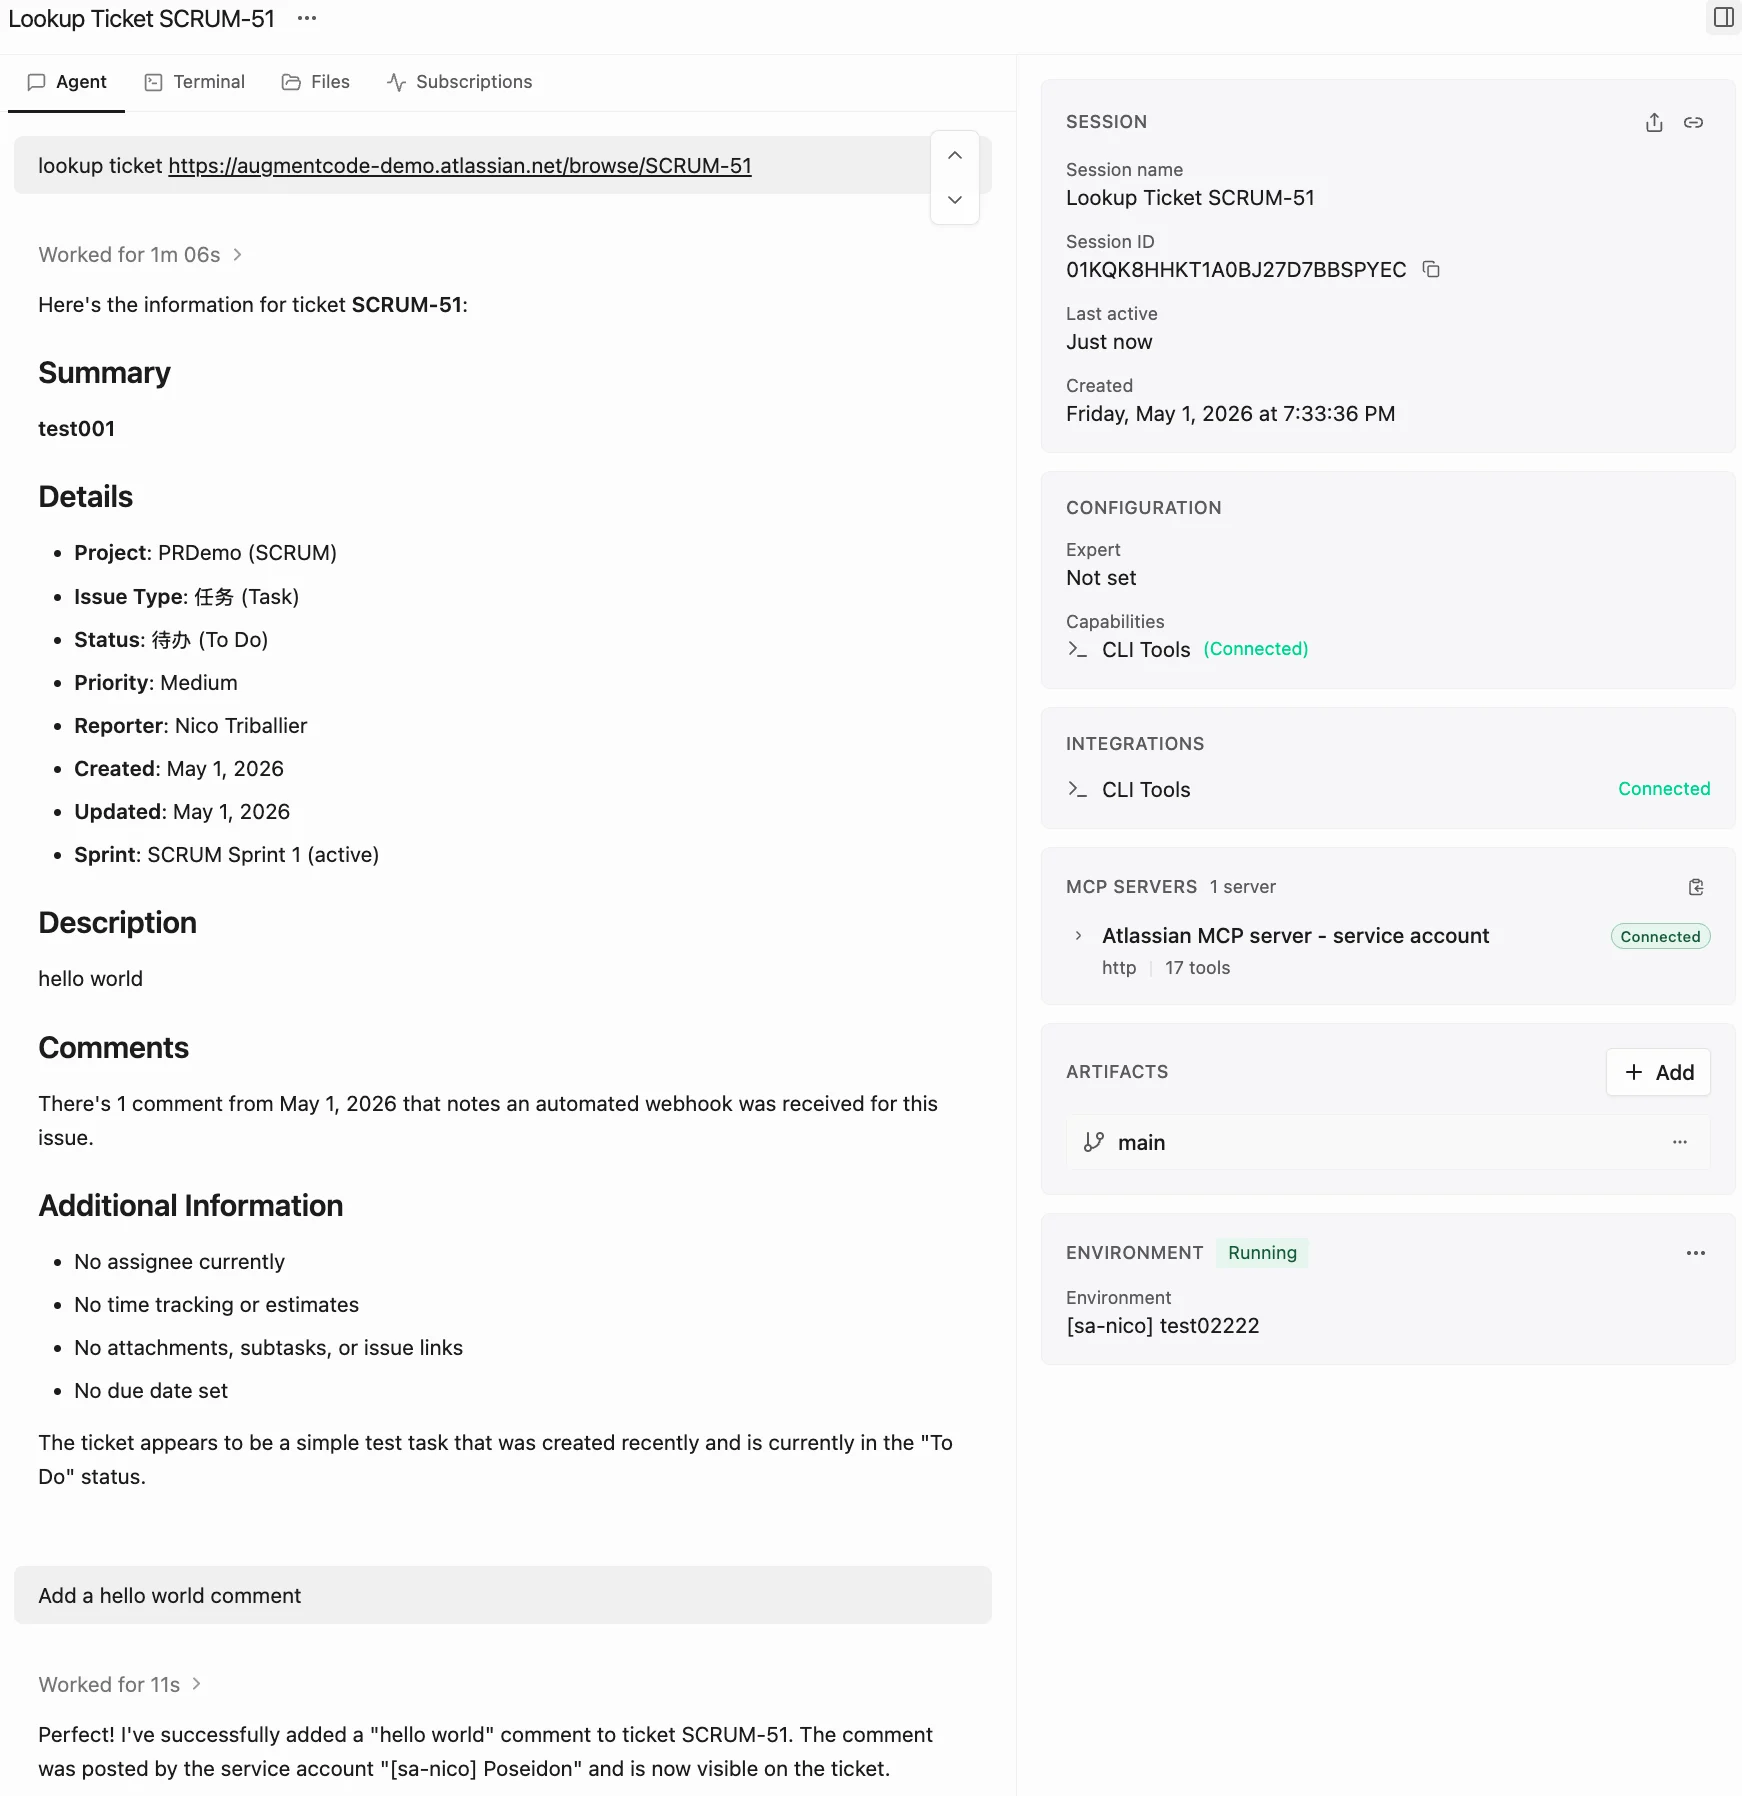
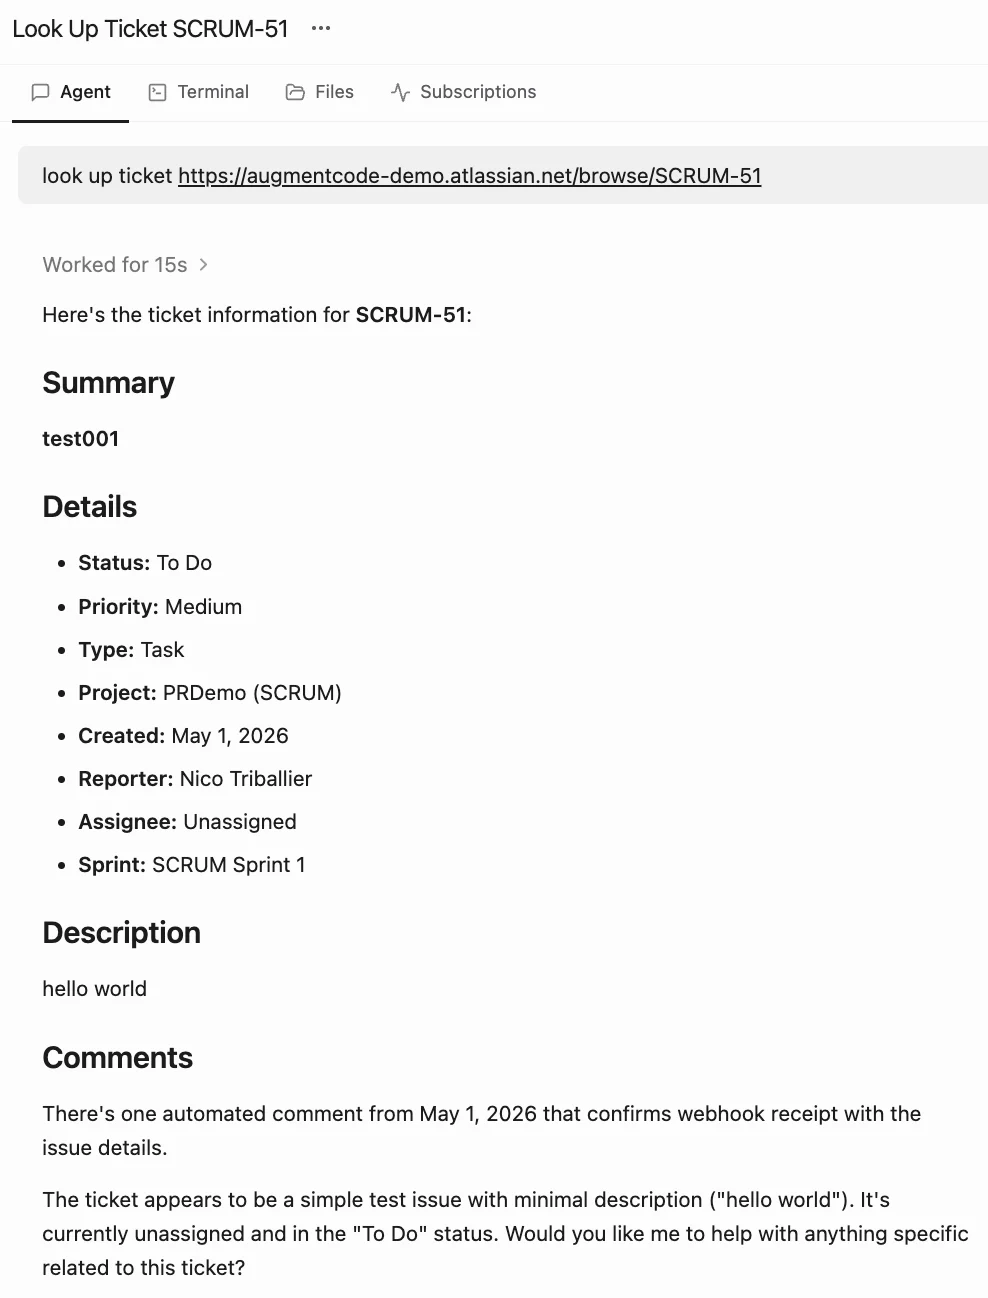
- Now prompt Cosmos to look up a given ticket by its url:
- Verify that Cosmos was able to look up the ticket:
Bonus: Integrate with Jira via a Service Account (recommended for headless automation)
Create a Jira Service Account
For Cosmos to interact with Jira via a Jira service account we’ll leverage the Atlassian remote mcp server and authenticate it with said service account as we’d want Cosmos to run headless automations. Let’s create a dedicated Jira service account and its access token: As a Atlassian admin go to:- https://admin.atlassian.com/
- Directory > Service Account > Create a Service account
- Enter the name “Augment Code”
- Select app “Jira” with role “User”
- Save
- On that newly created Service account > click on Create credentials
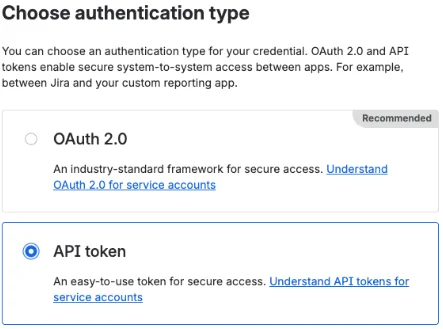
- Choose authentication type “API token”
- Next
- Pick a name and expiration date (max 1 year out)
- Select those scopes (look them up using the search bar):
text
- Next, then Create
- Copy the API token
Configure the Atlassian MCP server
Now let’s configure the Atlassian MCP server with that service account’s access token in Cosmos:- Go to Settings > MCP Registry (https://cosmos.augmentcode.com/mcp)
- If you had an existing Atlassian MCP server configured with your human identity, delete it.
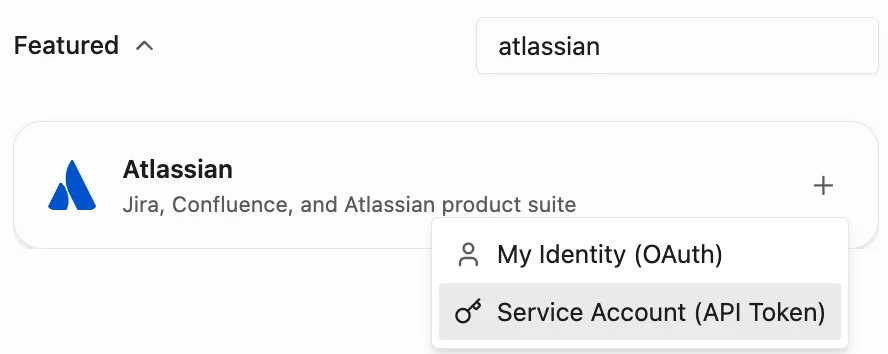
- Search for Atlassian > click on “+” > Service Account (API Token):
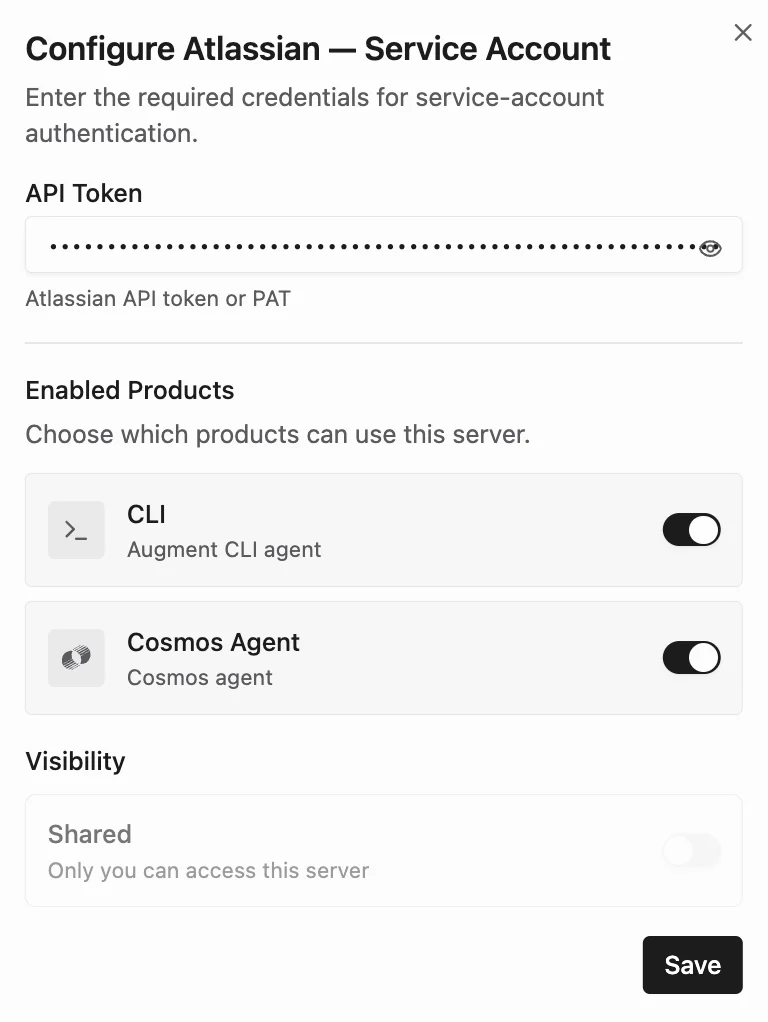
- API token: paste YOUR_ATLASSIAN_SERVICE_ACCOUNT_API_TOKEN
- Keep enabled products CLI and Cosmos Agent selected
- Click on Save
- Open the server’s Manage access dialog (under Sharing in Connectors, or the server’s menu in MCP Registry). Grant Can use to the intended recipients, or Everyone → Can use for organization-wide use, then save the access changes. If prompted, choose Shared connection only if those recipients should use the service account’s Atlassian permissions.
The screenshots below show the older sharing UI. Use Manage access, not the legacy Shared toggle. If the configuration references a separately created generic secret, configure its use access and Used in coverage independently.

Run a test
Create a fresh session in the target Space as an intended recipient to test connectivity. An owner-only test or an existing session does not verify the recipient’s access. Do not print credential values:- Left nav bar > + New session
- Make sure the “Atlassian MCP server - service account” is attached to the session and that the native Atlassian integration is disabled
- Prompt: lookup a given Jira ticket via its url
- Send
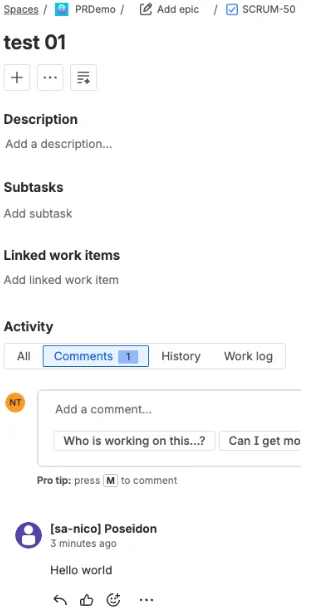
- Then prompt the agent to add a hello world comment onto the ticket