Augment requires version
2024.3 or above for all JetBrains IDEs. See
JetBrains documentation on how to update
your IDE.About Installation
Installing Augment for JetBrains IDEs is easy and will take you less than a minute. Augment is compatible with all JetBrains IDEs, including WebStorm, PyCharm, and IntelliJ. You can find the Augment plugin in the JetBrains Marketplace and install it following the instructions below.
Installing Augment for JetBrains IDEs
For these instructions we’ll use JetBrains IntelliJ as an example, anywhere
you see IntelliJ replace the name of the JetBrains IDE you’re using.In the case of Android Studio, which is based on IntelliJ, please ensure that your installation
uses a runtime with JCEF. Go to Help > Find Action, type Choose Boot Java Runtime for the IDE
and press Enter. Ensure the current runtime ends with
-jcef; if not, select one with JCEF from the options
below.Make sure you have the latest version of your IDE installed
You can download the latest version of JetBrains IDEs from the JetBrains
website. If you already have IntelliJ installed, you can update to the
latest version by going to
IntelliJ IDEA > Check for Updates....
Open the Plugins settings in your IDE
From the menu bar, go to IntelliJ IDEA > Settings..., or
use the keyboard shortcut Cmd/Ctrl , to open the
Settings window. Select Plugins from the sidebar.
Search for Augment in the marketplace
Using the search bar in the Plugins panel, search for
Augment.
Install the extension
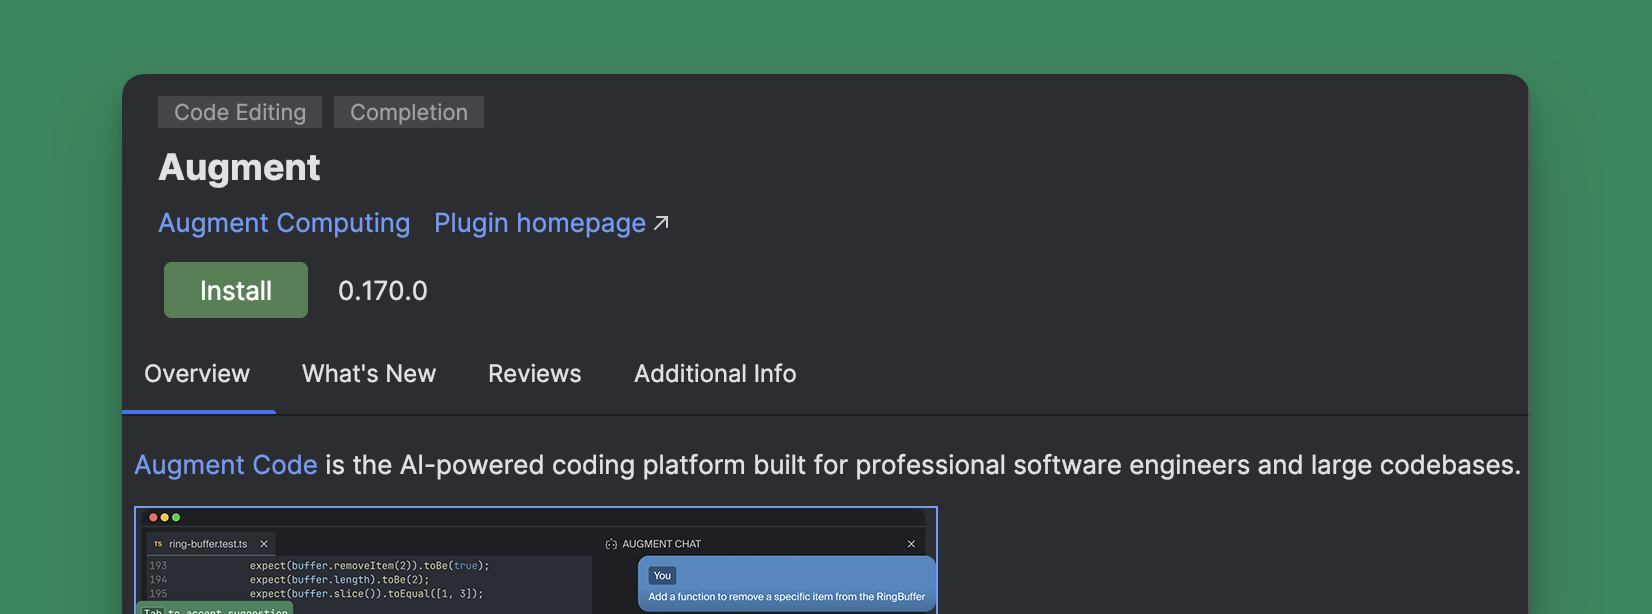
Click Install to install the extension. Then click
OK to close the Settings window.
Sign into Augment and get coding
Sign in to by clicking Sign in to Augment in the Augment
panel. If you do not see the Augment panel, use the shortcut
Cmd/Ctrl L or click the Augment icon
 in the side bar of your IDE. See more details in Sign
In.
Installing Beta versions of Augment for JetBrains IDEs
In order to get a specific bug fix or feature, sometimes you may need to temporarily install a beta version of Augment for JetBrains IDEs. To do this, follow the steps below:Download an archive of the beta version
You can download the latest beta version of Augment from JetBrains Marketplace
website. Please click Download on the latest version and save the archive to disk.
Open the Plugins settings in your IDE
From the menu bar, go to IntelliJ IDEA > Settings..., or
use the keyboard shortcut Cmd/Ctrl , to open the
Settings window. Select Plugins from the sidebar.

