Introduction

In this page we’ll learn how to configure 2 things:
  • Get ClickUp to push events to Cosmos via webhooks
  • Get Cosmos to interact with ClickUp via the ClickUp MCP server

Prerequisites

To configure the one-time connectivity between Cosmos and ClickUp: Cosmos
  • any user who can self-create webhooks and configure MCP servers
ClickUp
  • must have the Owner or Admin role
  • must be on the Business Plus plan (to enable Webhooks & Automation Integrations)

Step 1 - Configure ClickUp to notify a Cosmos webhook

Webhook receiver in Cosmos

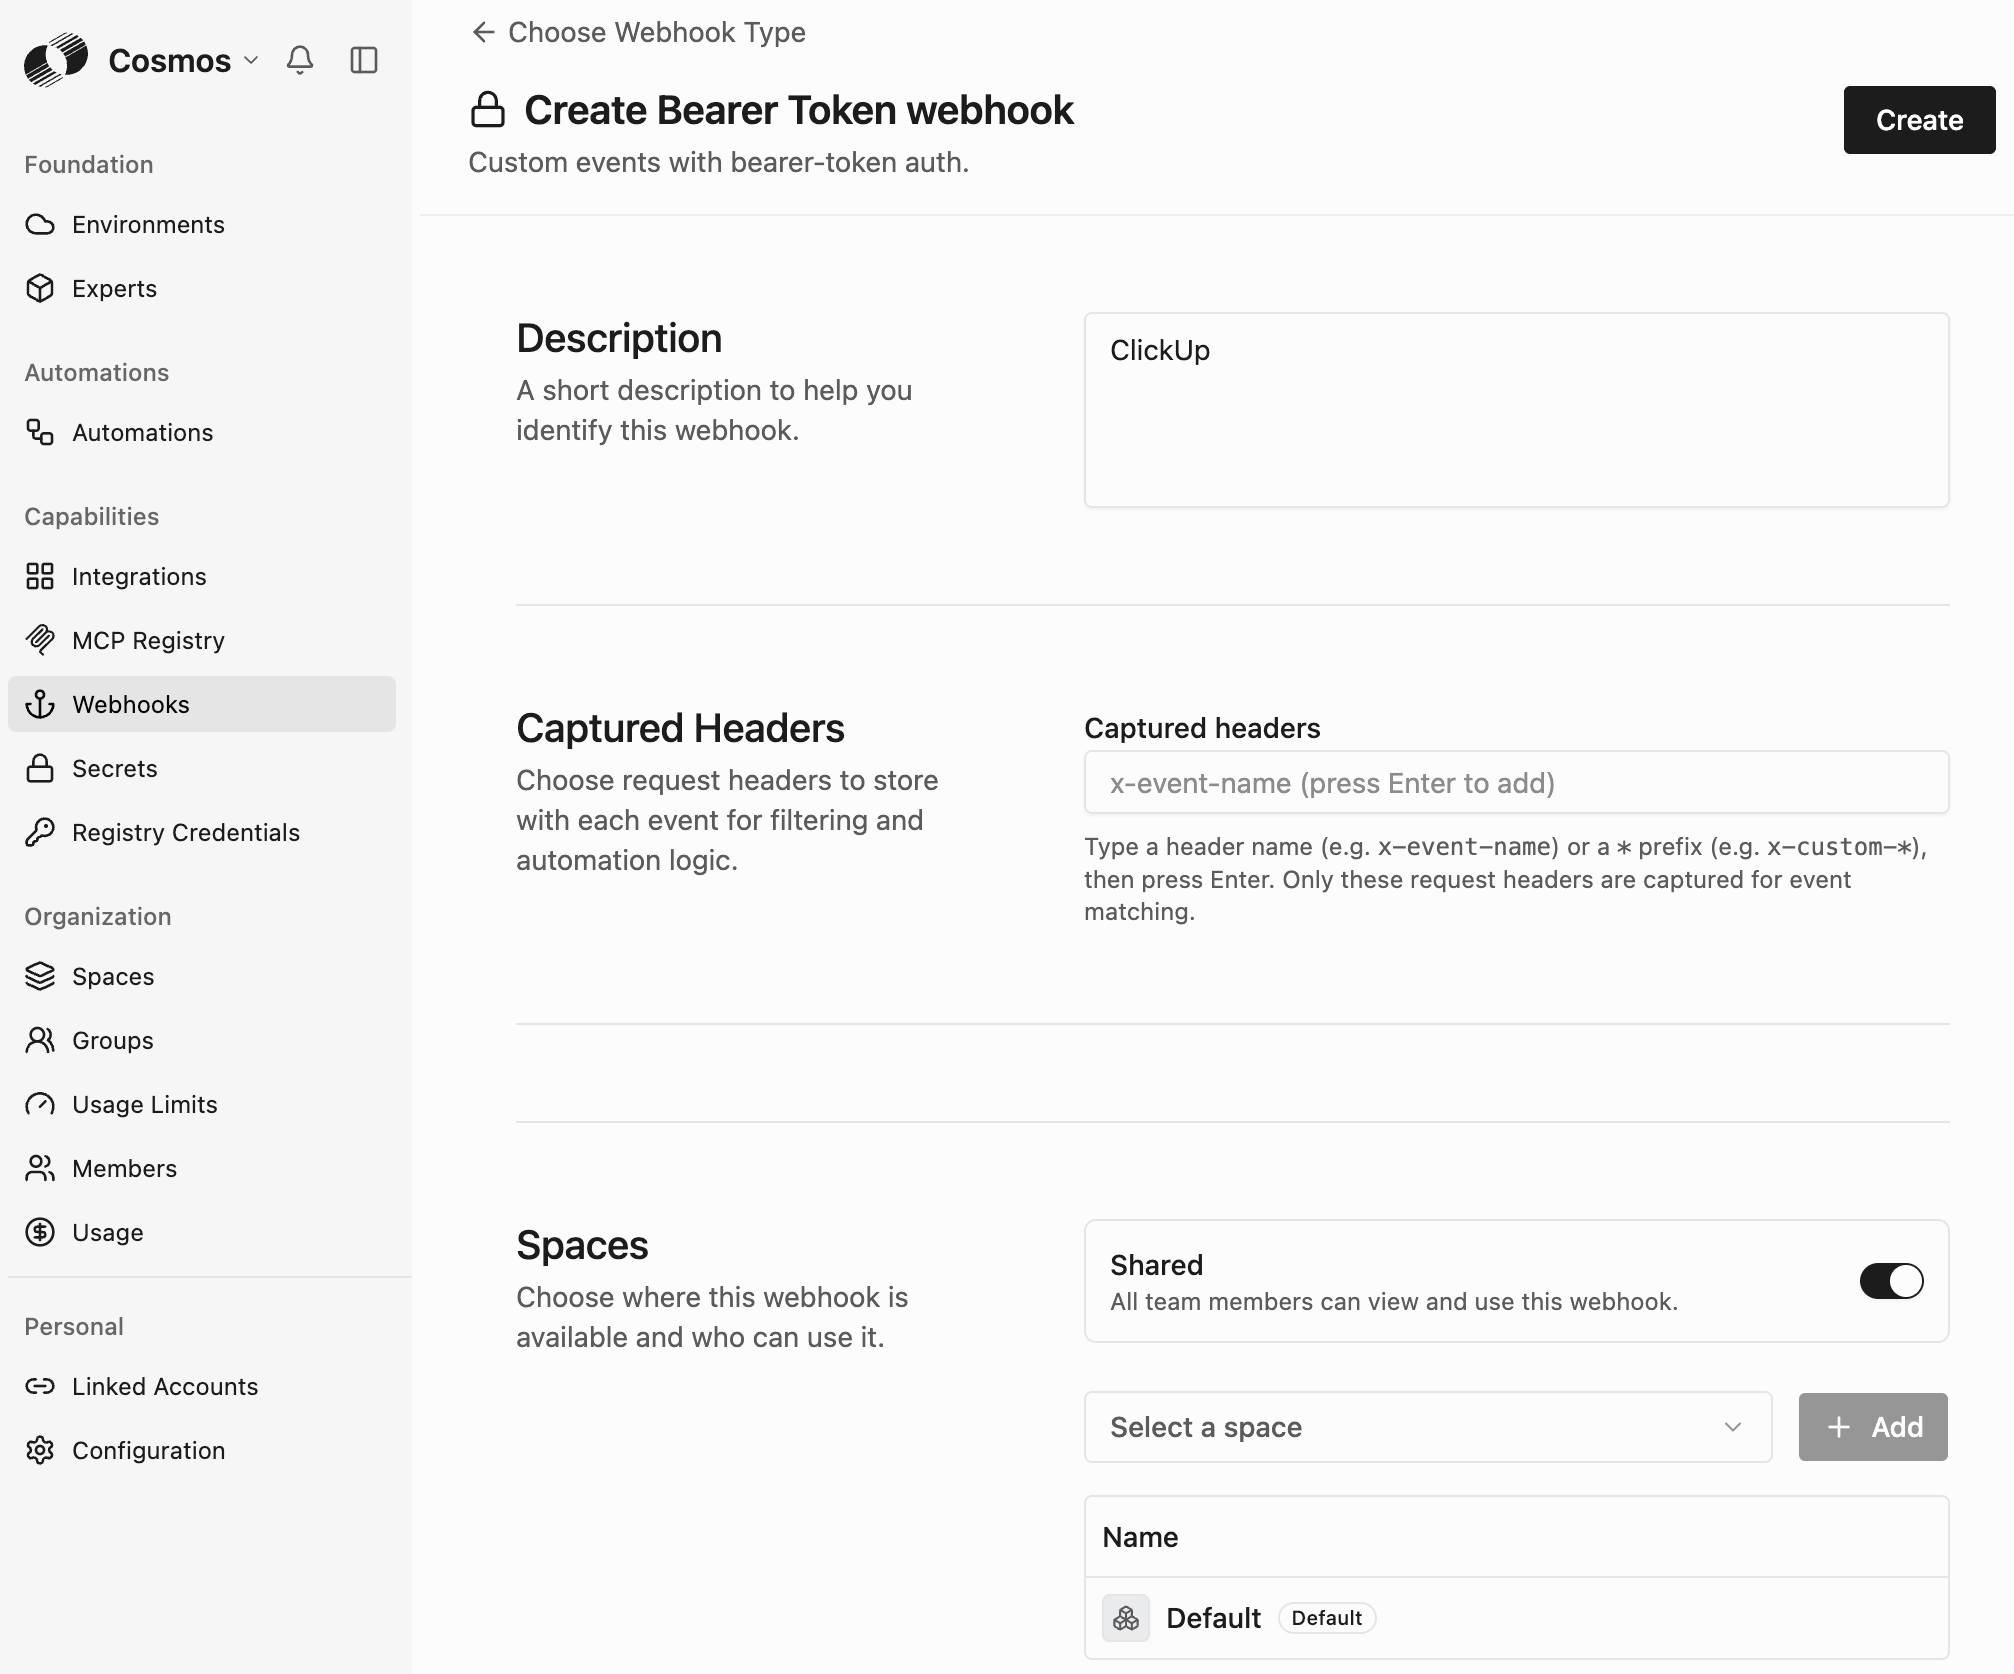
Let’s create a new webhook in Cosmos (so Cosmos can listen to ClickUp events). Go to Cosmos (https://cosmos.augmentcode.com) > Settings > Webhooks (https://cosmos.augmentcode.com/webhooks) > Create a webhook > Custom Webhooks:
  • Enter Description: ClickUp
  • Keep Shared toggled on
  • Click on Create
That gives you a url to POST to with a given Bearer token to pass as HTTP header. Curl request would look like:

Webhook sender in ClickUp

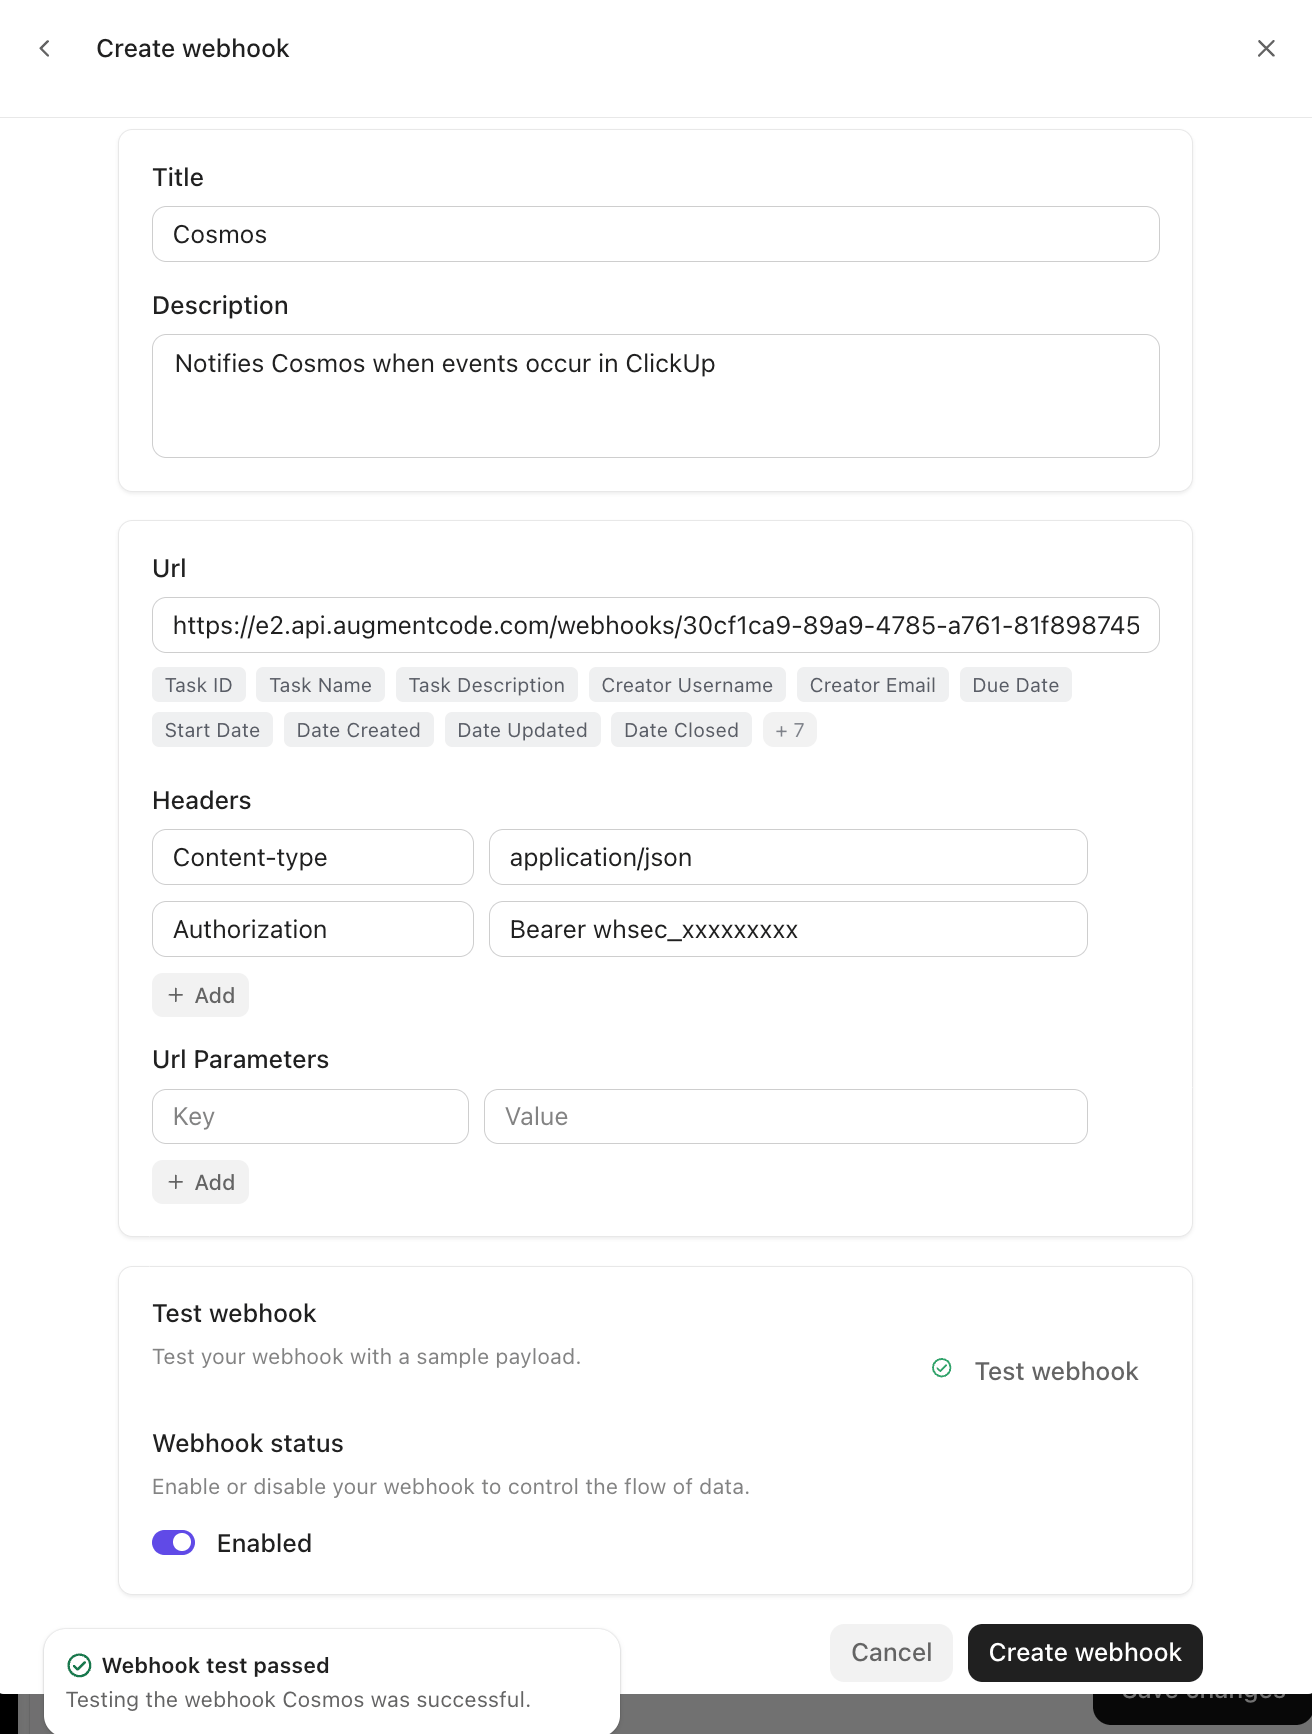
Let’s create a new webhook config in ClickUp (so ClickUp can POST to a given url when certain ClickUp events occur) In ClickUp as an Owner or Admin, click on your avatar top right > Settings > Automations Manager > Webhooks tab: Click on Create Webhook:
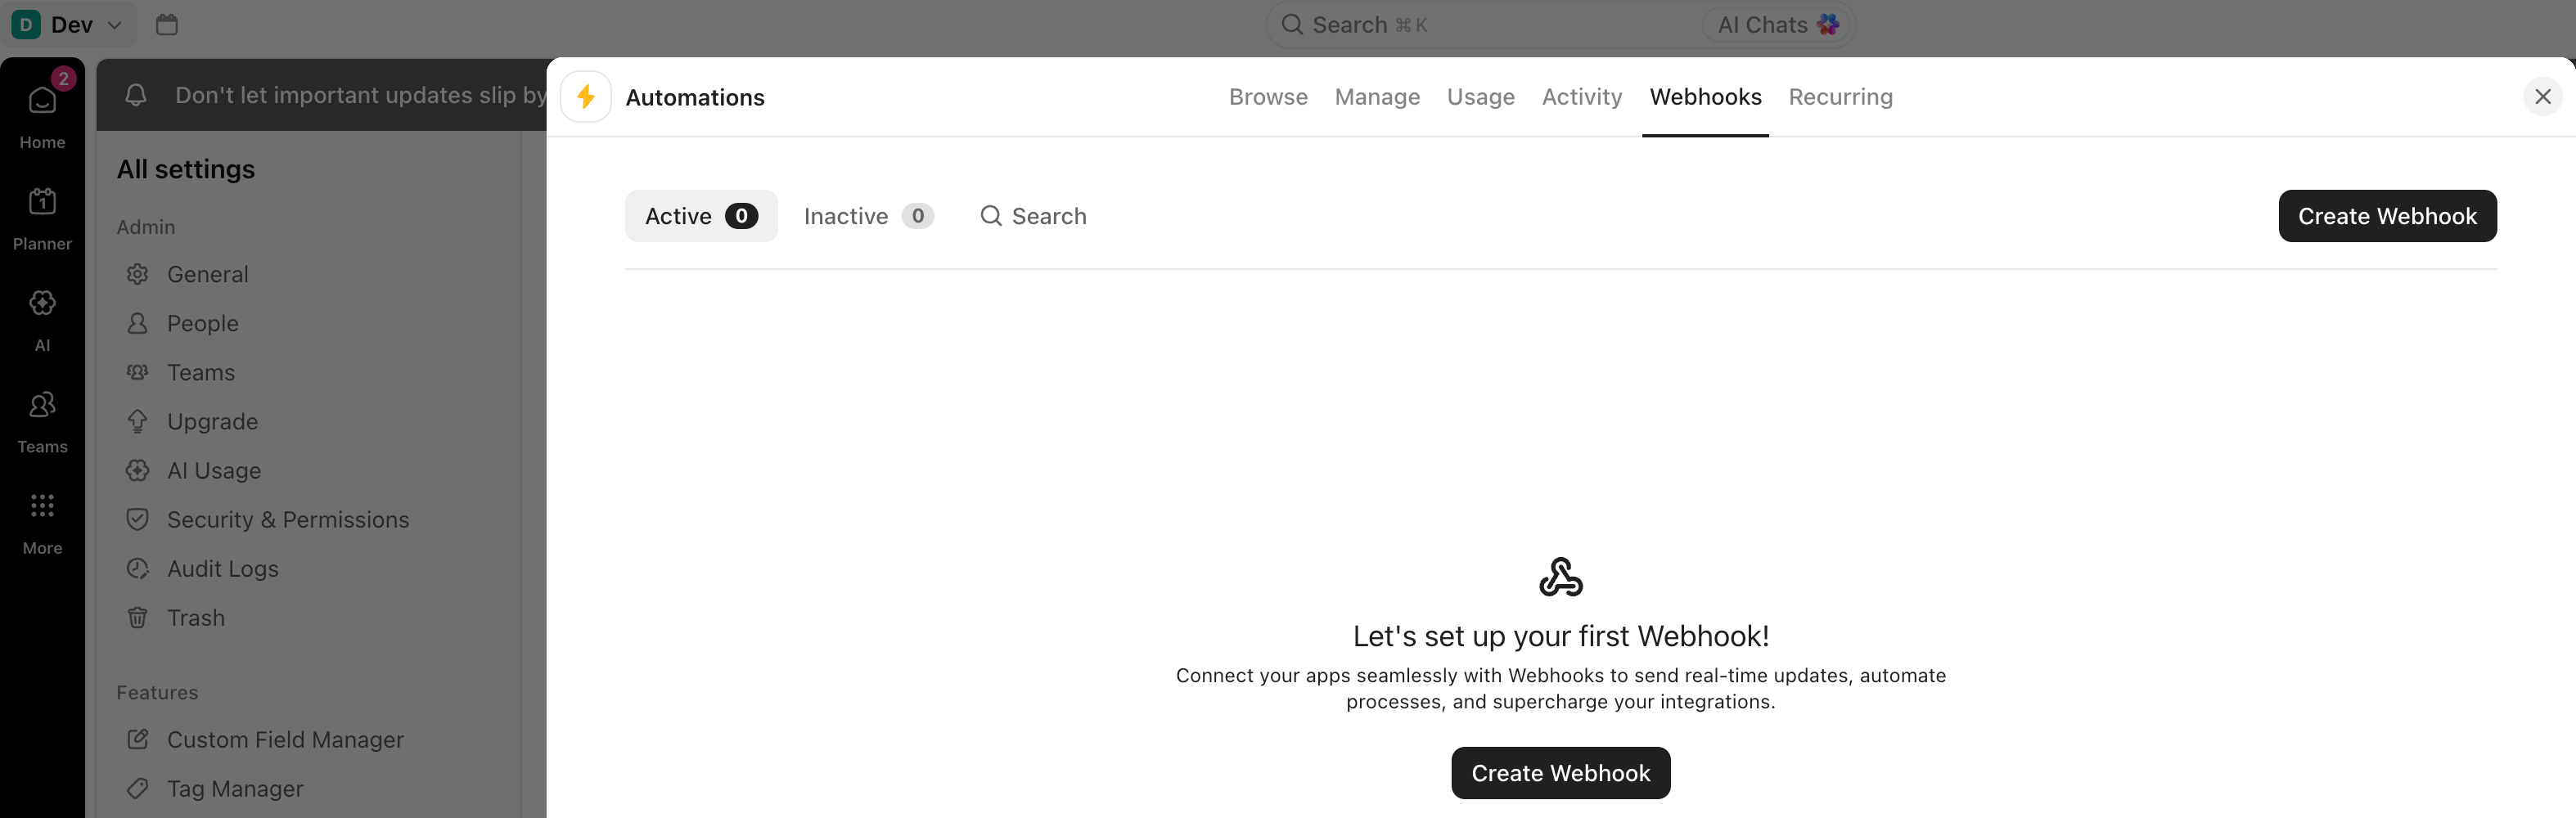
  • Title: Cosmos
  • Description: Notifies Cosmos when events occur in ClickUp
  • Url: paste the webhook url Cosmos provided
  • Headers:
    • keep Content-type: application/json
    • add header Authorization and as value paste the Bearer whsec_xxxx Cosmos provided
  • Keep Webhook status enabled
  • Click on Test webhook
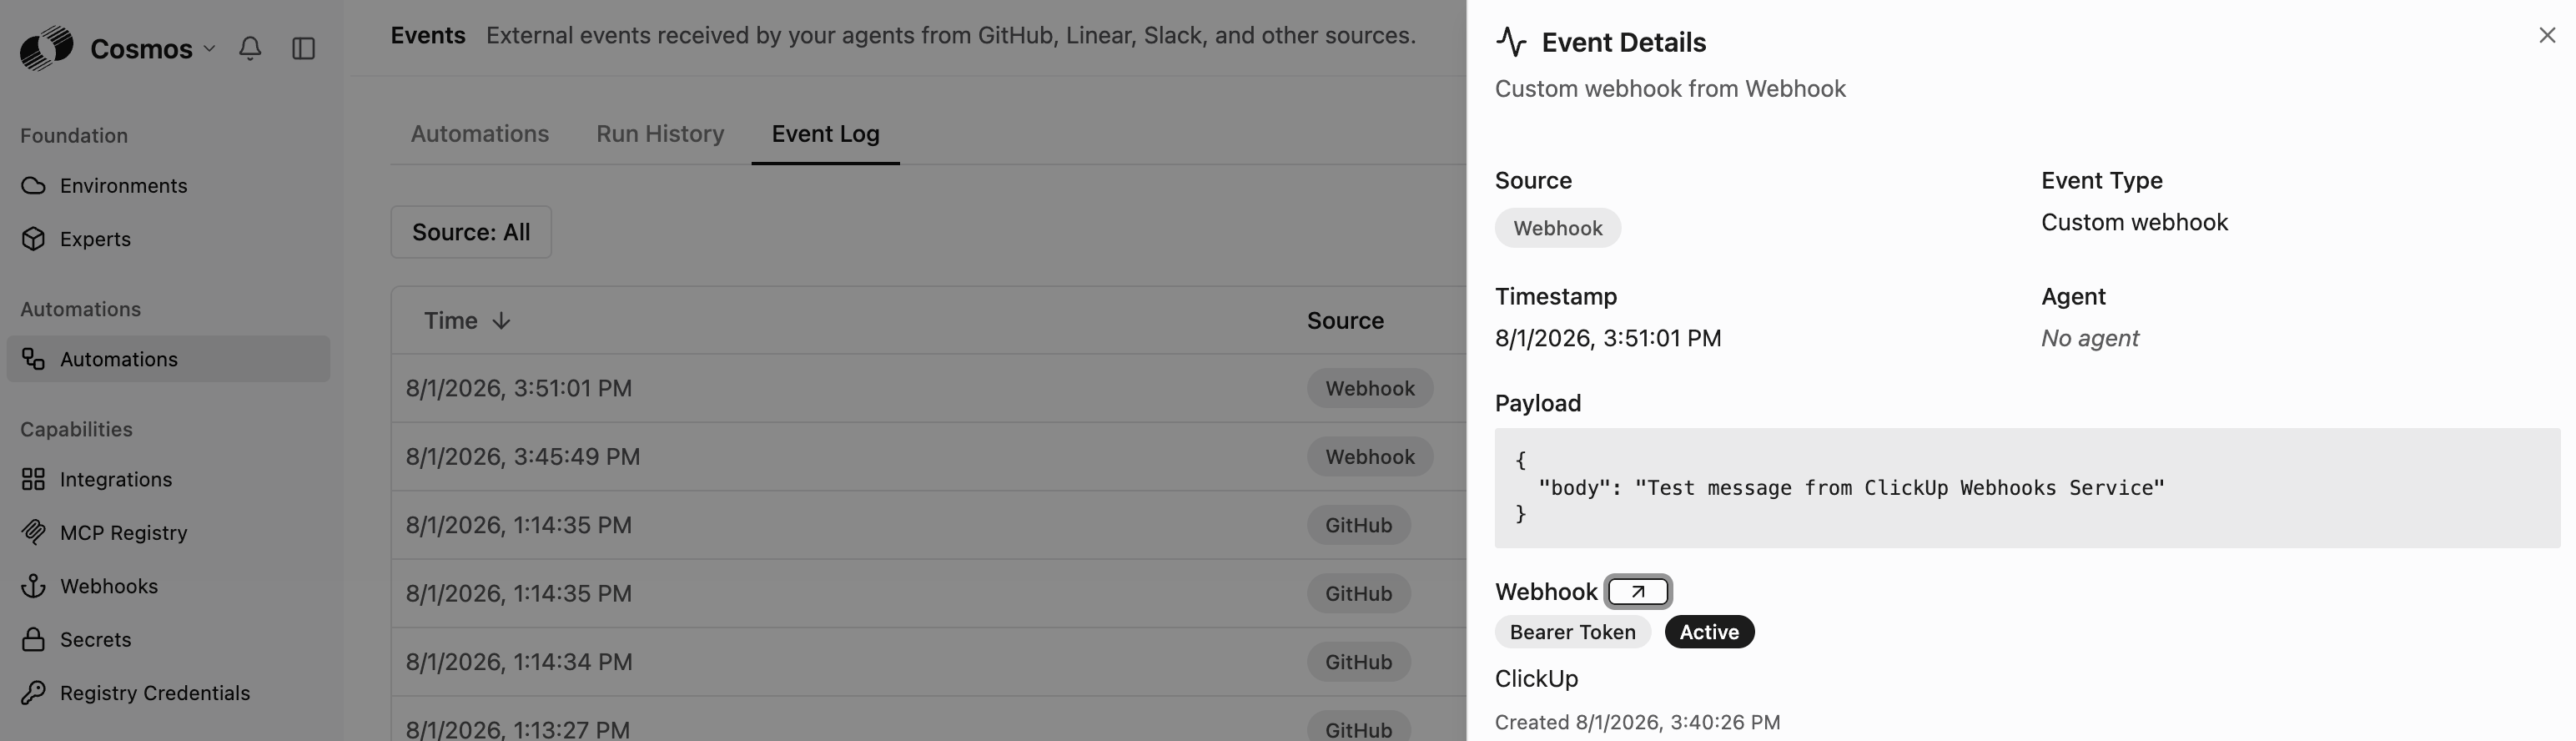
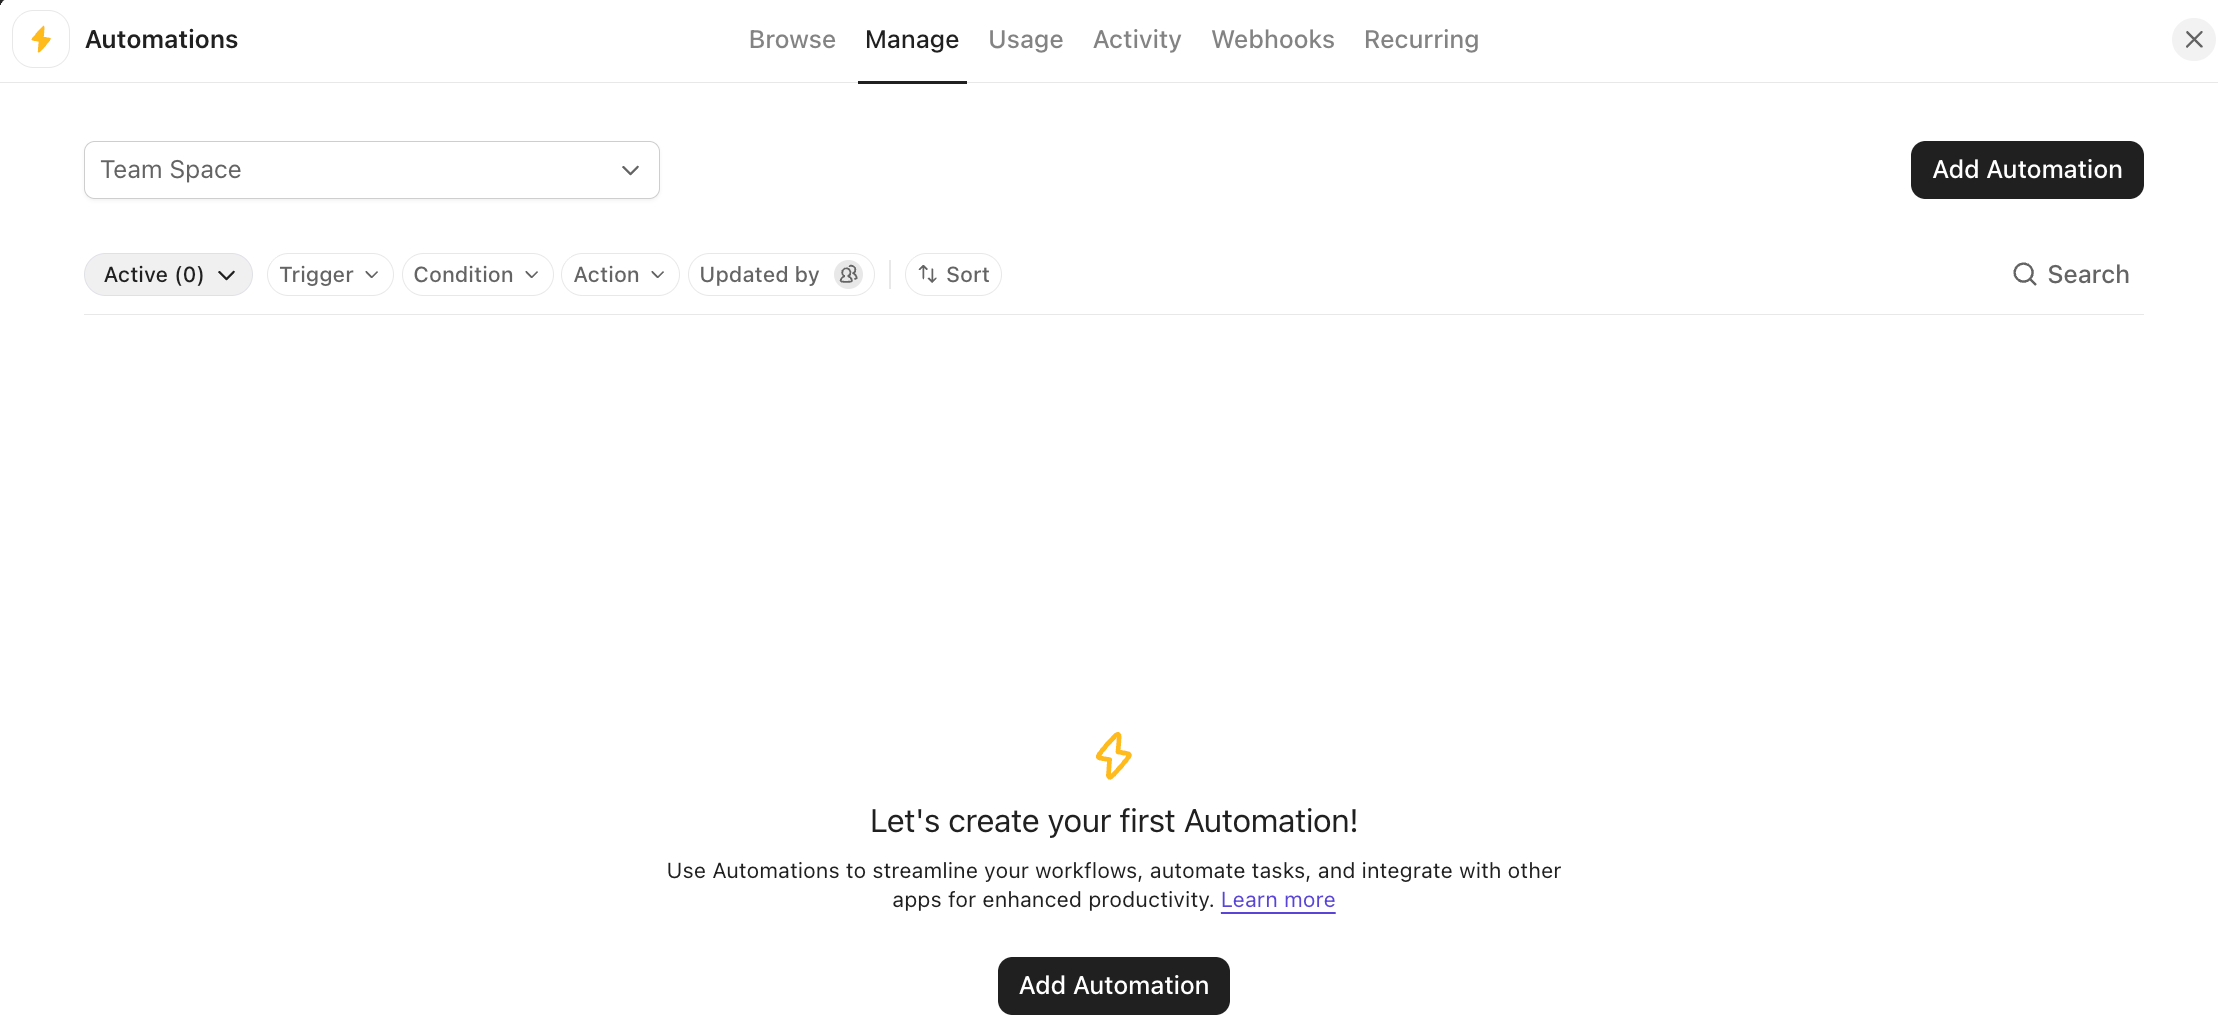
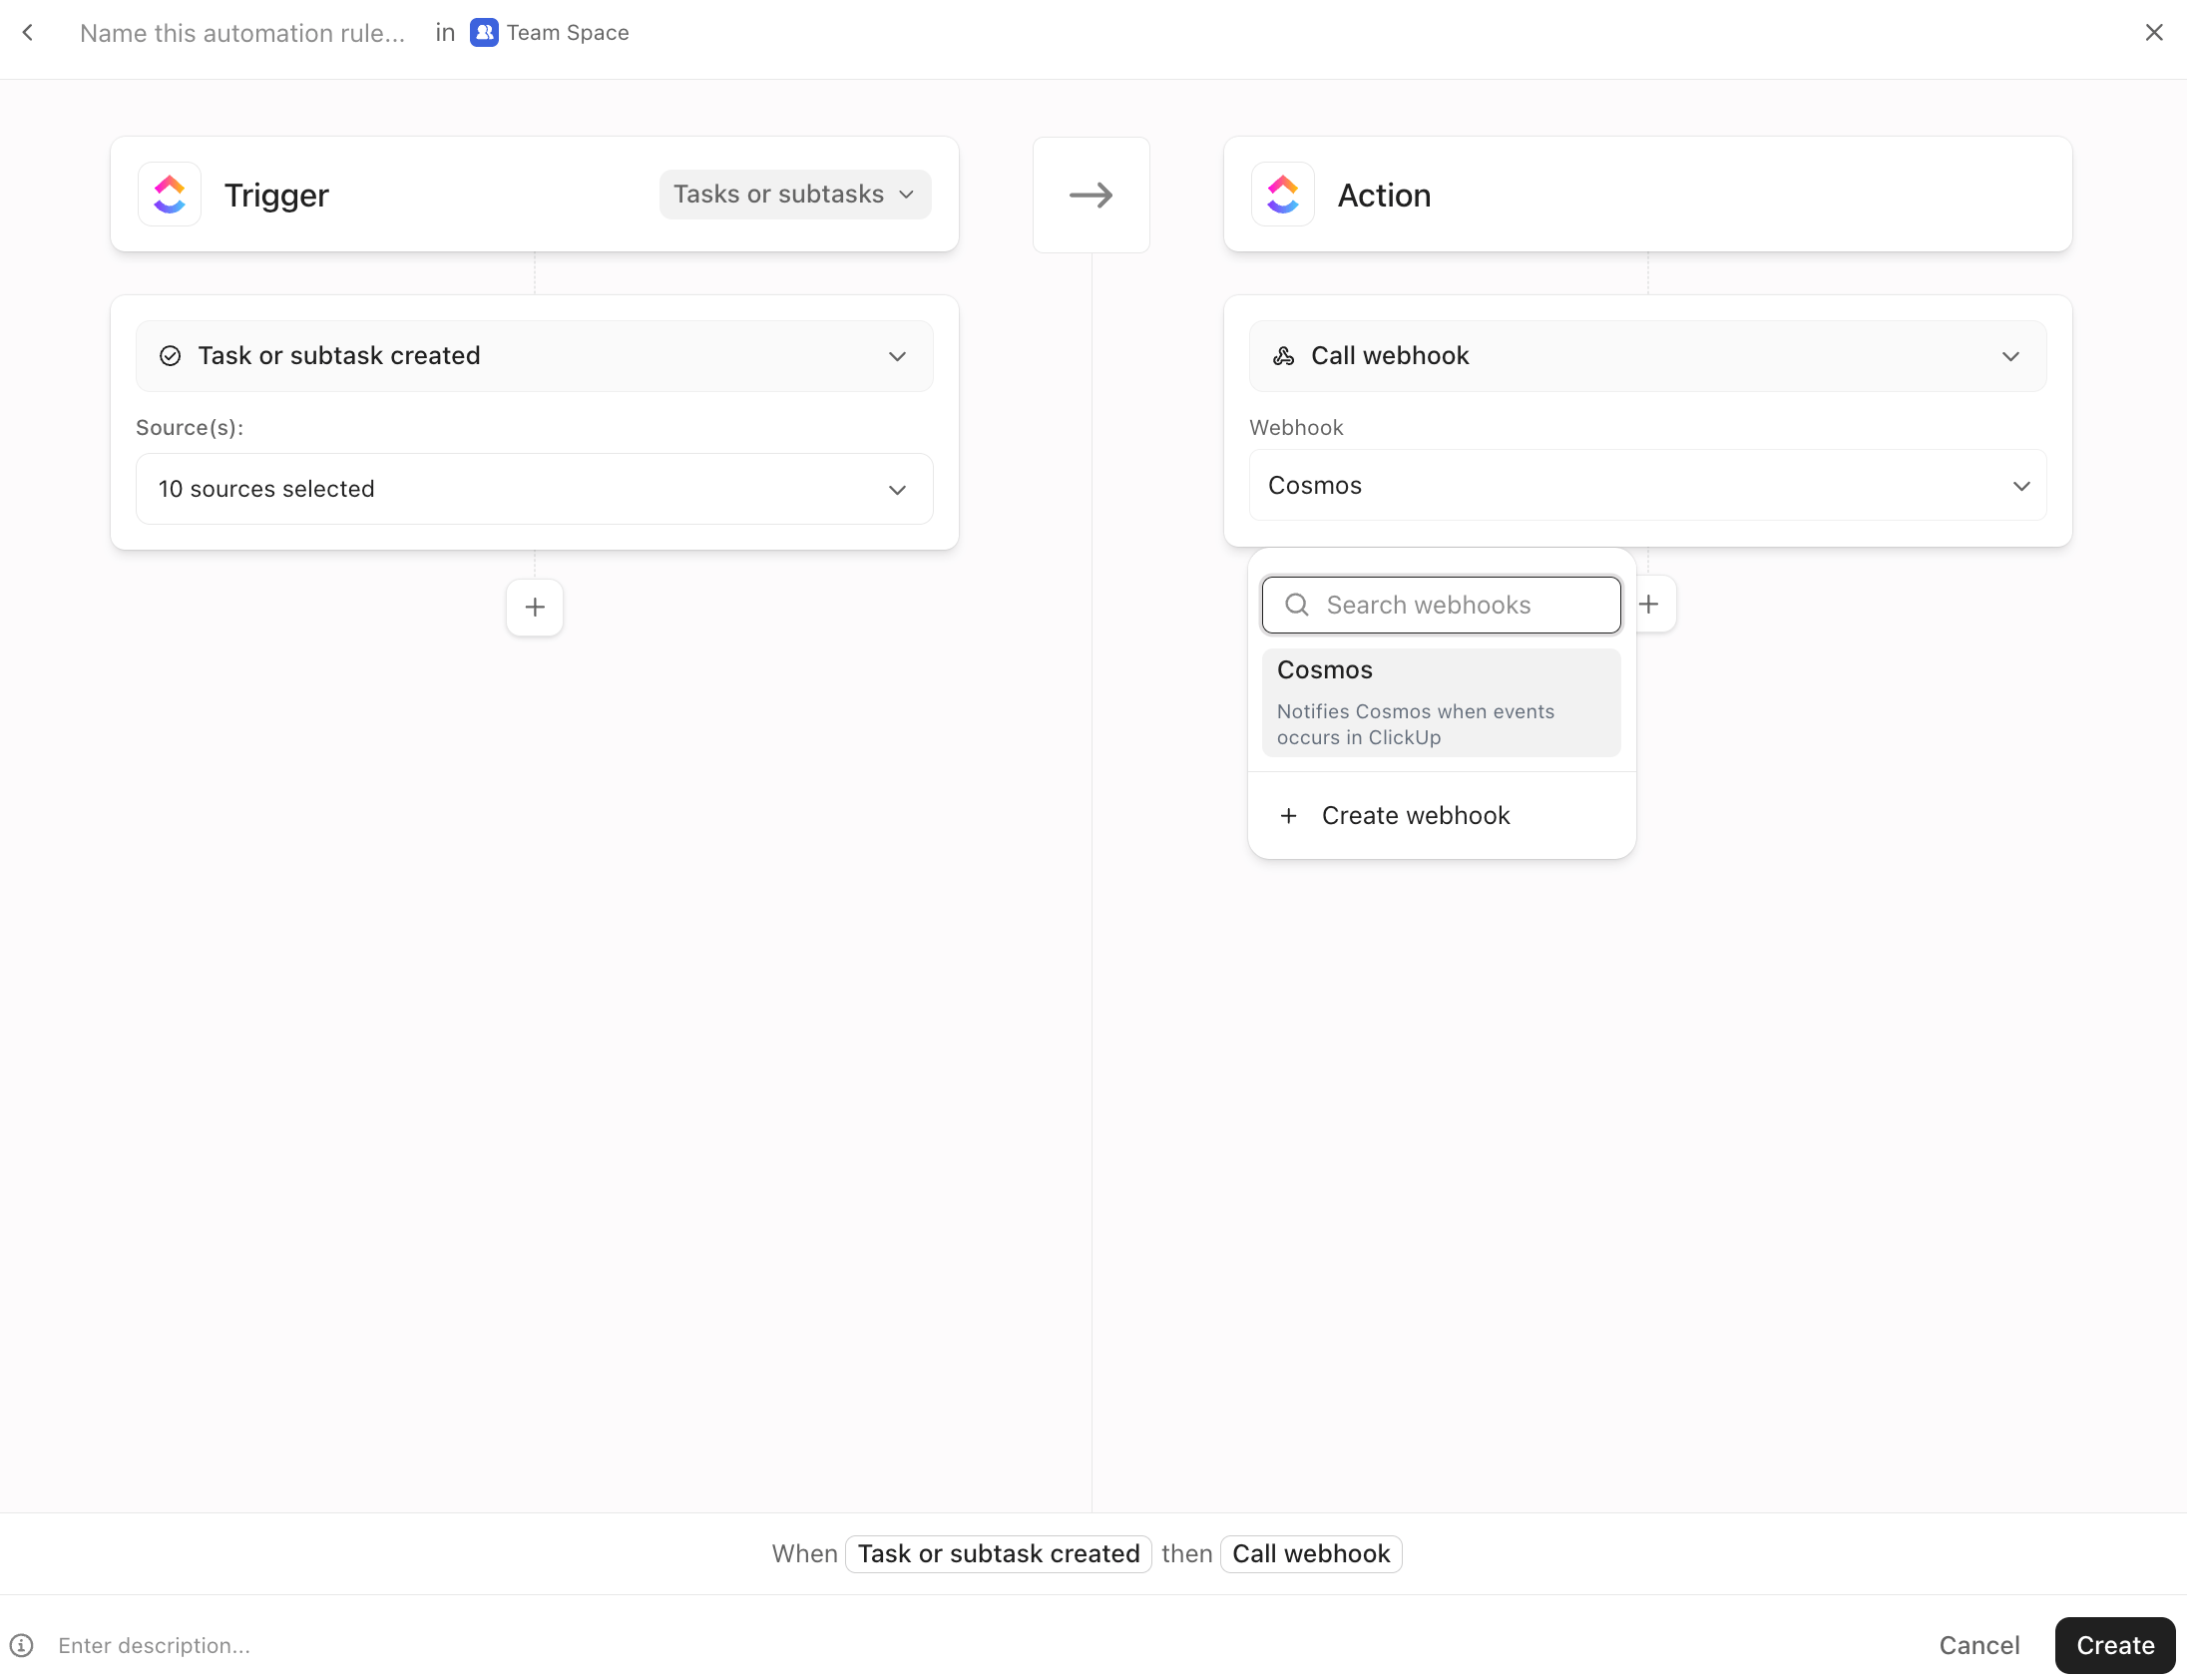
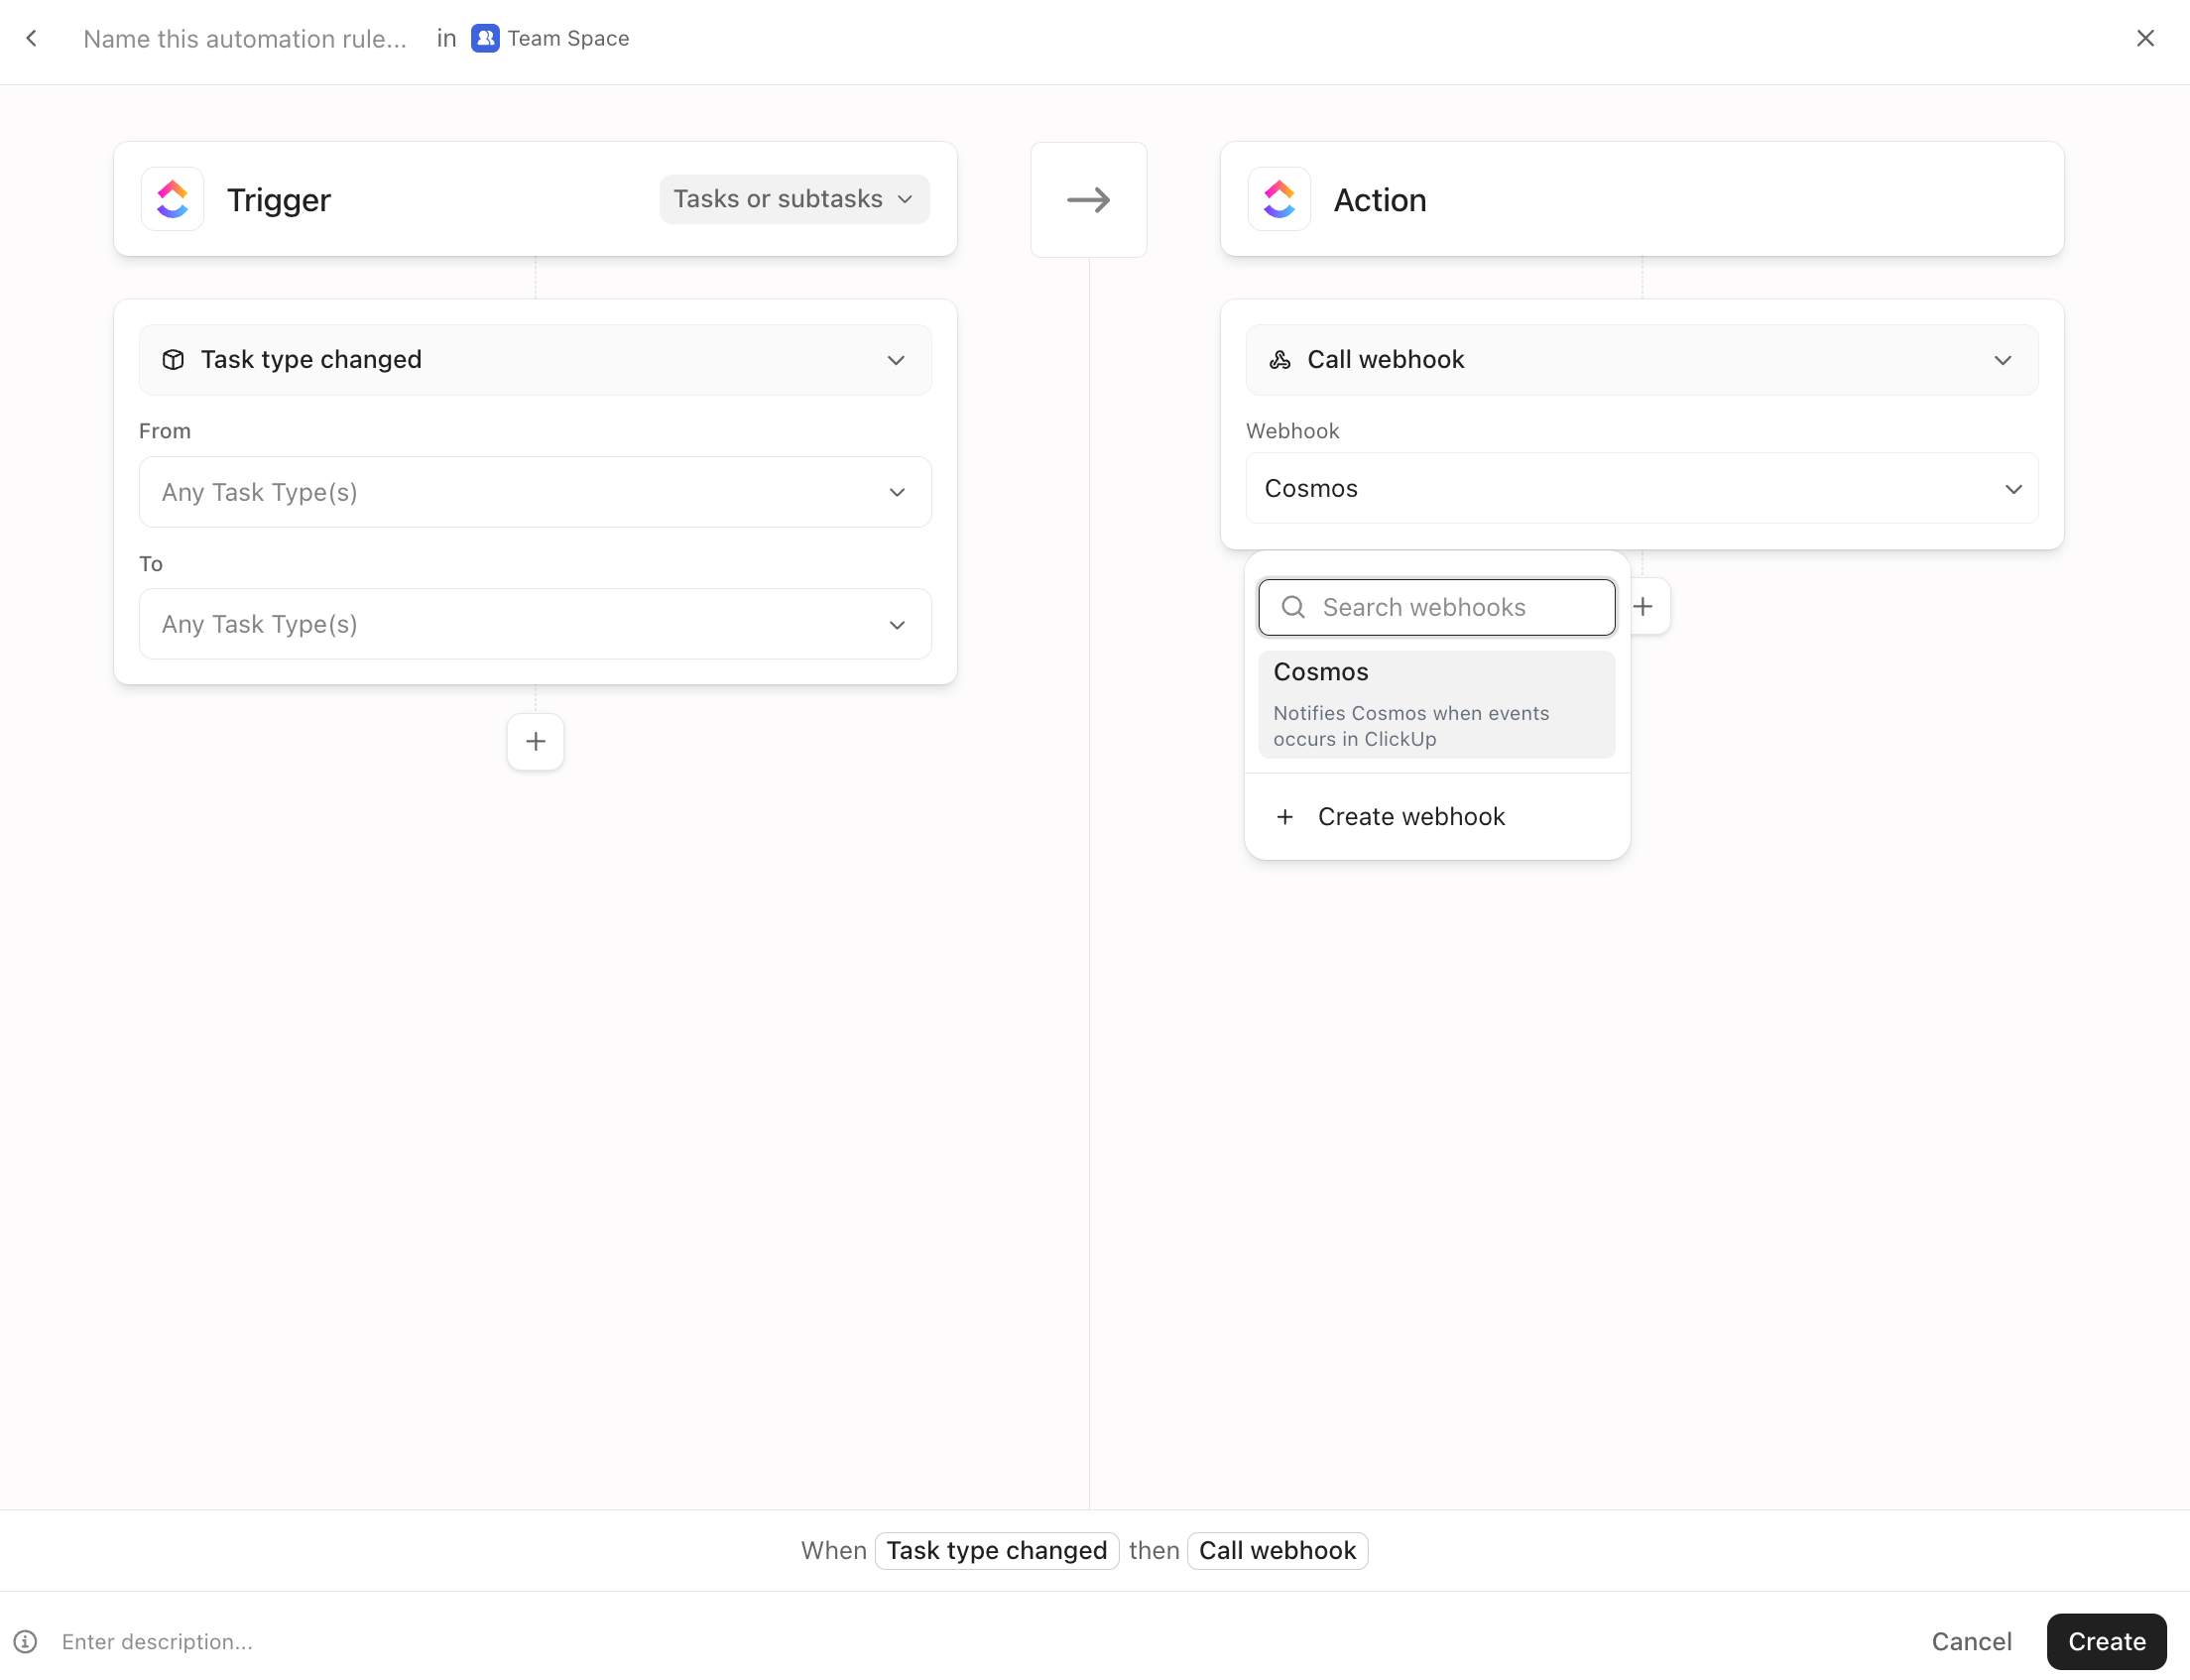
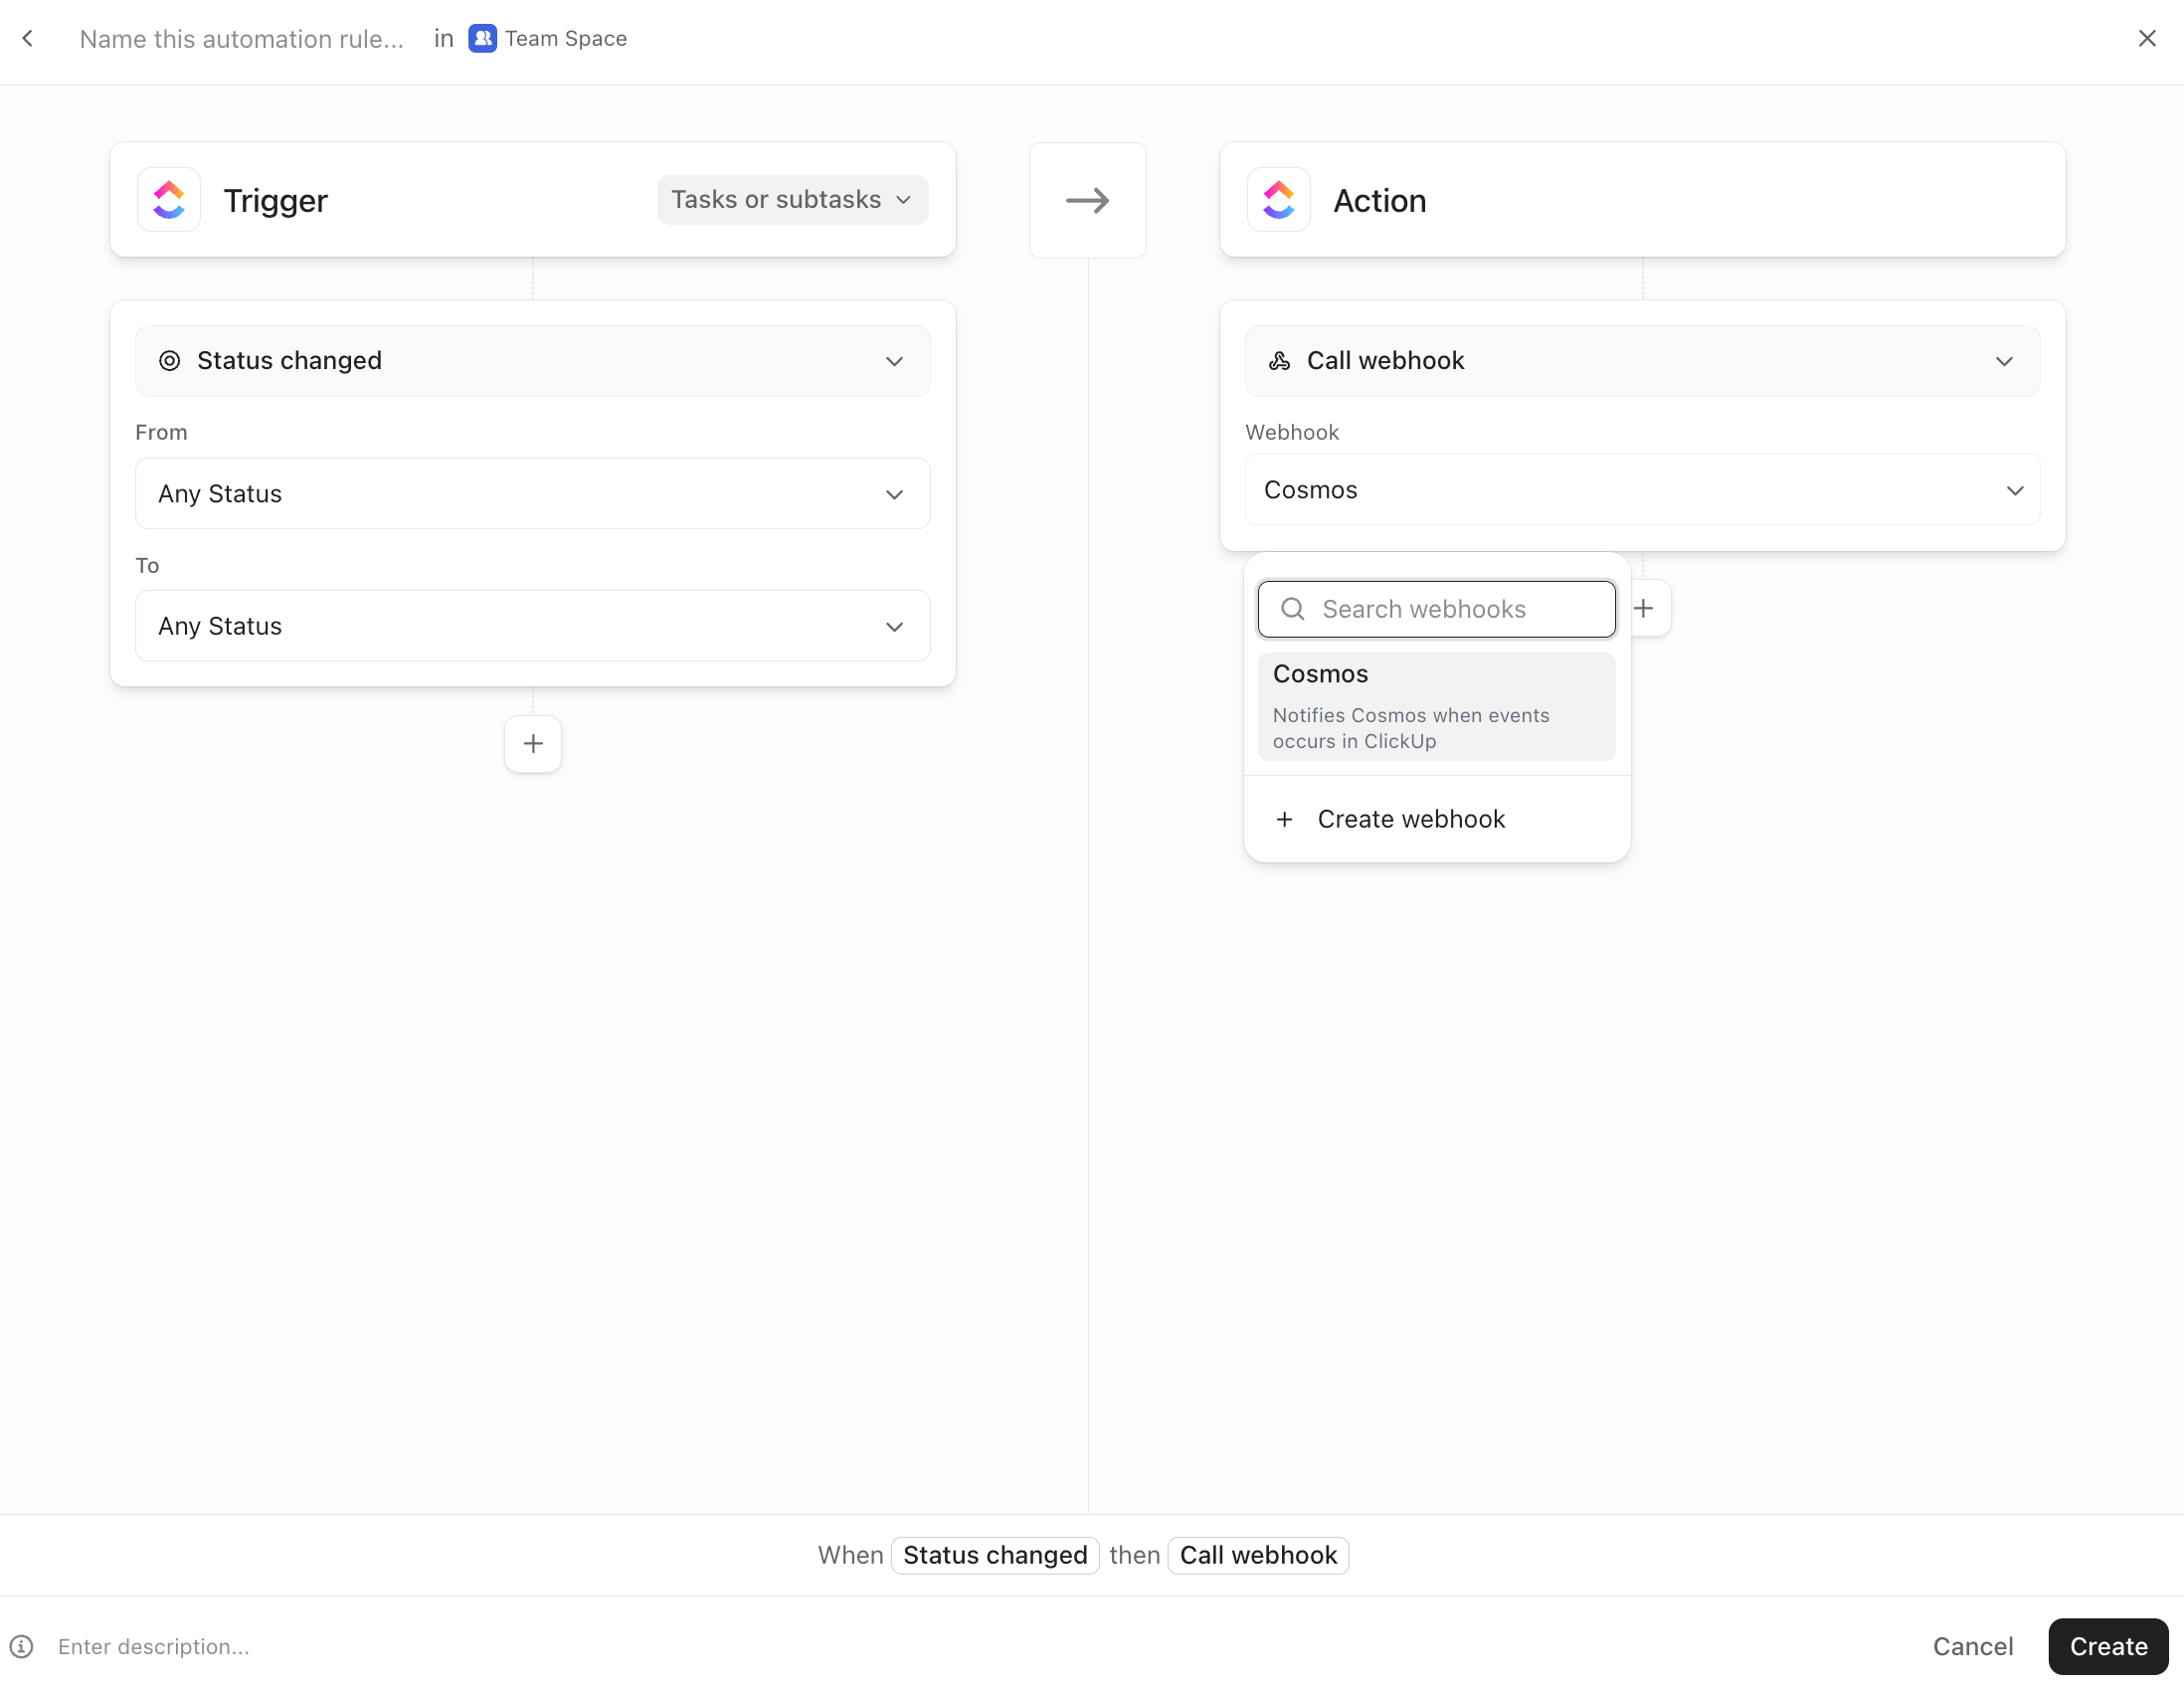
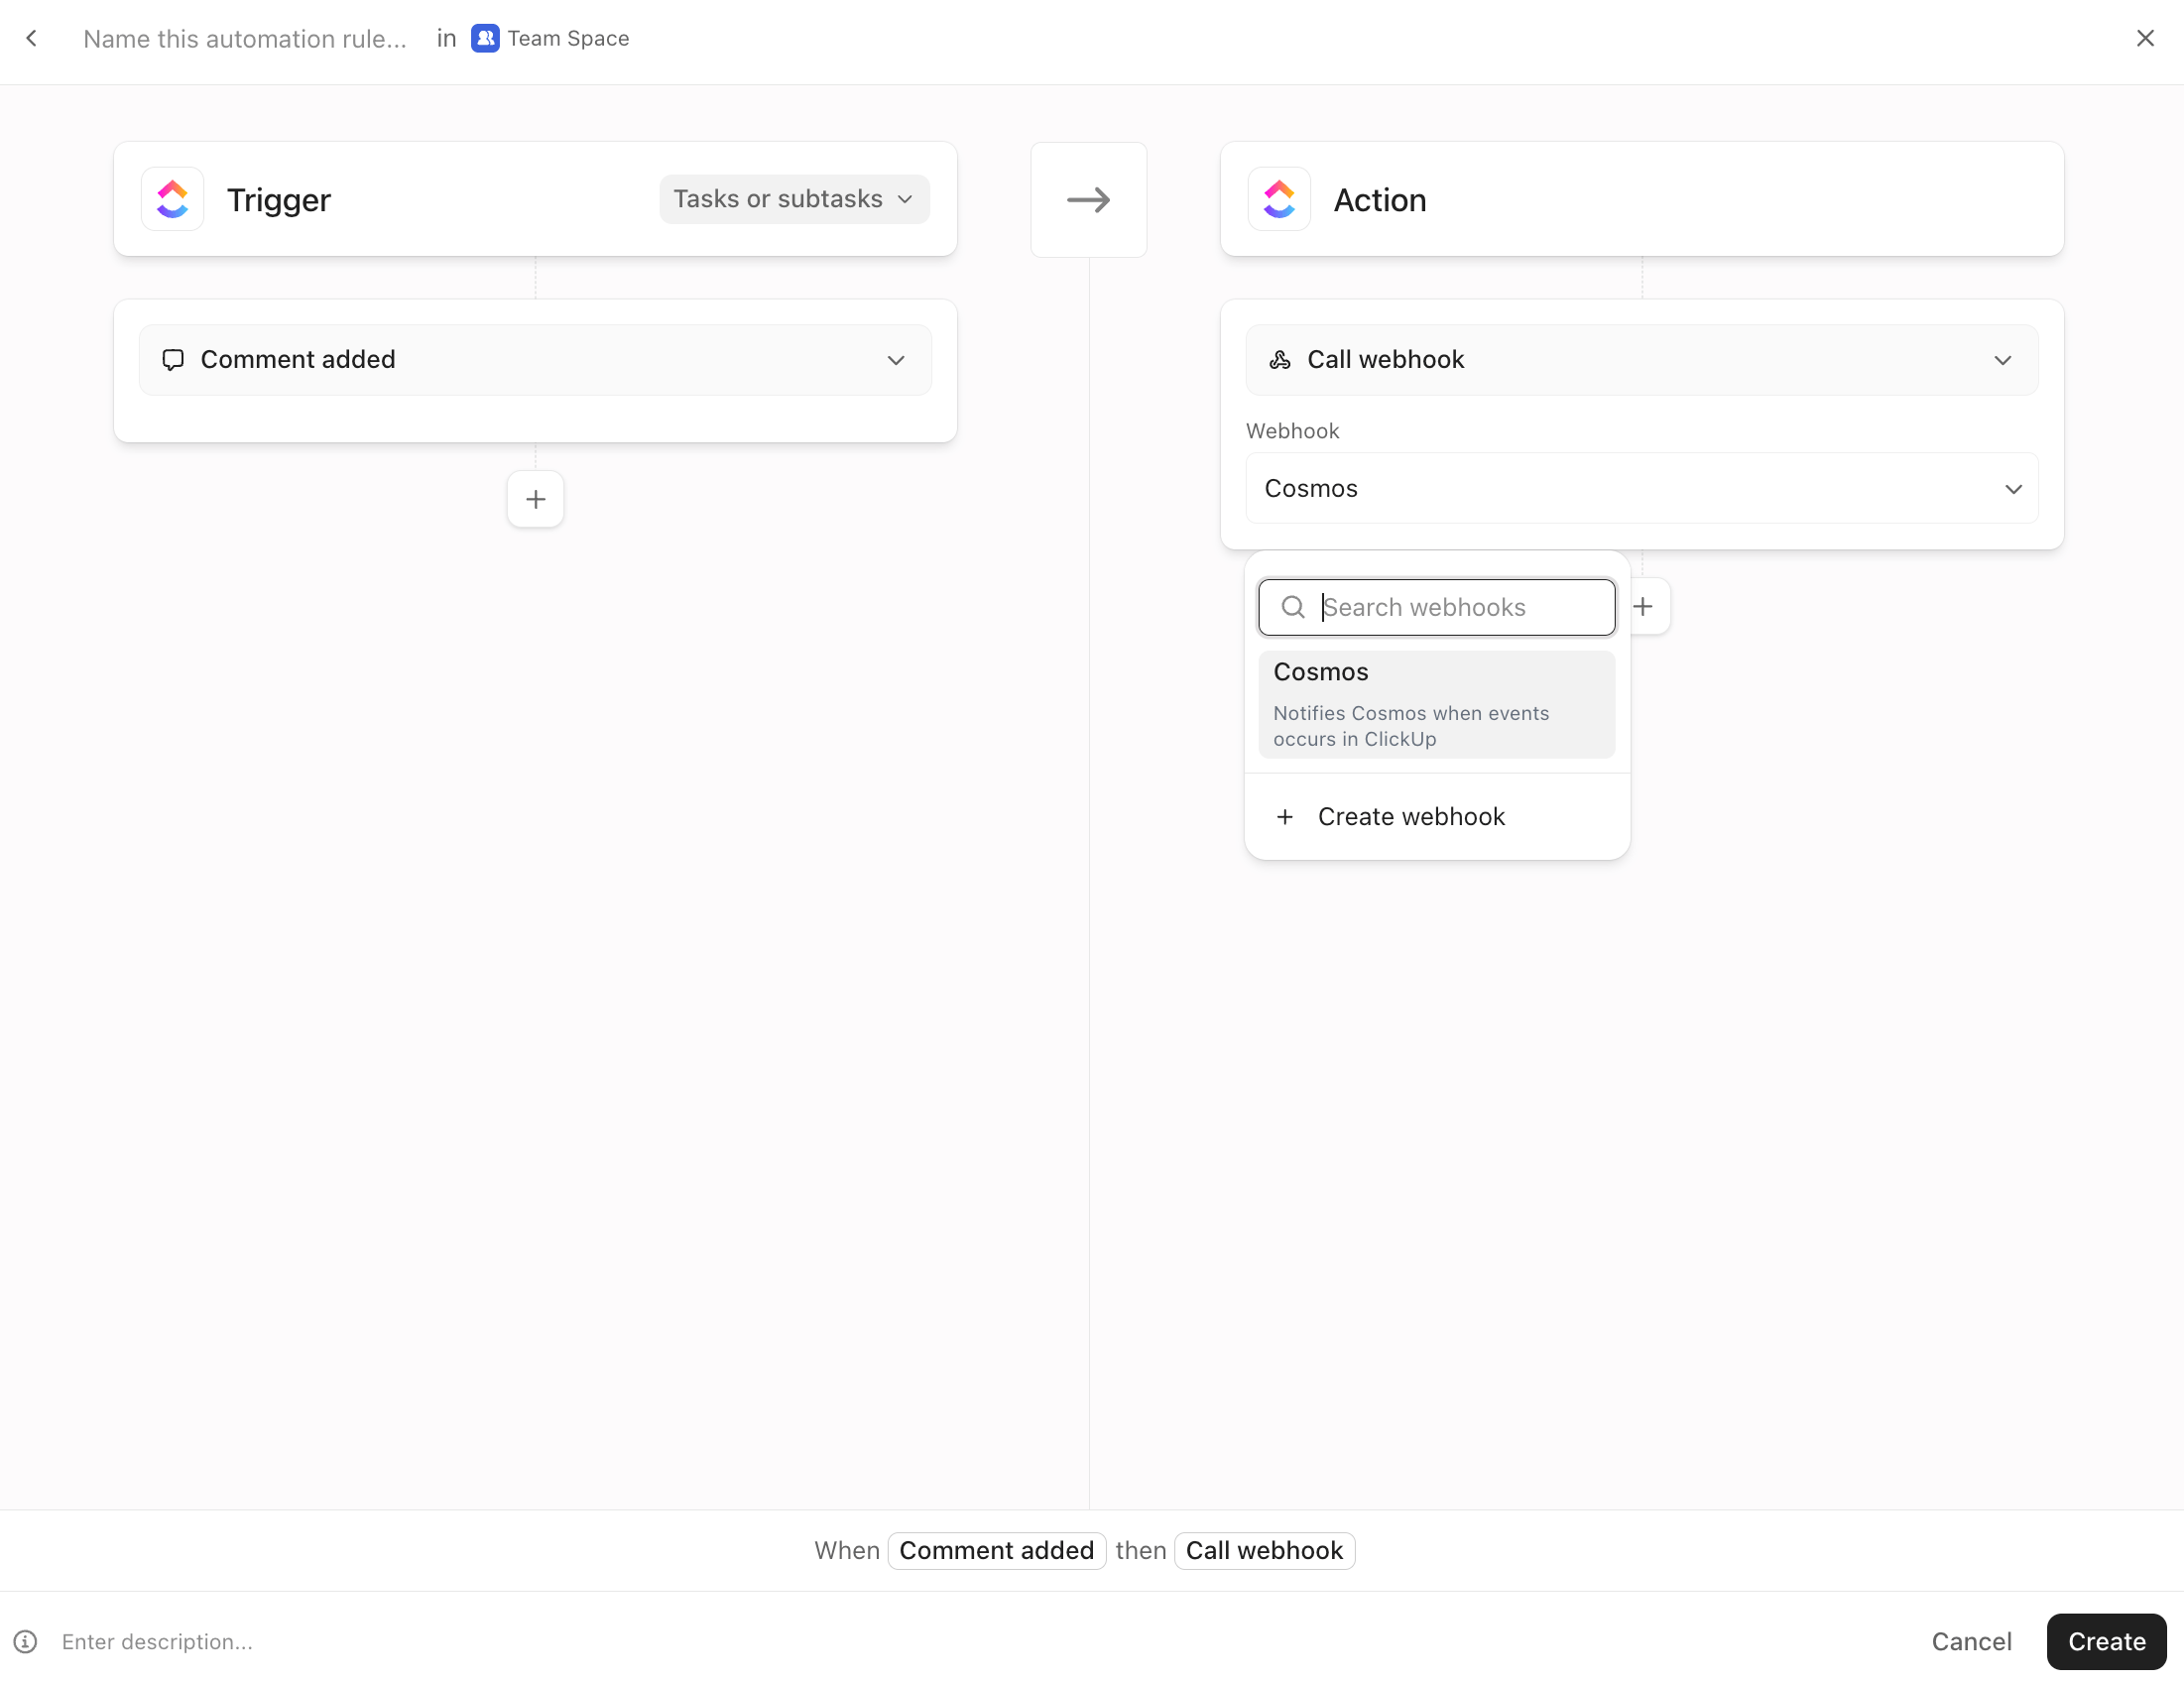
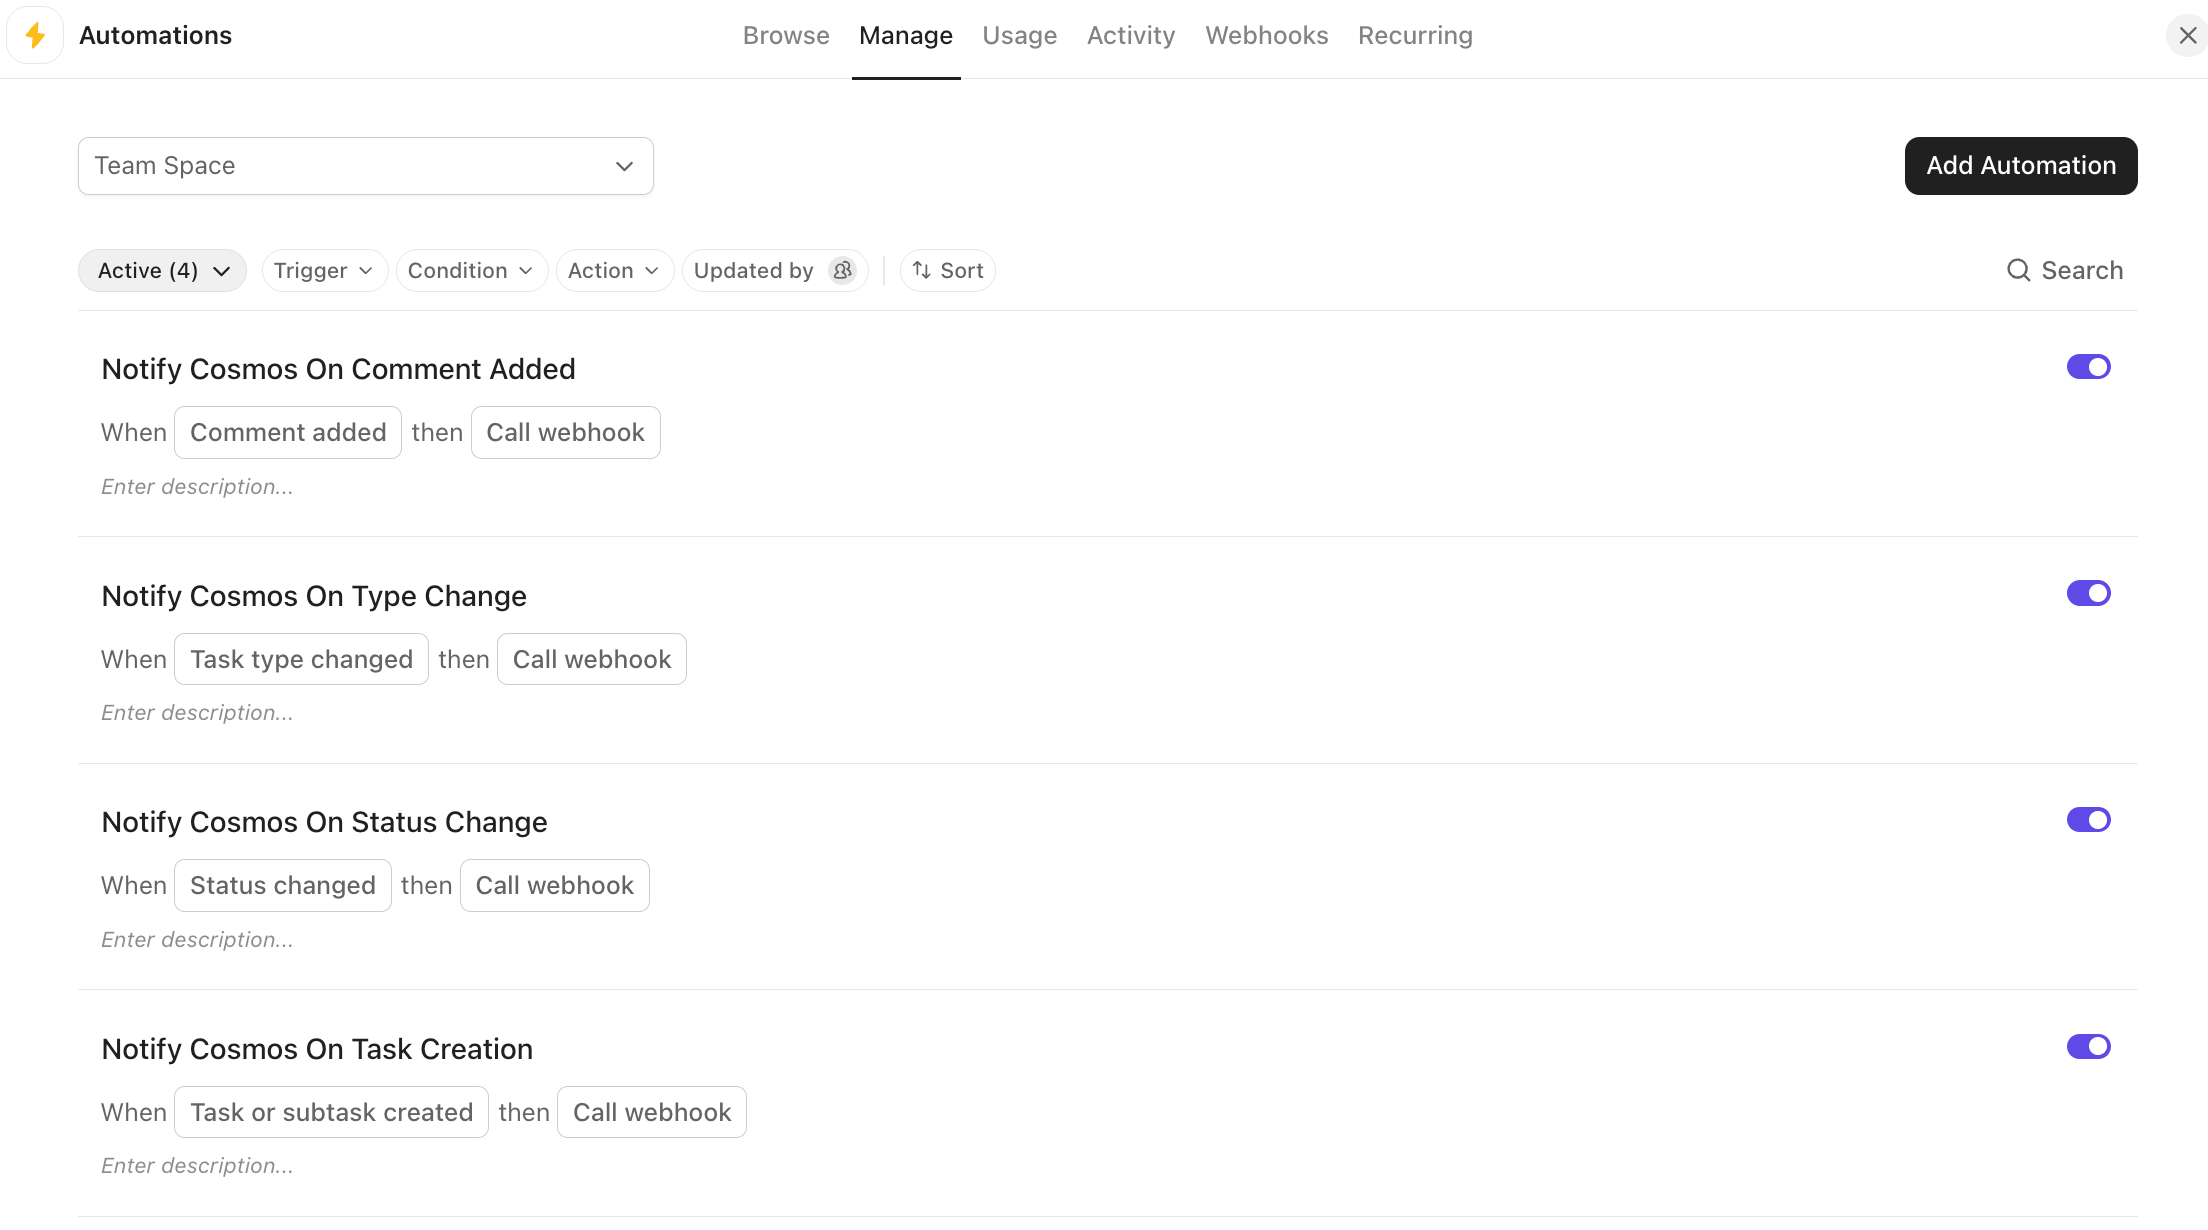
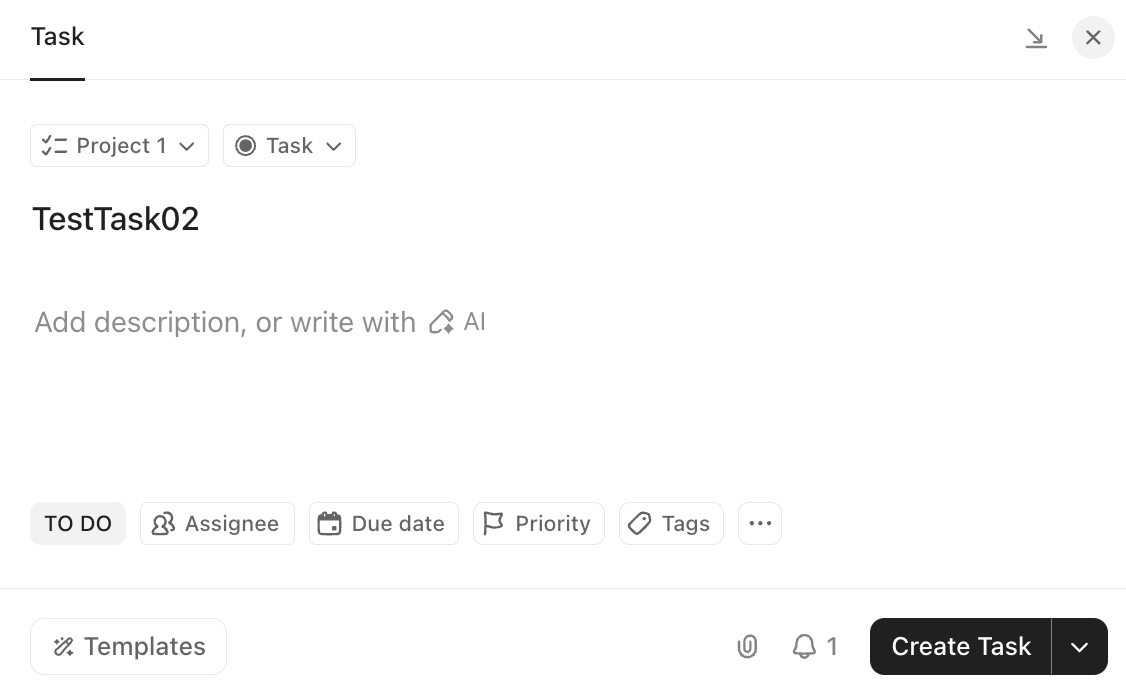
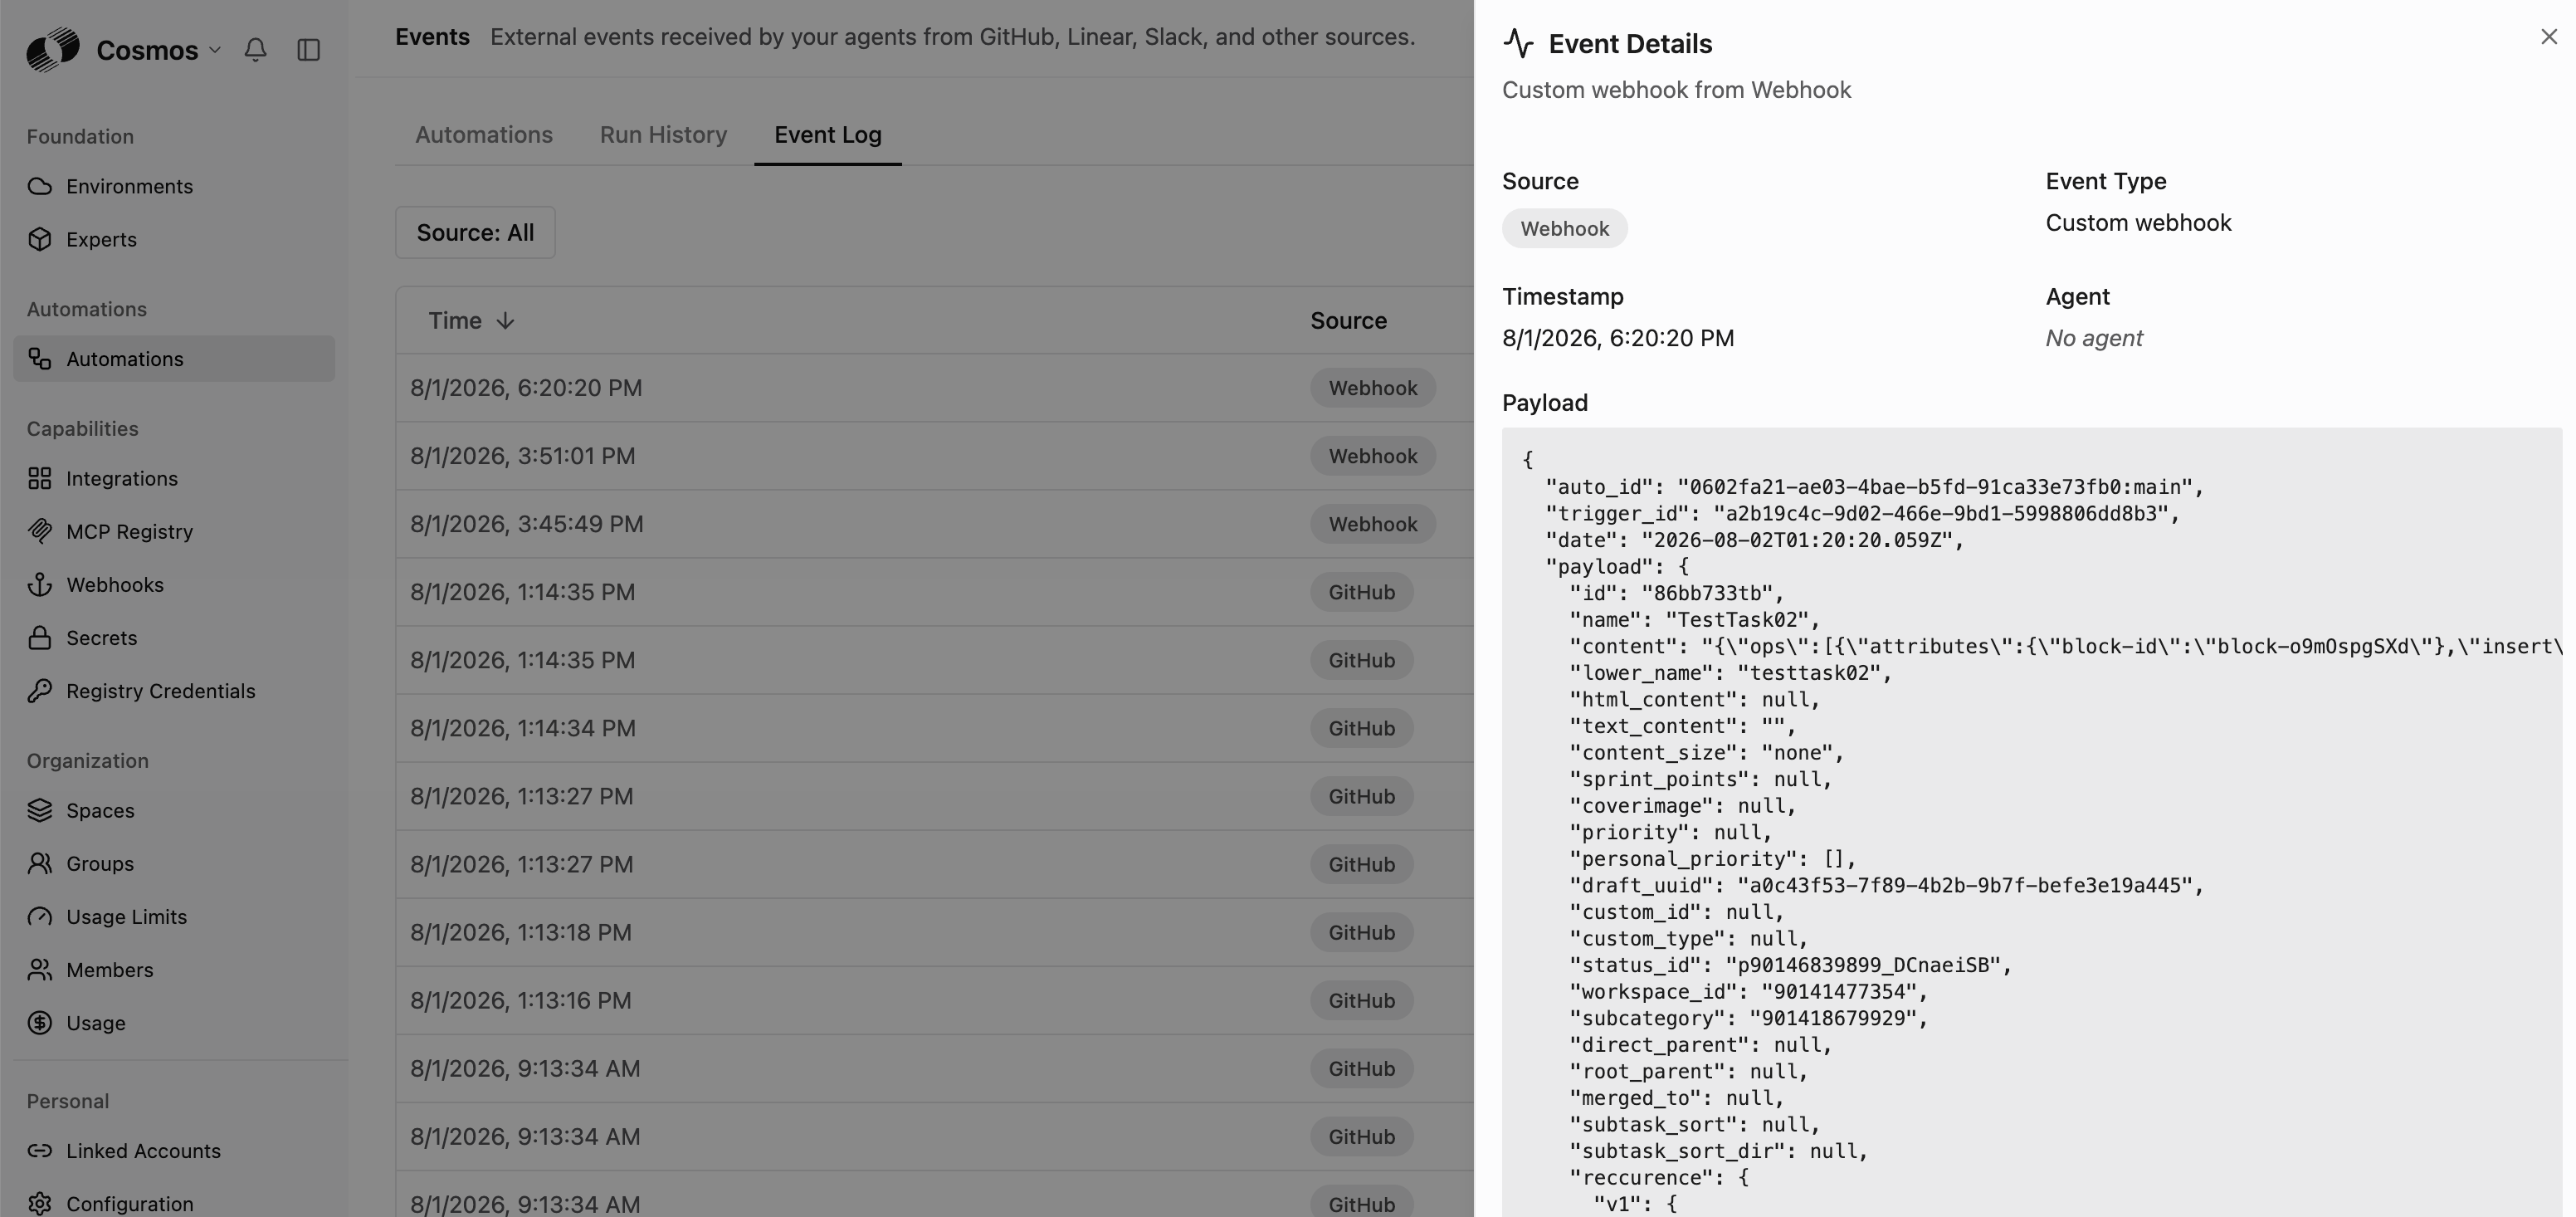
You should get a green checkmark confirming that the webhook was invoked: Click on Create webhook, you should see you new webhook auto-enabled: Verify that Cosmos received the test payload: go to Cosmos (https://cosmos.augmentcode.com) > Settings > Automations > Event Log tab > Click on the last entry with Source = Webhook, you should see this: That confirms that Cosmos received the test payload. Now configure ClicksUp Automations to automatically call the Cosmos webhook when certain events occur in ClickUp. Go to ClickUp > Settings > Automations Manager > Manage tab > Click on Add Automation: Configure Trigger: Task or subtask created, and Action: Call webhook with Webhook: Cosmos, then click on Create: Click again on Add Automation > Trigger: Task type changed (From Any Task Type(s) to Any Task Type(s)), and Action: Call webhook with Webhook: Cosmos, then click on Create: Click again on Add Automation > Trigger: Status changed (From Any Status to Any Status), and Action: Call webhook with Webhook: Cosmos, then click on Create: Click again on Add Automation > Trigger: Comment added, and Action: Call webhook with Webhook: Cosmos, then click on Create: Rename your automations as Notify Cosmos On <THE_EVENTS_CONFIGURED_IN_TRIGGER>: Create a new test ClickUp task: ClickUp Home > Click on + > Select your project, enter Name: TestTask02, then click on Create Task: Verify that Cosmos received the payload: go to Cosmos (https://cosmos.augmentcode.com) > Settings > Automations > Event Log tab > Click on the last entry with Source = Webhook, you should see this: That confirms that Cosmos received the payload. At this point ClickUp will automatically notify Cosmos whenever a task is created/updated/commented on ✅

Step 2: Integrate with ClickUp via a Service Account

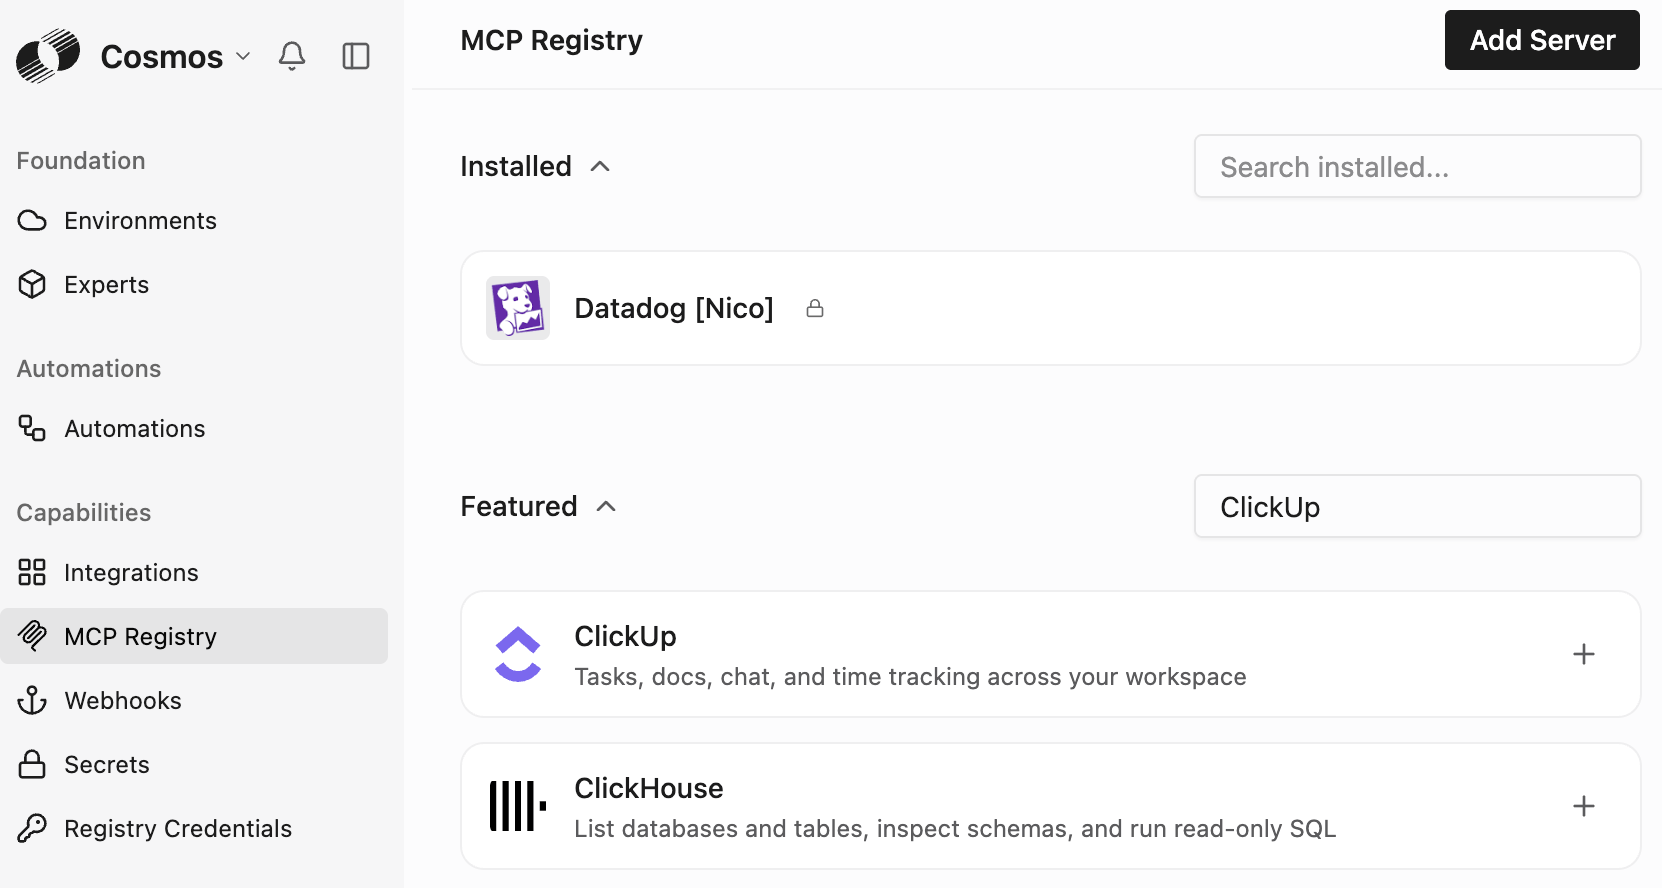
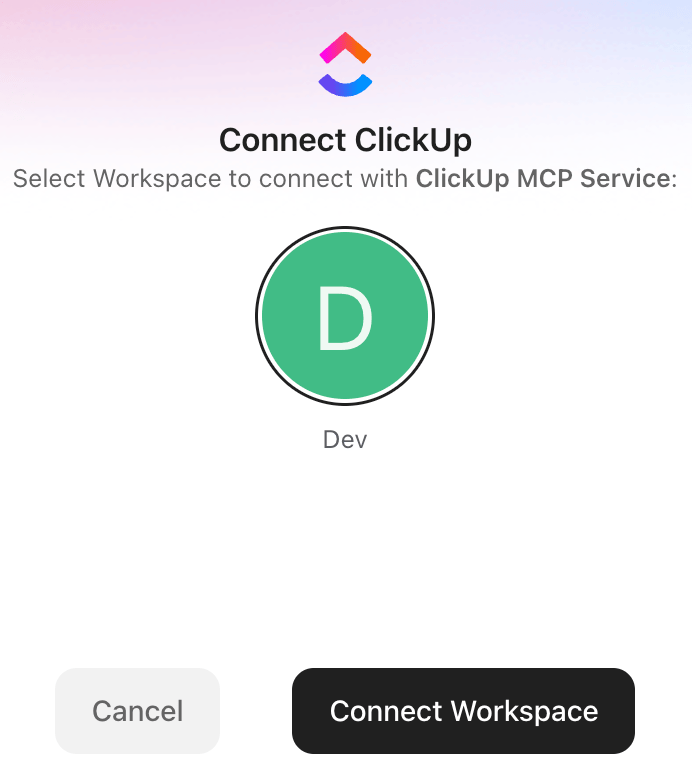
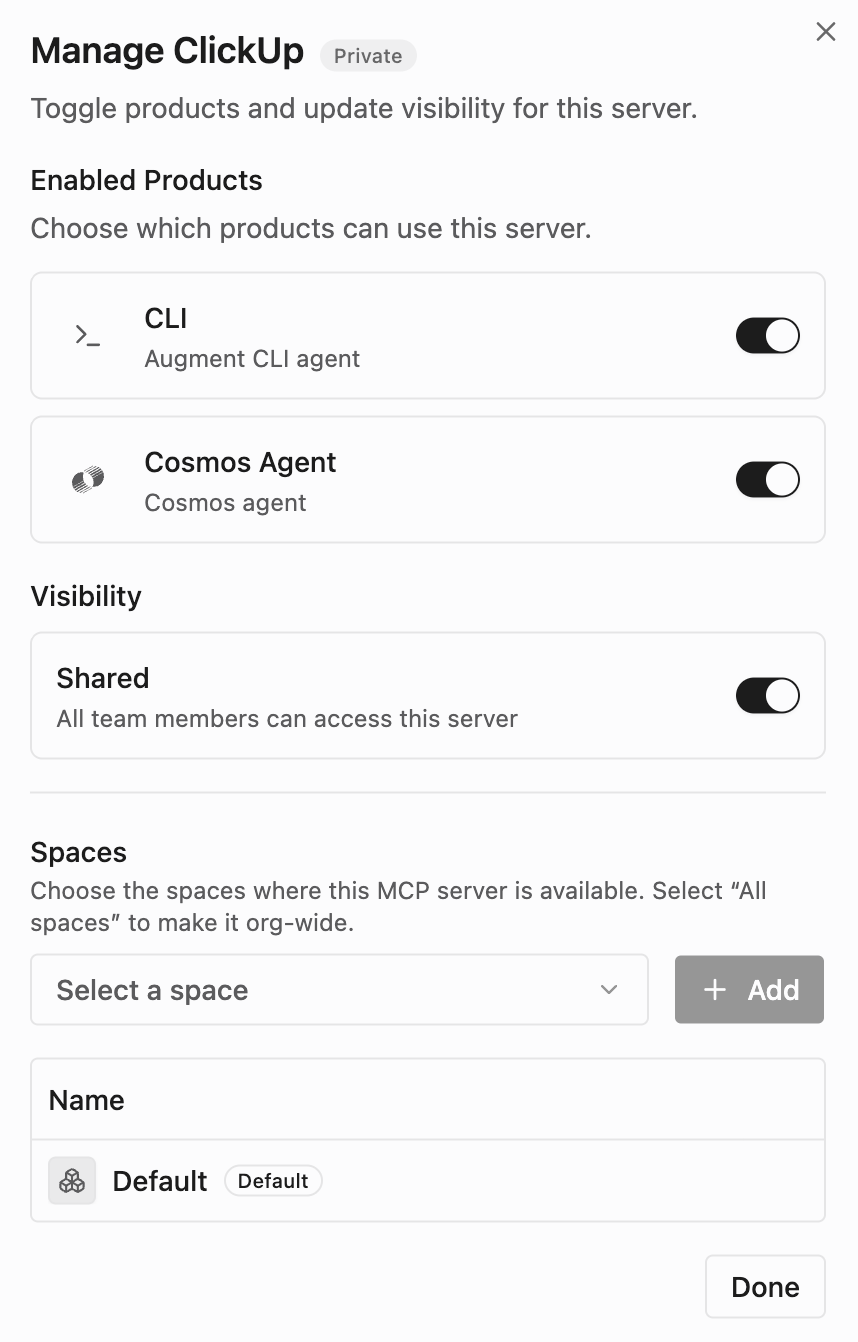
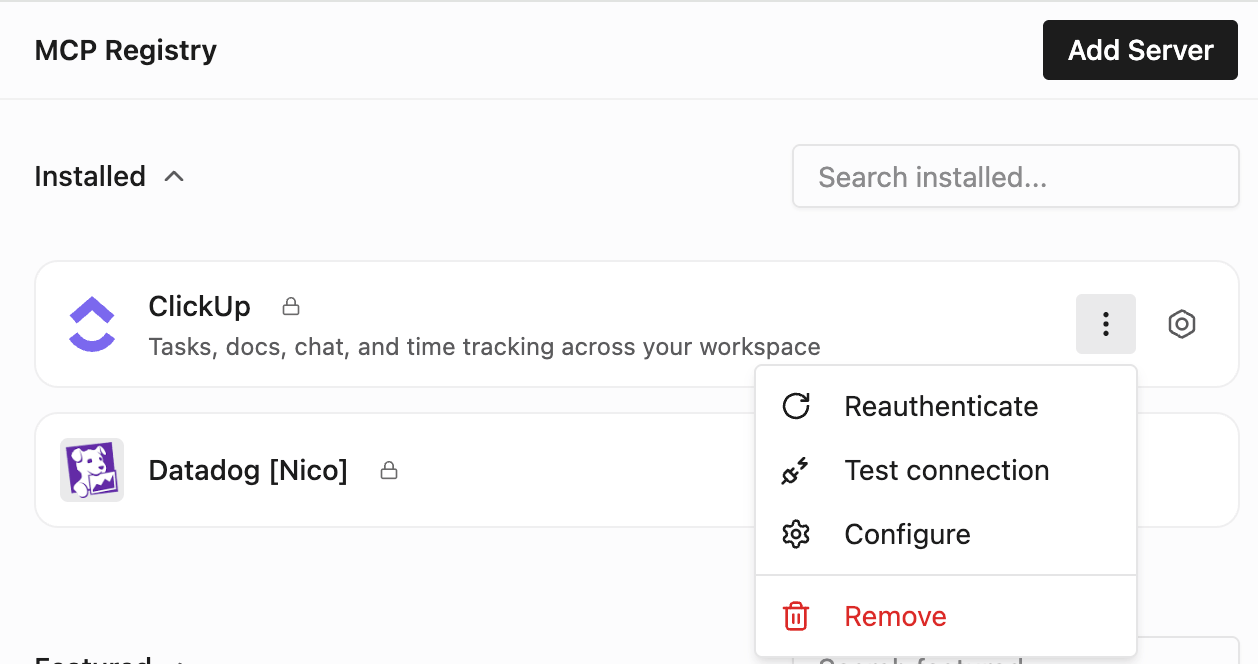
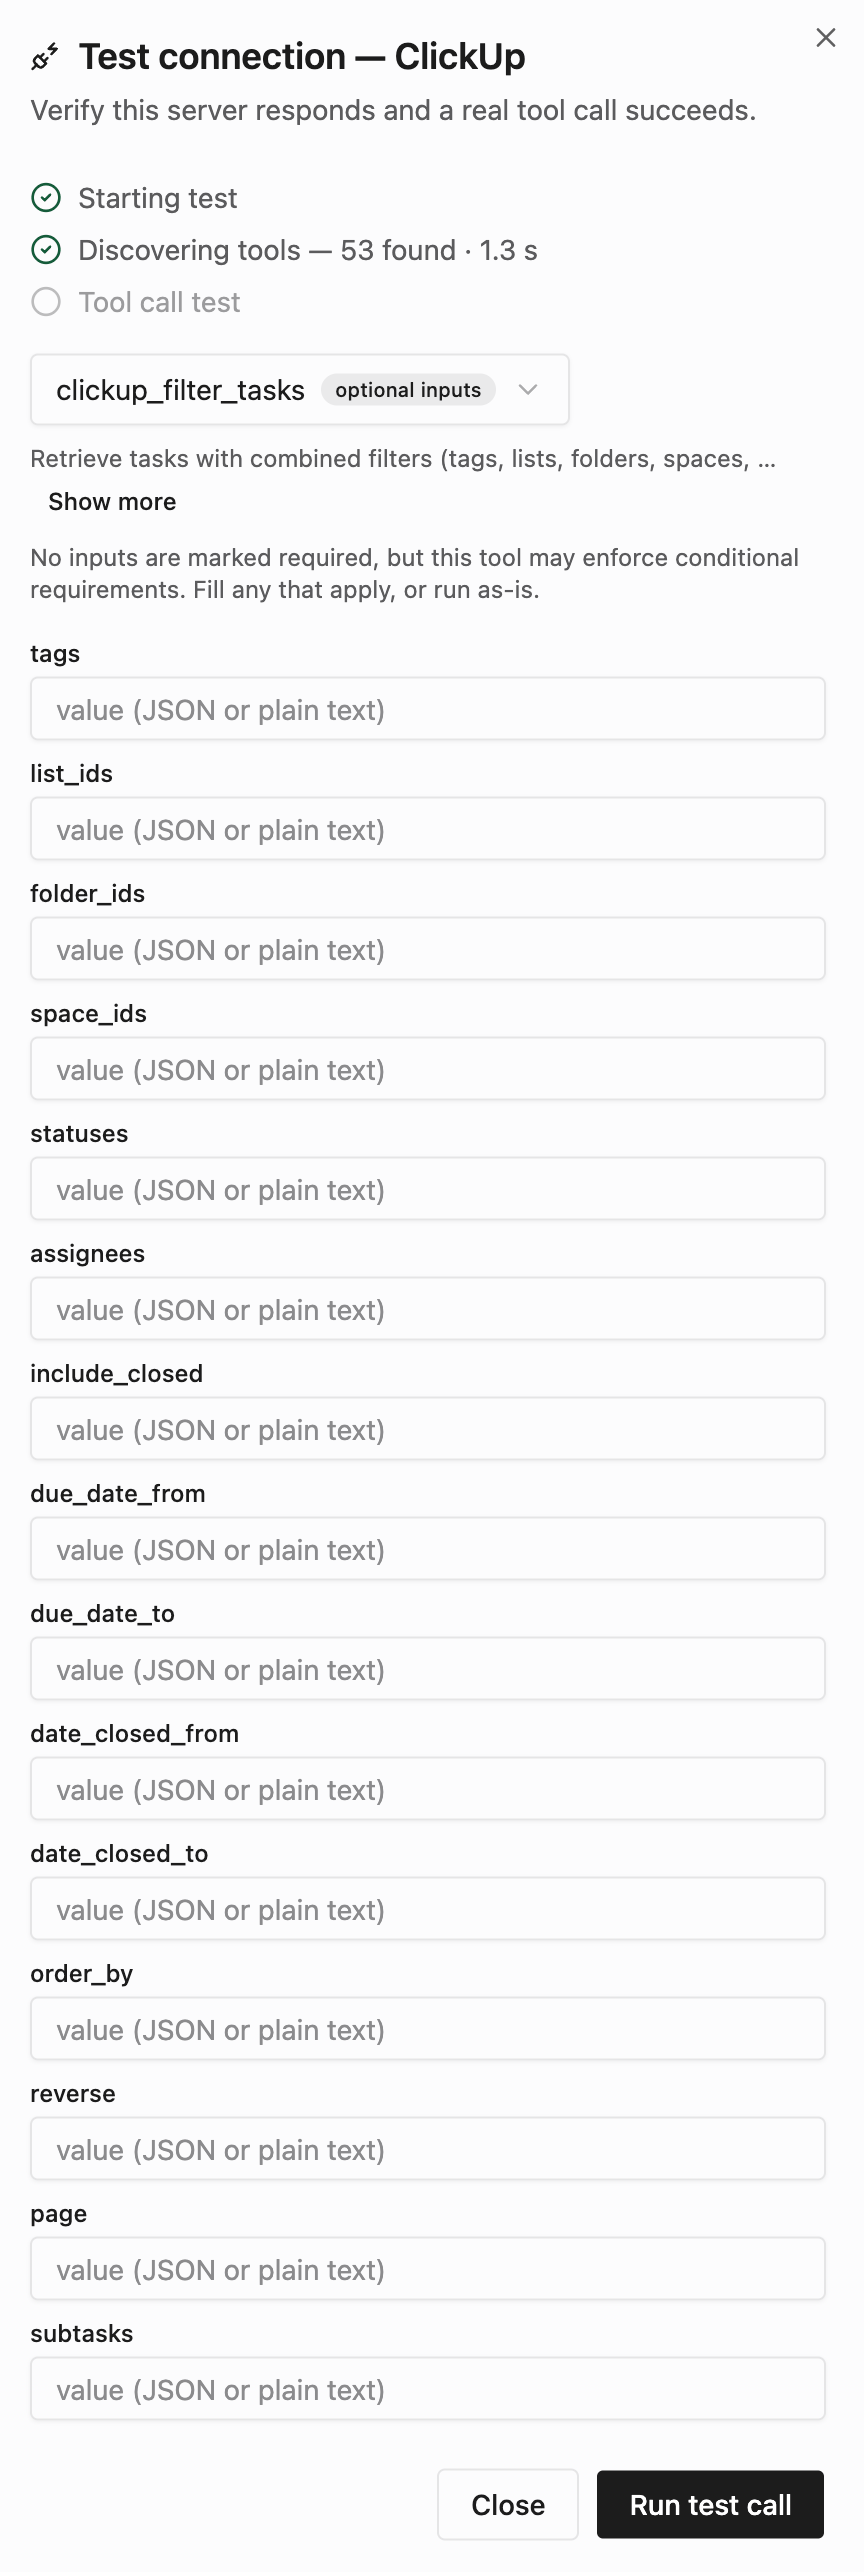
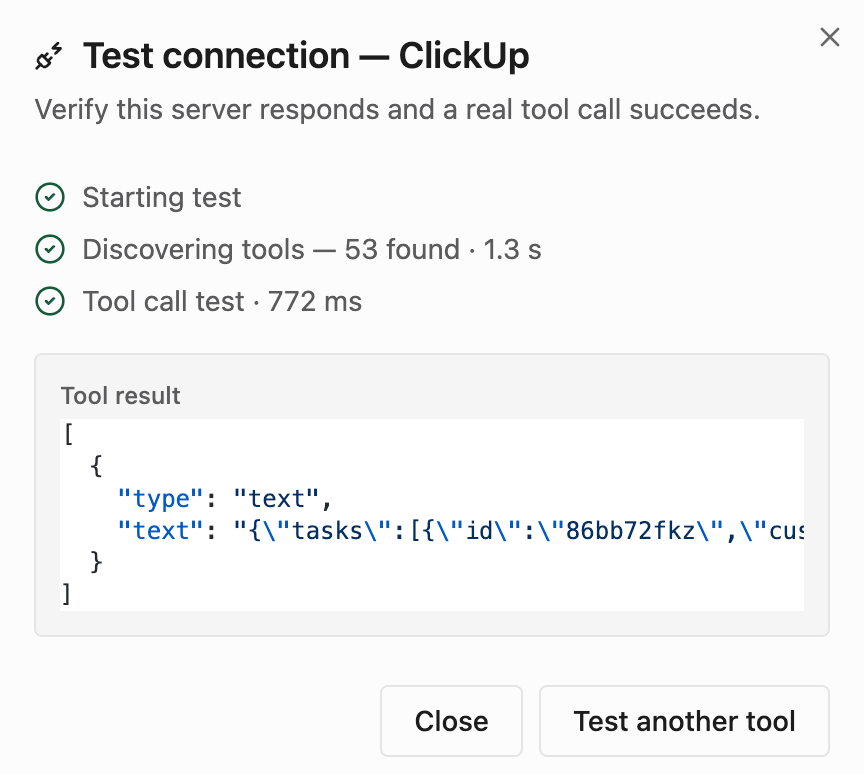
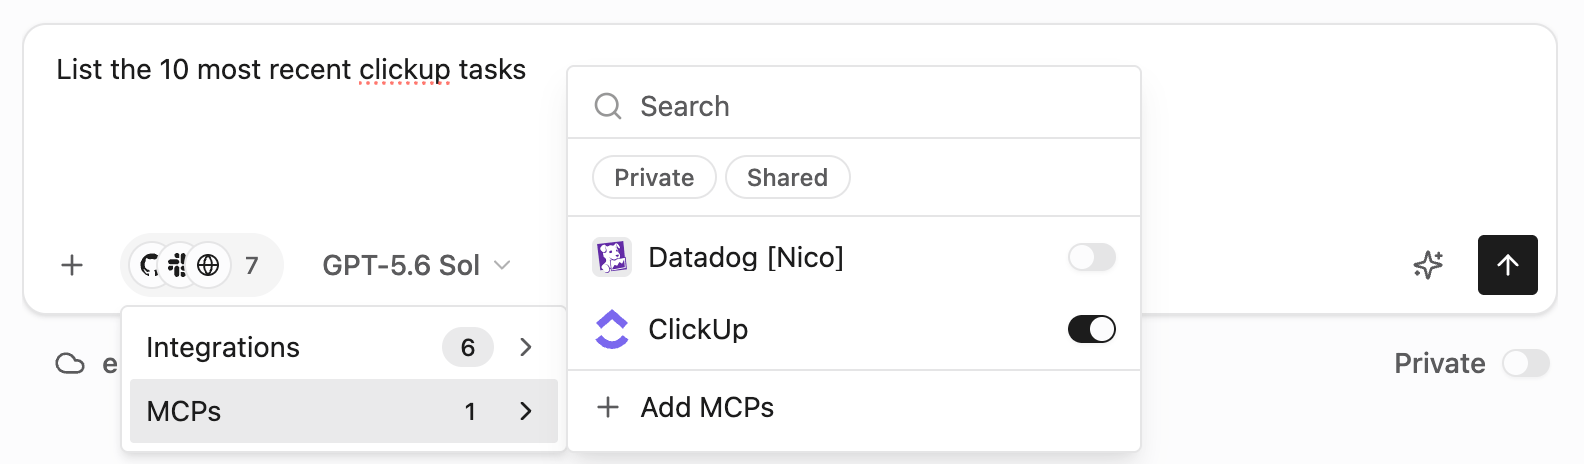
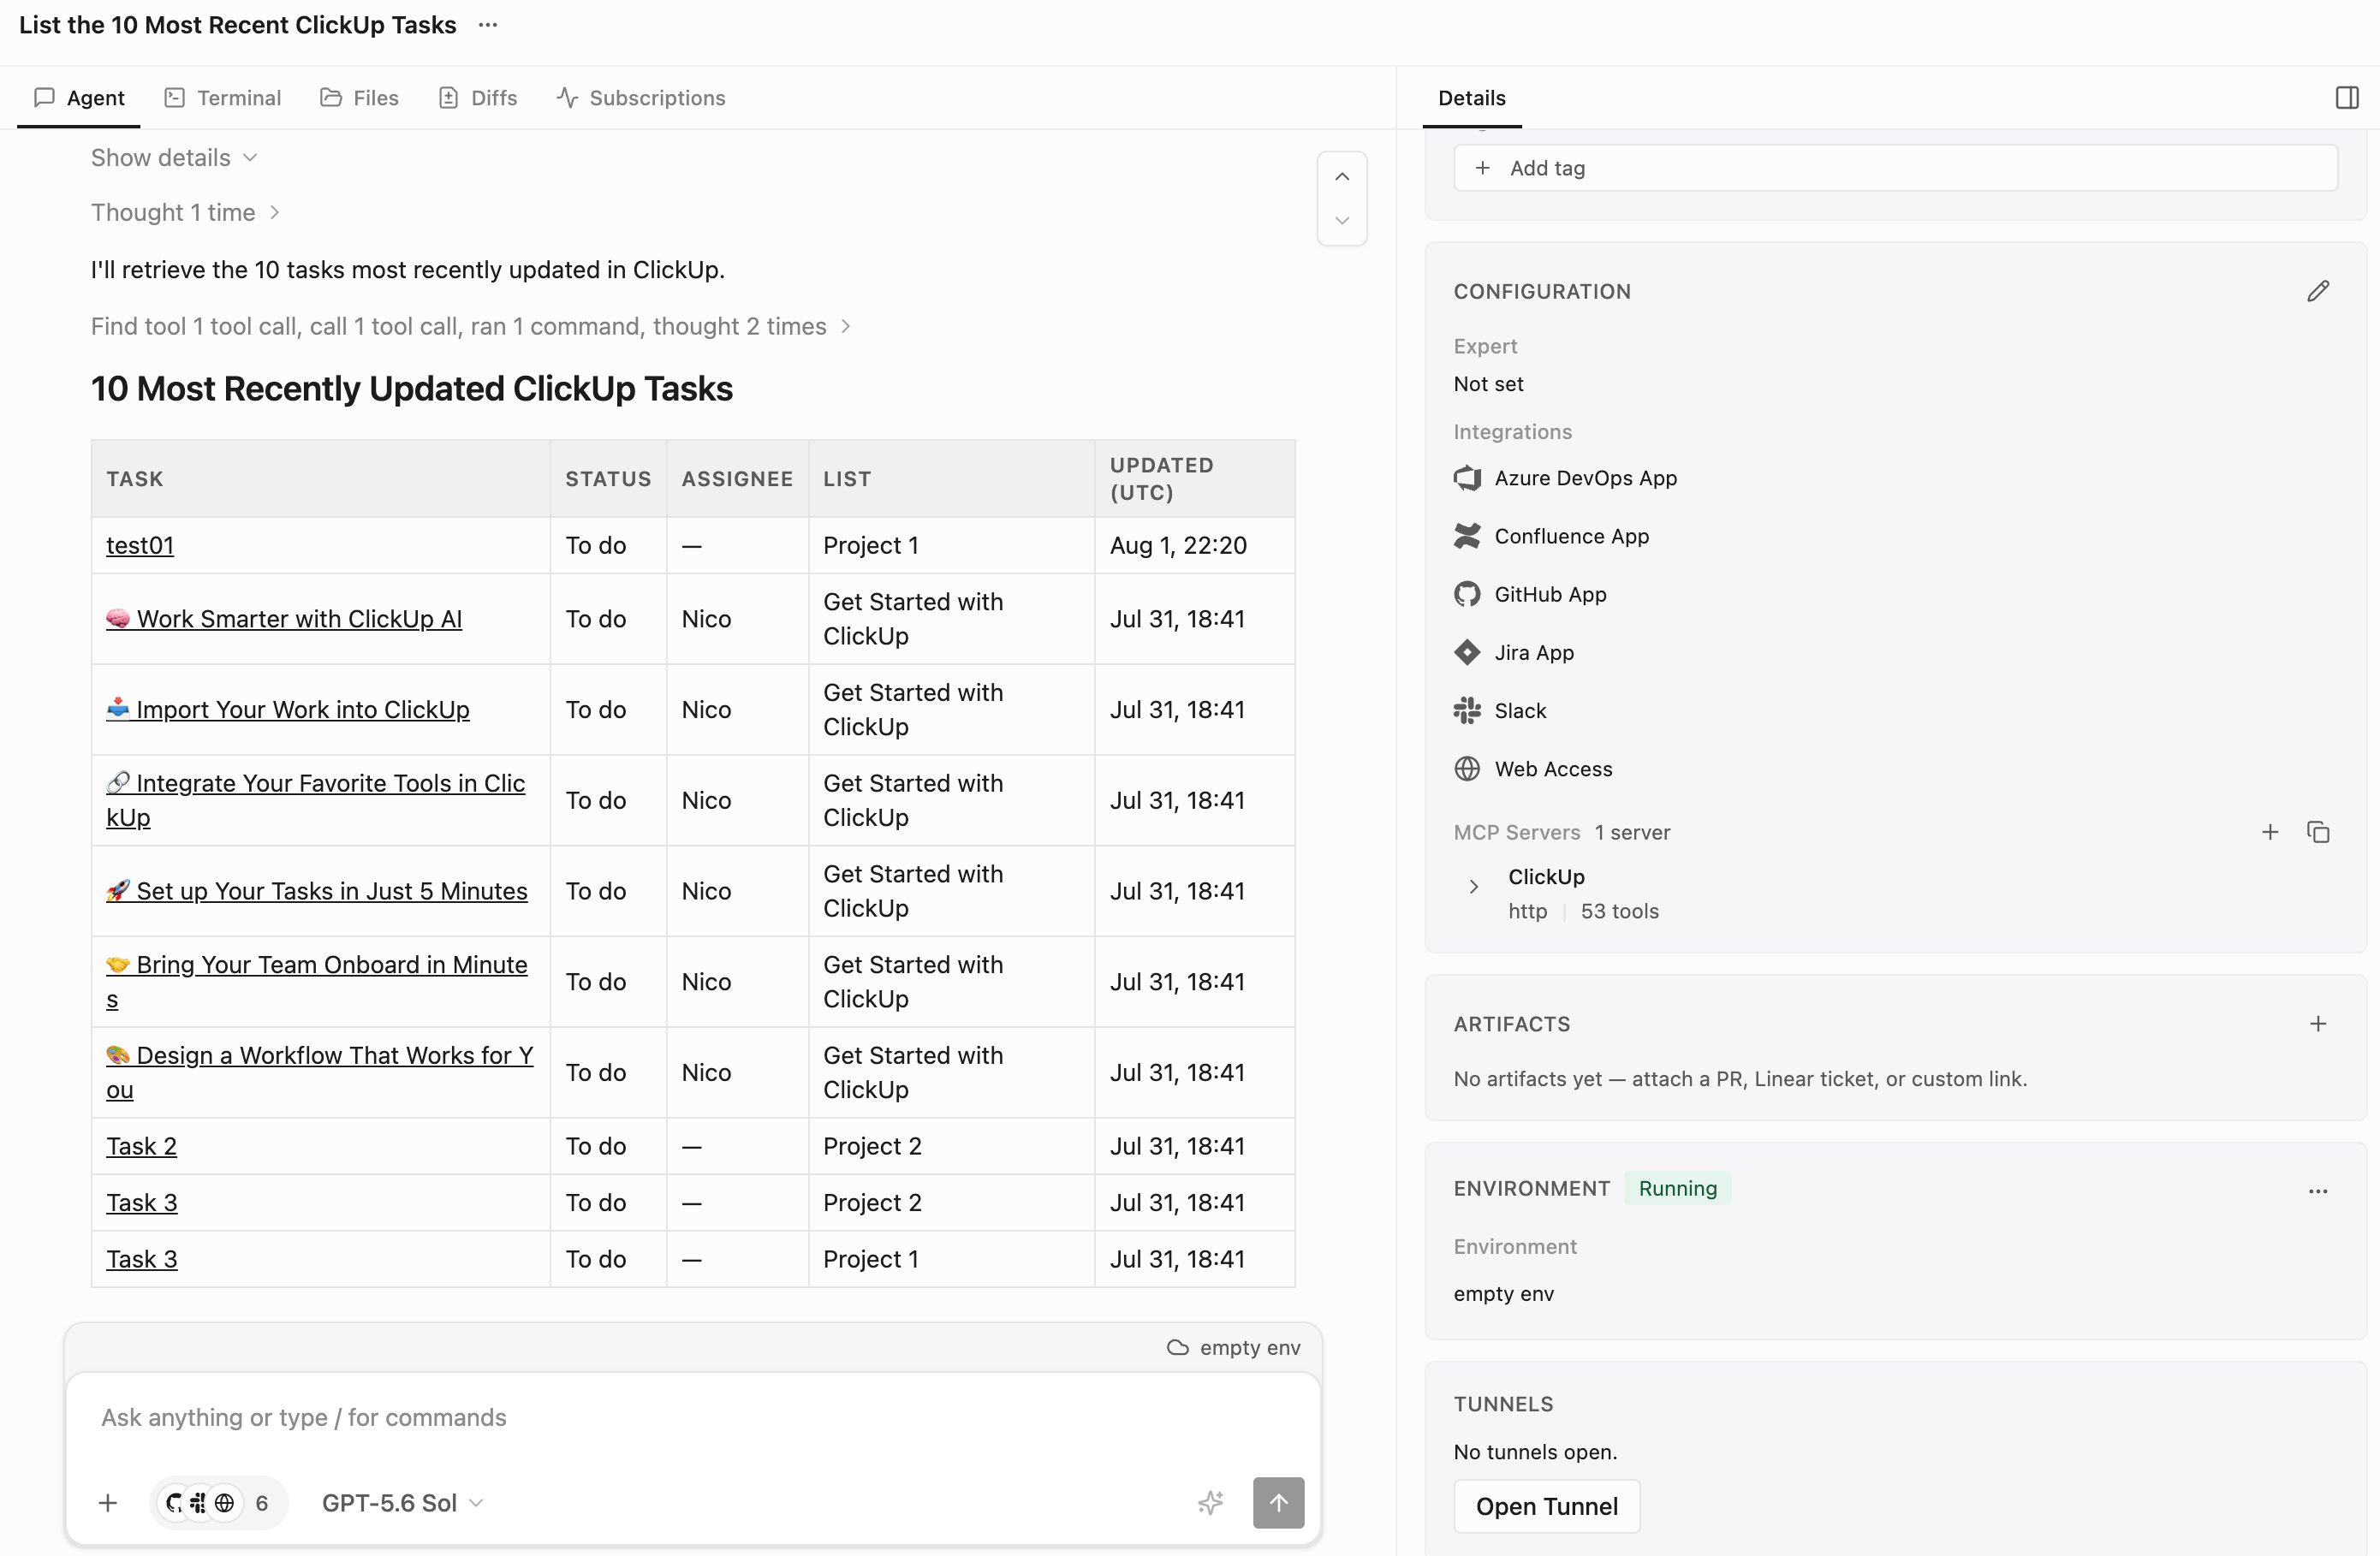
For Cosmos to interact with ClickUp via a ClickUp service account we’ll leverage the ClickUp remote MCP server and authenticate it with said service account as we’d want Cosmos to run headless automations. Do NOT authenticate the remote MCP server using your human identity, use the dedicated service account user instead. As a ClickUp admin, create a dedicated service account user by going to Settings > Admin > People > Invite people > Enter Email: ex: augment@mycompany.com (you may have to create this email alias on your real admin email so you can receive and accept the invite). In an incognito window > Accept the ClickUp invite and login in ClickUp as augment@mycompany.com. In that incognito window > sign in in Cosmos as admin (https://cosmos.augmentcode.com) > Settings > MCP Registry > search ClickUp in the list of Featured remote MCP servers: Click on the + next to ClickUp, you should be redirected to a ClickUp consent screen > select the Workspace to grant access to, then click on Connect Workspace: You should then be redirected to Cosmos > Cosmos Agent: toggle on, Shared: toggle on, and click on Done: Hover over the ClickUp remote MCP server, click on the 3 dots > Click on Test connection Select tool: clickup_filter_tasks, then click on Run test call You should see this: Now test the end2end connectivity with a new Cosmos session using that remote MCP server. If you don’t have a Cosmos cloud environment yet, create an empty one for this test: Cosmos > Settings > Environment > Create an environment > Cloud Machine > Name: Test01 > Click on Create Environment. Go to Cosmos > New session https://cosmos.augmentcode.com/home > make sure the ClickUp remote MCP server is selected: Submit this prompt List the 10 most recent clickup tasks. In your session’s right drawer you should see the ClickUp MCP tools, and in your session the list of tasks: Congrats, you can now create Cosmos expert agents that integrate with ClickUp! ✅